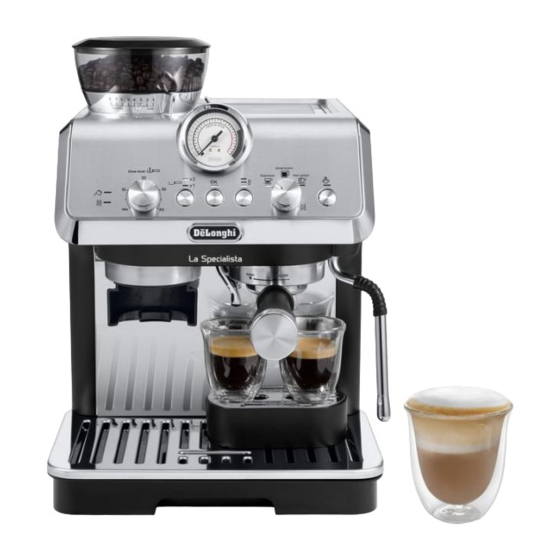
DeLonghi EC9155 Service Manual
Hide thumbs
Also See for EC9155:
- Instructions for use manual (14 pages) ,
- Instructions for use manual (14 pages) ,
- Manual (217 pages)
Advertisement
Quick Links
Doc. nr.: DSDL_21010_A
Data Sheet And Service Manual
EC9155 LA SPECIALISTA ARTE (ALL COUNTRIES)
Date: 14.06.2021
INDEX / INDICE:
1. TECHNICAL DATA ................................................................................................................................... 2
2. HYDRAULIC DIAGRAM ........................................................................................................................... 3
3. 4 WIRING DIAGRAM ................................................................................................................................ 4
5. WORKING PRICIPLE ............................................................................................................................... 6
6. TEST MODE ............................................................................................................................................... 7
7. TROUBLESHOOTING ............................................................................................................................ 12
[1]
Advertisement

Summary of Contents for DeLonghi EC9155
-
Page 1: Table Of Contents
Doc. nr.: DSDL_21010_A Data Sheet And Service Manual EC9155 LA SPECIALISTA ARTE (ALL COUNTRIES) Date: 14.06.2021 INDEX / INDICE: 1. TECHNICAL DATA ........................... 2 2. HYDRAULIC DIAGRAM ........................... 3 3. 4 WIRING DIAGRAM ..........................4 5. WORKING PRICIPLE ..........................6 6. -
Page 2: Technical Data
Doc. nr.: DSDL_21010_A 1. TECHNICAL DATA – Voltage 220-240v 50-60 (INT AU/NZ) 120v / 60 Hz (US/CA) Max. input power 1550 W COMPONENTS – Pump 220-240v (INT AU/NZ) 120v AC - 52 W (US/CA) 230 V Ac (INT – AU/NZ) - 120v AC (US/CA) Grinder motor 230 V Ac (INT –... -
Page 3: Hydraulic Diagram
Doc. nr.: DSDL_21010_A 2. HYDRAULIC DIAGRAM... -
Page 4: Wiring Diagram
Doc. nr.: DSDL_21010_A 3. WIRING DIAGRAM... - Page 5 Doc. nr.: DSDL_21010_A 3. WIRING DIAGRAM...
-
Page 6: Working Priciple
Doc. nr.: DSDL_21010_A 5. WORKING PRINCIPLE MICROSWITCHES, SENSORS AND ELECTROVALVES MICROSWITCHES Function Logic Detects when the sump is inserted MICROSWITCH FILTER HOLDER NO when the sump is NOT inserted In order to start grinding REED Function Detects when the water level is at REED SENSOR WATER TANK minimum ELECTROVALVES... -
Page 7: Test Mode
Doc. nr.: DSDL_21010_A 6. TEST MODE 6.1. HOW TO ENTER IN THE VARIOUS TEST MODES/STATISTICS 6.2. USER INTERFACE TEST 6.3. FUNCTIONAL TEST 6.4. LOAD TEST 6.5. INPUT TEST 6.6. STATISTICS User Interface CONTROLS 6.1.HOW TO ENTER IN THE VARIOUS TEST MODES/STATISTICS SET THE POSITION OF THE TASTE KNOB AND KEEP THE SWITCH AS FOLLOW: TEST DOSE KNOB... - Page 8 Doc. nr.: DSDL_21010_A 6.2.USER INTERFACE TEST In this mode while the button is pressed the correspondent led switch on, the potentiometer knobs need to be rotated on the most anti-clockwise position in order to not create interference. When the potentiometer knob will be rotate clockwise (only one at a time) the leds switch on according the next tables.
- Page 9 Doc. nr.: DSDL_21010_A 6.3.FUNCTIONAL TEST LOAD STATE TEST STEP SWITCH PUMP 3WAY WATER STEAM HEATER GRINDER STATE VALVE VALVE VALVE “STEAM” STEAM FLASH, HYDRAULIC STEAM Others OFF CIRCUIT “COFFEE” OK Flash, HYDRAULIC OK PUSHED Others OFF CIRCUIT “HOT WATER” X1 Flash, PUSHED Others OFF HYDRAULIC...
- Page 10 Doc. nr.: DSDL_21010_A 6.4.LOAD TEST LOAD STATE LOAD SWITCH LED STATE STATE WATE STEAM HEATE GRINDE Y EV R EV 3WAY VALVE X1/X2 X1 ON, Others OFF PUMP OK ON, Others OFF HEATER TEMP TEMP low ON, 110 °C Others OFF ELECTROVALV X2+STEA Others OFF...
- Page 11 Doc. nr.: DSDL_21010_A 6.5. INPUT TEST INPUT LED STATE FILTER HOLDER DESCALING LED ON IF DESCALING LED OFF IF (GRINDER SIDE) SWITCH RELEASED SWITCH PRESSED TANK REED TANK ALARM LED TANK ALARM LED ON IF REED OPEN OFF IF REED CLOSED (NO MAGNET) (MAGNET PRESENT) 6..6.
-
Page 12: Troubleshooting
Doc. nr.: DSDL_21010_A 7. TROUBLESHOOTING PROBLEM CAUSE SOLUTION There is water in the drip tray (A19) It is normal: due to the internal water Regularly empty and clean the drip tray circuits operations No espresso coffee is delivered No water in the tank (A7) Fill the tank Only the OK light (B6) is on to indicate that Press the button corresponding to the OK... - Page 13 Doc. nr.: DSDL_21010_A PROBLEM CAUSE SOLUTION If you want to change the type of coffee You must remove all the beans present in the • Empty the beans container (A3) (if nec- essary, machine operate the coffee mill without beans or use a vacuum cleaner to re- move any remaining beans) •...


