Advertisement
Quick Links
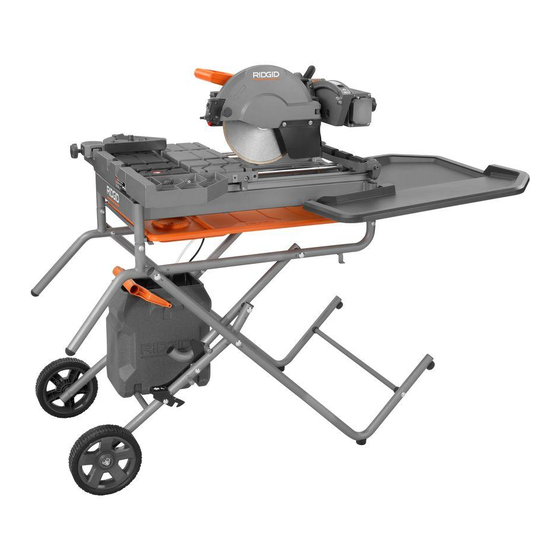
R4091 ADDENDUM
WARNING:
This Addendum is not a substitute for reading the operator's
manual. To reduce the risk of injury, user must read and
understand operator's manual before using this product.
The instructions below replace the text on pages 19 and 29 of the R4091
tile saw manual.
ALIGNING THE LASER GUIDE LINE
See Figure 1.
DANGER:
Laser radiation. Avoid direct eye contact with light source.
WARNING:
Use of controls or adjustments or performance of procedures
other than those specified herein may result in hazardous
radiation exposure.
Draw a line on the tile. When the laser guide switch is turned on it will
generate a red line on the work surface. This line will let you see your
mark and the laser guide line at the same time, and will assist you in
lining up the mark for more accurate cutting of the tile.
Removing Your Mark:
Position the laser line near the left edge of your mark on the work surface
in order to remove the mark.
To Cut Your Mark:
Position the laser line near or over your mark on the work surface in
order to cut the mark.
To Leave Your Mark:
Position the laser line near the right edge of your mark on the work
surface in order to leave the mark.
Make several practice cuts on different styles and thickness of material.
Repeat the steps as necessary.
To adjust the laser:
Plug in the saw and push the laser guide switch to show the laser
guide line.
Position the laser line near the left edge of your mark on the work
surface.
Loosen the laser lock knob by turning it to the left.
Turn the laser left/right adjustment knob to move the laser line either
left or right.
To move the laser line more towards the front or back of the workpiece,
turn the laser front/back adjustment knob.
When all adjustments are complete, secure adjustments by turning
the lock knob to the right.
ANGLE ADJUSTMENT OF THE LASER GUIDE LINE
See Figure 2.
If the laser line drift towards or away from the blade as the head is moved
up and down, the laser guide line might not be in alignment with the
wheel, make the following adjustments:
Using a Phillips screwdriver, remove the cover screw.
Turn the angle adjustment screw left or right as needed to place the
laser guide line and wheel on the same path.
Move the saw arm up and down, and inspect the laser line position.
If the laser line drifts out of position as the saw arm moves, turn the
angle adjustment screw until the laser no longer moves.
Reinstall the cover screw.
Fig. 1
A
WARNING
To reduce the risk of injury, the user must read and understand operator's manual.
•
Wear eye, hearing, and respiratory protection when operating the tool.
•
Do not remove the wheel guard.
•
Never operate the tool without the wheel guard securely closed.
•
Turn off tool, wait for the wheel to stop moving and disconnect the power
•
to the tool before servicing, when changing cutting wheels, or cleaning.
Never use wheels that have openings, grooves, or teeth on this tool.
•
Always inspect and replace damaged cutting wheels before operating the tool.
•
Do not expose to rain or other damp locations.
•
•
Do not fill water bath above maximum water fill line.
Do not stack or store tiles on water trays.
•
DANGER
LASER RADIATION AVOID DIRECT EYE EXPOSURE
MAXIMUM OUTPUT: <5mW WAVELENGTH: 630-660nm
CLASS IIIa LASER PRODUCT
A - Laser front/back adjustment knob (bouton de réglage de laser avant et arrière,
perilla de ajuste del láser frente y atrás)
B - Laser guide switch (commutateur guide laser, interruptor de guía de láser)
C - Laser left/right adjustment knob (bouton de réglage de laser gauche et droite,
perilla de ajuste del láser izquierdo y derecha)
D - Laser lock knob (bouton de verrouillage du laser, perilla de fijación del láser)
E - Red line (ligne pointillée rouge, línea roja segmentada)
Fig. 2
A - Angle adjustment screw (vis de réglage de l'inclinaison, tornillo de ajuste
para ángulos)
B - Cover screw (vis du couvercle, tornillo de la cubierta)
B
C
D
E
A
B
Advertisement

Related Manuals for RIDGID R4091


Summary of Contents for RIDGID R4091
- Page 1 To reduce the risk of injury, user must read and understand operator’s manual before using this product. The instructions below replace the text on pages 19 and 29 of the R4091 tile saw manual. ALIGNING THE LASER GUIDE LINE See Figure 1.
- Page 2 Les instructions ci-dessous remplacent le texte sur les pages 19 et 30 dans Las siguientes instrucciones reemplazan el texto en las páginas 19 y 30 del manual del operador para R4091 sierra de losas. le manuel d’utilisation de R4091 scie à carreaux.