
Related Manuals for Daikin FXFQ20P8VEB


Summary of Contents for Daikin FXFQ20P8VEB
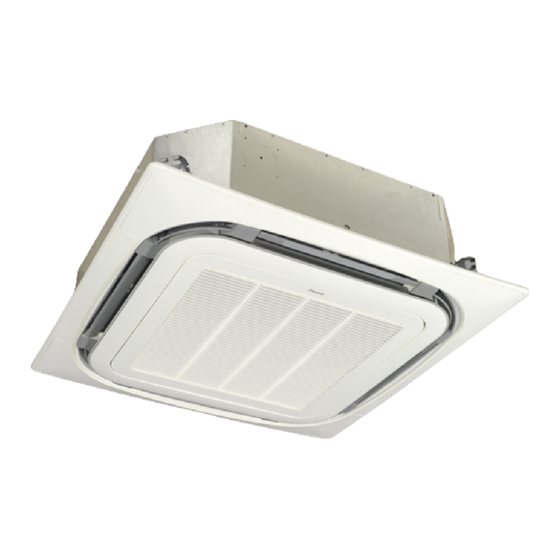
- Page 1 INSTALLATION AND OPERATION MANUAL System air conditioners FXFQ20P8VEB FXFQ25P8VEB FXFQ32P8VEB FXFQ40P8VEB FXFQ50P8VEB FXFQ63P8VEB FXFQ80P8VEB FXFQ100P8VEB FXFQ125P8VEB...
- Page 2 ≥1500 ≥1500 ≤ 35 ≤ 35 ≤300 mm 1~1.5 m 5+10...
- Page 3 3PW33501-3B...
-
Page 4: Table Of Contents
EQUIPMENT OR ACCESSORIES COULD RESULT IN ELECTRIC SHOCK, SHORT-CIRCUIT, LEAKS, FIRE OR OTHER DAMAGE TO THE EQUIPMENT. BE SURE ONLY TO USE ACCESSORIES MADE BY DAIKIN WHICH ARE SPECIFICALLY DESIGNED FOR USE WITH THE Metal clamp EQUIPMENT AND HAVE THEM INSTALLED BY A Drain hose PROFESSIONAL. -
Page 5: Important Information Regarding The Refrigerant Used
For the following items, take special care during • Where there is no risk of flammable gas leaking. construction and check after installation is finished • Where piping between indoor and outdoor units is possible within the allowable limit. (Refer to the installation manual of the outdoor unit.) Tick when... -
Page 6: Preparations Before Installation
Install the suspension bolts. (use either a W3/8 or M10 size bolt.) REPARATIONS BEFORE INSTALLATION Use anchors for existing ceilings, and a sunken insert, sunken anchors or other field supplied parts for new ceilings to reinforce the Relation of ceiling opening to unit and suspension bolt ceiling in order to bear the weight of the unit. -
Page 7: Refrigerant Piping Work
Finally, insulate as shown in the figure below (use the supplied EFRIGERANT PIPING WORK accessory parts) For refrigerant piping of outdoor unit, refer to the installation manual Liquid pipe supplied with the outdoor unit. Gas pipe Execute heat insulation work completely on both sides of the gas Insulation for fitting for liquid piping and the liquid piping. -
Page 8: Drain Piping Work
How to perform piping (See figure 7) RAIN PIPING WORK Ceiling slab Installation of drain piping Hanger bracket Adjustable range Install the drain piping as shown in figure and take measures against condensation. Improperly rigged piping could lead to leaks and Drain raising pipe (nominal diameter of vinyl pipe = 25 mm) eventually wet furniture and belongings. -
Page 9: Electric Wiring Work
Inter unit wiring terminal block (3) NOTE For details, refer to "Electrical data". Specifications for field supplied fuses and wire Power supply wiring Confirm the drain operation looking at the drain socket. Model Field fuses Wire Size After checking the drainage flow, turn off the power, FXFQ20~125 16 A H05VV-U3G... -
Page 10: Wiring Example
When connecting wires of the same gauge, connect them Complete system example (3 systems) according to the figure. See figures 13, and 15. Outdoor unit Indoor unit Remote controller (Optional accessories) Use the specified electric wire. Connect the wire securely to the terminal. - Page 11 Summary of field settings Control by 2 Remote Controllers (Controlling 1 indoor unit by 2 remote controllers) Mode First Second code No. (Note 2) When using 2 remote controllers, one must be set to "MAIN" and the code other to "SUB". (Note 1) No.
-
Page 12: Test Operation
Remove the air filter (actions 2 to 4 in the illustration). EST OPERATION Pull the air filter clip on both the bottom left and the right side of the filter toward you, and detach the filter. Refer to the installation manual of the outdoor unit. Clean the air filter. -
Page 13: Disposal Requirements
OTES NOTE Do not use gasoline, benzene, thinner, polishing powder, liquid insecticide. It may cause discoloring or warping. Do not let the indoor unit get wet. It may cause an electric shock or a fire. Do not scrub firmly when washing the blade with water. The surface sealing may peel off. -
Page 14: Wiring Diagram
IRING DIAGRAM Indoor unit Wired remote controller A1P,A2P ....Printed circuit board R1T......Thermistor (air) C1......Capacitor SS1......Selector switch (MAIN/SUB) F1U ..... Fuse (T, 5 A, 250 V) Receiver/display unit (attached to wireless remote controller) HAP..... Light emitting diode (service monitor - green) A3P,A4P....Printed circuit board KPR..... - Page 15 Control box Control box Control box IN/D OUT/D IN/D OUT/D OUT/D IN/D Control box IN/D OUT/D SETTING FORCED...
- Page 16 4PW44997-1...