Table of Contents
Advertisement
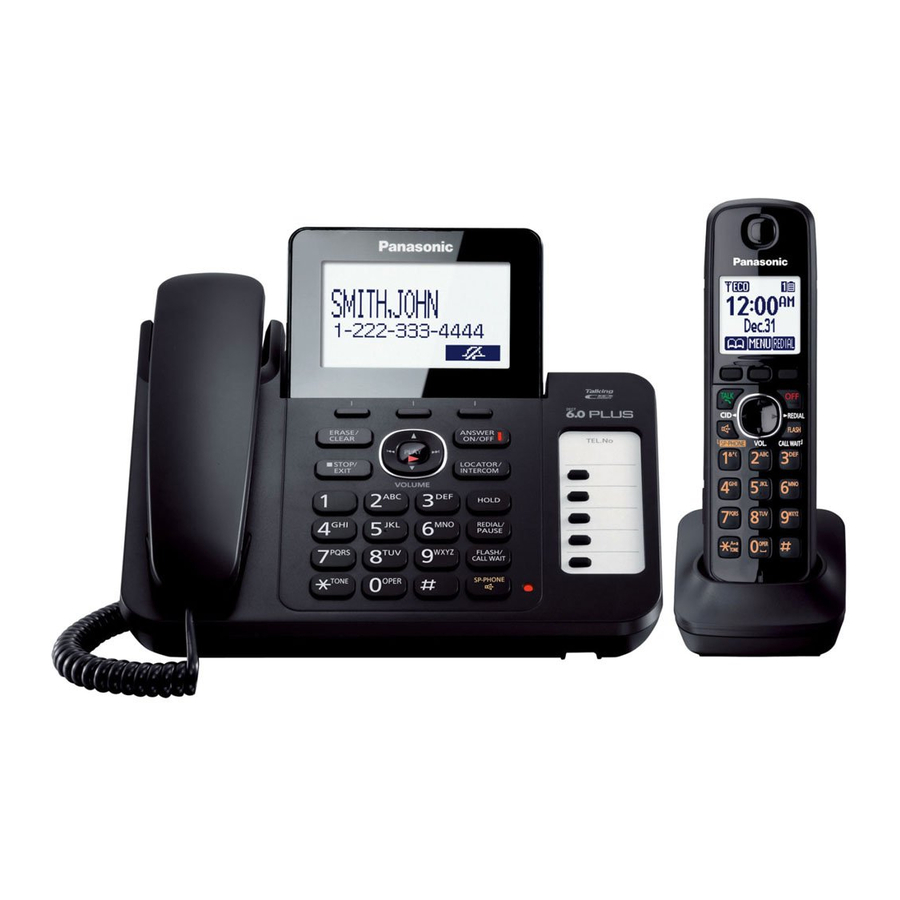
Model shown is KX-TG6671.
Before initial use, see "Getting Started" on
page 8.
Thank you for purchasing a Panasonic product.
Please read these operating instructions before using the unit and save them for future
reference.
Consulte "Guía Rápida Española", página 47.
This unit is compatible with Caller ID. You must subscribe to the appropriate service offered
by your service provider/telephone company.
For assistance, visit our Web site: http://www.panasonic.com/help for customers in the
U.S.A. or Puerto Rico.
Please register your product: http://www.panasonic.com/prodreg
Operating Instructions
Digital Corded/Cordless Answering System
KX-TG6671
Model No.
KX-TG6672
Advertisement
Table of Contents

Related Manuals for Panasonic KX-TG6671


Summary of Contents for Panasonic KX-TG6671
-
Page 1: Operating Instructions
This unit is compatible with Caller ID. You must subscribe to the appropriate service offered by your service provider/telephone company. For assistance, visit our Web site: http://www.panasonic.com/help for customers in the U.S.A. or Puerto Rico. Please register your product: http://www.panasonic.com/prodreg... -
Page 2: Table Of Contents
Introduction Model composition ...3 Accessory information ...3 Important Information For your safety ...5 Important safety instructions ...6 For best performance ...6 Other information ...6 Specifications ...7 Getting Started Setting up ...8 Note when setting up ...9 Intelligent eco mode ...9 Controls ...10 Belt clip ...11 Display ...11... -
Page 3: Introduction
Handset cover /PNYNTGA660BR Belt clip/PNKE1098Z1 Charger/PNLC1017ZB *1 The desk stand/wall mounting adaptor comes attached to the base unit. *2 The handset cover comes attached to the handset. For assistance, please visit http://www.panasonic.com/help Base unit Part No. KX-TG6671 KX-TG6671 /PNKL1034Z1 Handset Part No. -
Page 4: Expanding Your Phone System
Additional/replacement accessories Please contact your nearest Panasonic dealer for sales information (page 51). Accessory item Rechargeable batteries Headset T-adaptor Range extender *1 Replacement batteries may have a different capacity from that of the supplied batteries. *2 By installing this unit, you can extend the range of your phone system to include areas where reception was previously not available. -
Page 5: Important Information
Radio waves emitted from this product may cause such devices to malfunction resulting in an accident. R Do not allow the AC adaptor or telephone line cord to be excessively pulled, bent or placed under heavy objects. Operating safeguards R Unplug the product from power outlets before cleaning. -
Page 6: Important Safety Instructions
SAVE THESE INSTRUCTIONS For best performance Base unit location/avoiding noise The base unit and other compatible Panasonic units use radio waves to communicate with each other. R For maximum coverage and noise-free communications, place your base unit: –... -
Page 7: Specifications
0 °C – 40 °C (32 °F – 104 °F), 20 % – 80 % relative air humidity (dry) Note: R Design and specifications are subject to change without notice. R The illustrations in these instructions may vary slightly from the actual product. For assistance, please visit http://www.panasonic.com/help... -
Page 8: Getting Started
Setting up Connections R Use only the supplied Panasonic AC adaptor PNLV226. n Base unit DSL/ADSL filter* (120 V AC, 60 Hz) Correct Wrong *DSL/ADSL filter (not supplied) is required if you have DSL/ADSL service. R The words “UP DESK” should be facing up. -
Page 9: Battery Charging
Note for battery installation R Use the supplied rechargeable batteries. For replacement, we recommend using the Panasonic rechargeable batteries noted on page 4, 5. R Wipe the battery ends ( R Avoid touching the battery ends ( unit contacts. -
Page 10: Controls
R The adaptor is a removable attachment for desk stand or wall mounting use (page 8, 40). MERASEN MCLEARN MnN (STOP) (EXIT) MANSWER ON/OFFN ANSWER ON/OFF indicator For assistance, please visit http://www.panasonic.com/help MLOCATORN MINTERCOMN N (PLAY) Message indicator MHOLDN MREDIALN MPAUSEN MFLASHN MCALL WAITN... -
Page 11: Belt Clip
– MFN CID (Caller ID): View the caller list. – MEN REDIAL: View the redial list. Belt clip n To attach n To remove For assistance, please visit http://www.panasonic.com/help Display Base unit display items Item Meaning Ringer volume is off. -
Page 12: Initial Settings
MSAVEN a MOFFN Note: R When English is selected as the display language, 12-hour clock format is used. When For assistance, please visit http://www.panasonic.com/help Spanish is selected, 24-hour clock format is used. R The date and time may be incorrect after a power failure. -
Page 13: Making/Answering Calls
Lift the handset and dial the phone number. R To correct a digit, press MCLEARN. Press M N or MCALLN. For assistance, please visit http://www.panasonic.com/help When you finish talking, press MOFFN or place the handset on the charger. Using the speakerphone Dial the phone number and press M N. -
Page 14: Answering Calls
While the unit is ringing for an incoming call: Press MDN or MCN repeatedly to select the desired volume. For assistance, please visit http://www.panasonic.com/help R Base unit: To turn the ringer off, press and hold MCN until the unit beeps. - Page 15 Base unit / Handset Press MCALL WAITN to answer the 2nd call. To switch between calls, press MCALL WAITN. For assistance, please visit http://www.panasonic.com/help Note: R Please contact your service provider/telephone company for details and availability of this service in your area.
-
Page 16: Call Share
R A maximum of 4 parties (including 1 outside party) can join a conversation using 3 extensions. (4-way conference) R To prevent other users from joining your conversations with outside callers, turn call sharing mode off (page 23). For assistance, please visit http://www.panasonic.com/help N when the... -
Page 17: Shared Phonebook
(A®a). Character & ’ For assistance, please visit http://www.panasonic.com/help R To enter another character that is located on the same dial key, first press MEN to move the cursor to the next space. R If you do not press any dial key within 5... -
Page 18: Phonebook Entry
Find the desired entry (page 18). a MEDITN Edit the name if necessary (16 characters max.; page 17). a MOKN For assistance, please visit http://www.panasonic.com/help Edit the phone number if necessary (24 digits max.). a MOKN MbN: Select the desired group (page 17). a... -
Page 19: Speed Dial
2. Making a call using a speed dial button Press the desired speed dial button. For assistance, please visit http://www.panasonic.com/help Lift the corded handset. Note: R In step 1, if no phone number is stored to the speed dial button, you can assign a number by... -
Page 20: Programming
Main menu: “Phonebook” Operation Viewing and erasing the phonebook entry. Main menu: “Answer device” Sub-menu 1 Screen call For assistance, please visit http://www.panasonic.com/help N, or M N to select the desired main menu. a MSELECTN Sub-menu 2 – Code #213 Code... - Page 21 Viewing the caller list. Main menu: “Answering device” Sub-menu 1 Play new msg. (msg.: message) Play all msg. Erase all msg. Greeting Settings For assistance, please visit http://www.panasonic.com/help Sub-menu 2 – – – Sub-menu 2 – – – Record greeting...
- Page 22 Alarm *1, *3 Time adjustment Main menu: “Initial setting” Sub-menu 1 Ringer setting Set date & time Talking Caller ID Handset name For assistance, please visit http://www.panasonic.com/help Sub-menu 2 – – Sub-menu 2 Settings – – 1: Once 2: Daily 0: <Off>...
- Page 23 *1 If you program these settings using one of the handsets, you do not need to program the same item using another handset. *2 This menu is not displayed when scrolling through the display menus. It is only available in direct command code. For assistance, please visit http://www.panasonic.com/help Sub-menu 2 Settings –...
- Page 24 *10 The flash time depends on your telephone exchange or host PBX. Contact your PBX supplier if necessary. The setting should stay at “700 ms” unless pressing MFLASHN fails to pick up the waiting call.
-
Page 25: Special Programming
Important: R Set the date and time beforehand (page 12). For assistance, please visit http://www.panasonic.com/help R We recommend turning the base unit ringer off (page 14) in addition to turning the silent mode R If you have set the alarm, the alarm sounds even if the silent mode is turned on. -
Page 26: Registering A Unit
MMENUN#217 a MADDN Enter the phone number (24 digits max.). R To erase a digit, press MCLEARN. For assistance, please visit http://www.panasonic.com/help MSAVEN a MOFFN Blocking incoming calls without phone number You can reject a call when no phone number is provided, such as a call just showing “Out of... -
Page 27: Registering A Handset To The Base Unit
This allows the handset to end its wireless connection with the system. MMENUN#131 R All handsets registered to the base unit are displayed. MbN: Select the handset you want to cancel. a MSELECTN MbN: “Yes” a MSELECTN MOFFN For assistance, please visit http://www.panasonic.com/help... -
Page 28: Caller Id Service
When caller information is received and it matches a phone number stored in the phonebook, the stored name in the phonebook is displayed and logged in the caller list. For assistance, please visit http://www.panasonic.com/help Talking Caller ID Base unit / Handset This feature lets you know who is calling without looking at the display. -
Page 29: Caller List
M Handset: Press MEN. To return to the previous screen, press MFN. For assistance, please visit http://www.panasonic.com/help Editing a caller’s phone number before calling back You can edit a phone number in the caller list by removing its area code and/or the long distance code “1”. -
Page 30: Erasing Selected Caller Information
Note: R If you stored caller information to the phonebook using the base unit, the entry is automatically assigned to group 1. For assistance, please visit http://www.panasonic.com/help Handset MFN CID MbN: Select the desired entry. R To edit the number, press MEDITN repeatedly until the phone number is shown in the desired format. -
Page 31: Answering System
Turning the answering system on/off Base unit Press MANSWER ON/OFFN to turn on/off the answering system. For assistance, please visit http://www.panasonic.com/help Handset To turn on: MMENUN#327 To turn off: MMENUN#328 MOFFN Note for base unit and handset:... -
Page 32: Listening To Messages Using The Base Unit
R If there are no new messages, the base unit plays back all messages. Operating the answering system during playback Operation MDN or MCN Adjust the speaker volume For assistance, please visit http://www.panasonic.com/help Operation Repeat message Skip message MPAUSEN Pause message To resume playback, press... -
Page 33: Remote Operation
MbN: “Call back” a MSELECTN Editing the number before calling back Press MPAUSEN during playback. MbN: “Edit & Call” a MSELECTN For assistance, please visit http://www.panasonic.com/help Press MEDITN repeatedly until the phone number is shown in the desired format (page 29). a M... -
Page 34: Answering System Settings
Turning on the answering system remotely If the answering system is off, you can turn it on remotely. For assistance, please visit http://www.panasonic.com/help Dial your phone number from a touch-tone phone. Let the phone ring 15 times. R A long beep is heard. - Page 35 The default setting is “On”. Important: R If you stored the voice mail access number (page 36), the message indicator also flashes For assistance, please visit http://www.panasonic.com/help for newly recorded voice mail messages (page 36). Handset MMENUN#340 MbN: Select the desired setting.
-
Page 36: Voice Mail Service
Example: 1-222-333-4444 PPPP VM access Pauses Password number For assistance, please visit http://www.panasonic.com/help To erase the voice mail access number Handset MMENUN#331 Press and hold MCLEARN until all digits are erased. a MSAVEN a MOFFN Voice mail (VM) tone detection... - Page 37 # until the base unit or handset beeps. R If your voice mail service uses voice mail tones and a message is over 3 minutes long, the unit may not indicate new messages. For assistance, please visit http://www.panasonic.com/help...
-
Page 38: Intercom/Locator
Handset Press M N to answer the page. When you finish talking, press MOFFN. For assistance, please visit http://www.panasonic.com/help Handset locator You can locate a misplaced handset by paging it. Base unit: Press MLOCATORN. R All registered handsets beep for 1 minute. - Page 39 To resume the conference: MMENUN a MbN: “Conference” a MSELECTN Answering a transferred call Base unit Lift the corded handset or press M N to answer the page. Handset Press M N to answer the page. For assistance, please visit http://www.panasonic.com/help...
-
Page 40: Useful Information
C Connect the AC adaptor cord and telephone line cord. For assistance, please visit http://www.panasonic.com/help Insert the lower tabs of the adaptor into the unit’s bottom slots (A), then insert by pushing down the levers of the adaptor into the upper slots (B). -
Page 41: Error Messages
R You have not stored the voice mail access number. Store the number (page 36). R The supplied telephone line cord has not been connected yet or not connected properly. Check the connections (page 8). R Recording was too short. Try again. - Page 42 The handset does not ring. For assistance, please visit http://www.panasonic.com/help Cause/solution R The base unit’s AC adaptor or telephone line cord is not connected. Check the connections. R Disconnect the base unit from the telephone line and connect the line to a known working telephone. If the working telephone operates properly, contact our service personnel to have the unit repaired.
- Page 43 I cannot dial the phone number edited in the caller list. Time on the unit has shifted. For assistance, please visit http://www.panasonic.com/help Cause/solution R The ringer volume is turned off. Adjust the ringer volume (page 14).
- Page 44 R The answering system is turned off. Turn it on (page 34). Cause/solution R Disconnect the AC adaptor and telephone line cord from the base unit. Remove the batteries from the handset and leave to dry for at least 3 days. After the base unit/handset are completely dry, reconnect the AC adaptor and telephone line cord.
-
Page 45: Fcc And Other Information
The REN is used to determine the number of devices that may be connected to a telephone line. Excessive RENs on a telephone line may result in the devices not ringing in response to an incoming call. In most but not all areas, the sum of RENs should not exceed five (5.0). - Page 46 Some cordless telephones operate at frequencies that may cause interference to nearby TVs and VCRs. To minimize or prevent such interference, the base of the cordless telephone should not be placed near or on top of a TV or VCR. If nterference is experienced, move the cordless telephone further away from the TV or VCR.
-
Page 47: Guía Rápida Española
Instalación Unidad base L Use solo el adaptador de corriente Panasonic PNLV226 incluido. L Para sujetar el cable del adaptador de corriente al gancho de la unidad base, debe retirar la base para escritorio/adaptador de instalación en la pared una vez. Consulte la “Connections” (Conexiones) del manual de instrucciones para obtener detalles. - Page 48 Continúe operando su unidad. Unidad base: { } (EXIT) Auricular: {OFF} Idioma de la guía de voz (Auricular) {MENU} (112 s {r}: “Español” s {GUARDA} s {OFF} Para obtener ayuda, visite http://www.panasonic.com/help (solo en inglés) Auricular Subir volumen {<} {>}...
- Page 49 (Unidad base/Auricular) Contestador de llamadas Contestador encendido/apagado (Unidad base) Para obtener ayuda, visite http://www.panasonic.com/help (solo en inglés) Unidad base: Marque el número telefónico. s Levante el auricular alámbrico u oprima {s}. Auricular: Marque el número telefónico. s {C}/{s} Unidad base: Levante el auricular alámbrico u oprima {s}.
- Page 50 L Si ocurre el mismo problema aunque el auricular se encuentre enseguida de la unidad base, llame a soporte al cliente de Panasonic al 1-800-211- PANA (1-800-211-7262). L Sí, puede añadir hasta 6 auriculares (incluyendo los que se venden con su unidad base) a una sola unidad base.
-
Page 51: Appendix
Monday - Friday 9 am to 9 pm; Saturday - Sunday 10 am to 7 pm, EST. TTY users (hearing or speech impaired users) can call 1-877-833-8855. Accessory Purchases (United States and Puerto Rico) Purchase Parts, Accessories and Instruction Books online for all Panasonic Products by visiting our Web Site at: http://www.pstc.panasonic.com or, send your request by E-mail to: npcparts@us.panasonic.com... -
Page 52: Warranty (For United States And Puerto Rico)
If your product does not work properly because of a defect in materials or workmanship, Panasonic Corporation of North America (referred to as “the warrantor”) will, for the length of the period indicated on the chart below, which starts with the date of original purchase (“Limited Warranty period”), at its option either (a) repair your product with new or refurbished parts, or... - Page 53 L Send the unit to PSTC (Panasonic) Exchange Center, prepaid and adequately insured. L Do not send your unit to Panasonic Corporation of North America listed on the back cover or to executive or regional sales offices. These locations do not repair consumer products.
-
Page 54: Index
Index 4-way conference: 16 A Additional handset: 26 Alarm: 25 Answering calls: 14 Answering system Call screening: 31 Erasing messages: 32, 33, 34 Greeting message: 31 Greeting only: 35 Listening to messages: 32, 33 Number of rings: 34 Recording time: 35 Remote access code: 33 Remote operation: 33 Ring count: 34... - Page 55 Notes...
- Page 56 We recommend keeping a record of the following information to assist with any repair under warranty. Serial No. (found on the bottom of the base unit) Name and address of dealer One Panasonic Way, Secaucus, New Jersey 07094 © Panasonic System Networks Co., Ltd. 2011 Printed in Malaysia IMPORTANT! Date of purchase Attach your purchase receipt here.