Advertisement
Quick Links
Advertisement

Related Manuals for ProScan PLDEDV4018


Summary of Contents for ProScan PLDEDV4018
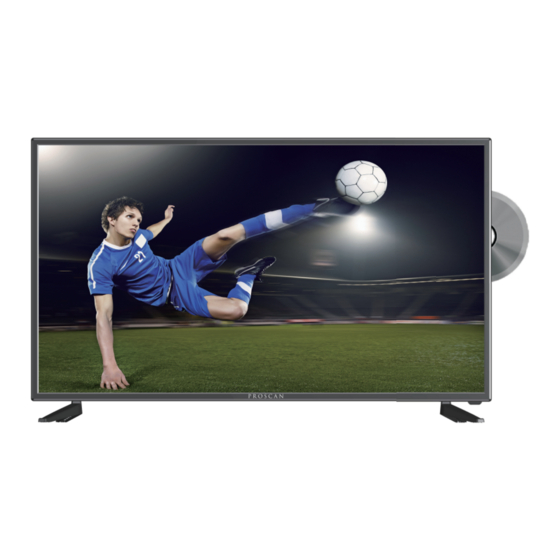
- Page 1 Model:PLDEDV4018...
- Page 2 English CONTENTS SAFETY PRECAUTION IMPORTANT SAFETY INSTRUCTION ACCESSORIES GETTING STARTED Remote Control CONTROL Front View REFERENCE Back View Side View GUIDE Antenna Connection AV Connection YPbPr Connection HDMI Connection CONNECTIONS VGA Connection Headphone Connection Power Cord Connection Coax(SPDIF) Connection WALL MOUNT INSTALLATION Putting The Unit On A Proper Place Turning The Unit On For The First Time...
- Page 7 CONTROL REFERENCE GUIDE REMOTE CONTROL PLDEDV4018,...
- Page 8 CONTROL REFERENCE GUIDE REMOTE CONTROL PLDEDV4018,...
- Page 9 CONTROL REFERENCE GUIDE FRONT VIEW 1.Color Screen 2.Remote Sensor Do not block this sensor or the remote control will not work. 3.Standby Indicator Indicates whether the unit is ON or in STANDBY (OFF) mode. Light in red: The unit is in STANDBY. Light in blue :The unit is turned ON.
- Page 10 CONTROL REFERENCE GUIDE SIDE VIEW VOL+ VOL- MENU SOURCE STANDBY STANDBY Button Turn on the TV by pressing the button once. Press to eject a disc. Press the button again to turn off the TV. 2. SOURCE Button Press this start pause or resume playback of Press to select the input source of the TV.
- Page 11 CONNECTIONS CONNECTING A TV ANTENNA / CABLE / SATELLITE To view television channels correctly, a signal must be received from one of the following sources: - An indoor or outdoor aerial antenna - A cable system - A satellite system NOTE For receiving over-the-air TV broadcasts, we recommend that you use an external fixed antenna.
- Page 12 CONNECTIONS CONNECTING A HIGH-DEFINITION (HD) SOURCE USING COMPONENT CONNECTION High-Definition (HD) Devices with component video output must be connected to the Y PbPr input. Connect the component video cable and audio cable (not included) as shown. Make sure you connect the component video cable and audio cable from the other equipment COMPONENT OUT and AUDIO OUT to the unit COMPONENT IN.
- Page 13 CONNECTIONS CONNECTING A Connect from er o input audio Make sure you connect the cable from the computer AUDIO PC OUT ) to AUDIO PC IN TO AUDIO OUT jacks NOTE Insert cause Ensure that the power plug is easily accessible. Ensure the earth pin on the power plug is securely connected to prevent electrical shock.
- Page 14 CONNECTIONS Connection to a Home Theater Audio System For BEST audio performance How To Setup Digital Output Connecting to a Home Theater System Press the MENU button on the remote control Dolby Digital can deliver optimal 2 channel Press the righ rrow button to select sound stereo or surround sound with five discrete Press the dow...
- Page 15 WALL MOUNT INSTALLATION INSTALLING REMOVING THE BASE STAND WARNING : The TV D isplay i s v ery f ragile and m ust b e p rotected a t a ll t imes w hen r emoving t he b ase Stand Be sure that no hard or sharp object or anything that could scratch or damage the TV display comes into contact with it Do NOT exert pressure on the front of the unit at any time because the screen could crack...
- Page 16 INITIAL SETUP PUTTING THE UNIT ON A PROPER PLACE When you turn on your television set for the first time, be sure to place it on a solid stable surface. To avoid danger, do not expose the TV to water, or a heat source (e.g.
- Page 34 DISPLAY MODE PC FORMATS Horizontal Vertical Resolution Scanning Frequency Scanning Frequency Format (KHz) (Hz) 31. 5 1024 1360 1920 1080 NOTE: This product does not support the display mode not listed above. In order to achieve the best display effect, please select the above-listed 6 display modes input signal.
- Page 36 SPECIFICATION Model Description 40”LED TV / DVD COMBO Panel Type LED Panel Diagonal Size 40 inches 16 9 : Screen Format Resolution 1920 x 1080 230cd/ ㎡ Panel Brightness Contrast 1200:1 View Angle 178(H)/178V) Response Time 8 ms Maximum Color 16.7M colors Color System ATSC/QAM/NTSC...