Epson Stylus Pro 7890 Quick Reference Manual
C472001ucm
Hide thumbs
Also See for Stylus Pro 7890:
- User manual (190 pages) ,
- Network manual (40 pages) ,
- Reference manual (33 pages)
Table of Contents
Advertisement
Advertisement
Table of Contents

Related Manuals for Epson Stylus Pro 7890


Summary of Contents for Epson Stylus Pro 7890
- Page 1 Epson Stylus Pro 7890/9890 ® QUICK REFERENCE GUIDE...
-
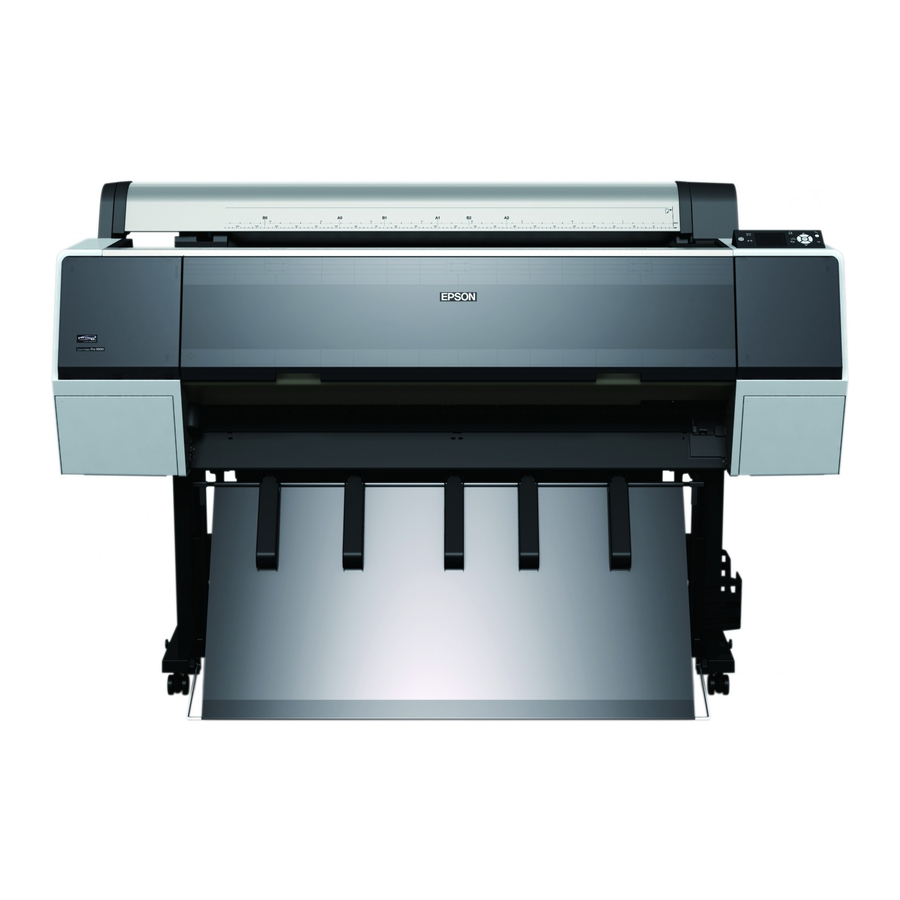
Page 2: Printer Parts
Printer Parts Front Roll paper holder Front cover Ink bay Back Interface connector for optional equipment USB interface Maintenance tank (Pro 9890 includes two tanks, one on each side of printer) Paper basket Roll paper cover Control panel Ink bay Casters Network interface AC inlet... -
Page 3: Loading Roll Paper
Loading Roll Paper Open the roll paper cover. Push down the lock lever, then move the roll paper holder to the left. Place the roll paper on top of the printer. If necessary, adjust the roll media adapters to fit the core size of the roll paper. Then release the tension lever on both adapters. 2-inch core Push the adapters into the paper core at both ends of the roll. Then push down the tension levers to secure them. Move the roll paper all the way to the right. Slide the roll paper holder to align the left adapter with the on the holder. Roll the paper slowly into position. 3-inch core... -
Page 4: Removing Roll Paper
Loading Roll Paper (continued) Slide the roll paper holder to the right to secure it in the printer. Pull up the lock lever to lock the paper in place. Removing Roll Paper Open the roll paper cover. Press the Paper release (ePlaten) button. The paper rewinds automatically. Push down the lock lever. Then move the roll paper holder to the left and remove it from the roll. If the Paper release light is not on, press the Paper release (ePlaten) button. Insert the paper into the slot and pull it all the way down. Close the roll paper cover. Press the Paper release (ePlaten) button. Press the Pause/reset button. Check the printer’s control panel and select the correct media type. Roll the paper forward to the top of the printer. Pull up the tension levers, then remove the adapters from the paper roll. Place the roll in its original package. -
Page 5: Automatically Checking And Cleaning The Print Head
OFF—The printer will not perform automatic • nozzle checks and cleaning cycles. Note: You can also run nozzle checks and head cleaning cycles from your computer using the Epson Printer Utility4 (Macintosh ) or the Utility tab in your printer ® driver (Windows ). See your User’s Guide for more ®... -
Page 6: Manually Checking And Cleaning The Print Head
If any dots or segments are missing or deflected, run a cleaning cycle as described below. Press the Menu button. Press until MAINTENANCE is selected, then press . Press until CLEANING is selected, then press . Aligning the Print Head If your prints look grainy or blurry, or you see misregistration or “ghosting,” you need to align the print head. Make sure the printer is turned on. Load Epson Enhanced Matte paper. (You can also use Epson Doubleweight Matte or Ultra Premium Photo Paper Luster.) Press the Menu button. Press the or button until HEAD ALIGNMENT is highlighted. Then press . Press and choose the type of paper you loaded. Then press OK. Press 3 times. Press to highlight ALIGNMENT. Press to highlight AUTO, then press again. -
Page 7: Replacing Ink Cartridges
Ink gauges for 9 cartridges listed below Replacing Ink Cartridges When one of the ink icons flashes, and INK LOW is displayed on the LCD screen, the cartridge is nearly expended. Check the LCD screen to see which cartridge is low, and make sure you have the correct replacement cartridge. Epson UltraChrome ® K3 with Vivid Magenta ink cartridges Slot Cartridge 350 ml Left Cyan (C) T596200 Yellow (Y) T596400 Light Cyan (LC) -
Page 8: Replacing The Paper Cutter
Checking Ink Levels and Replacing Ink Cartridges (continued) Make sure the replacement cartridge is the correct color, and remove it from its package. Gently shake the cartridge before installing it. Hold the cartridge with the arrow mark pointing toward the printer. Then insert the cartridge into the slot. Don’t force it. Replacing Printer Parts Replacing the Paper Cutter If you notice that the paper isn’t cut cleanly, you may need to replace the cutter (part # C12C815331). Press the Menu button on the printer, then press until MAINTENANCE is highlighted. Press again. Press to highlight CUTTER REPLACEMENT. Press to display EXECUTE, then press OK. The paper cutter moves to the replacement position. Note: If you can’t insert the cartridge smoothly, you may have the wrong cartridge. -
Page 9: Replacing The Maintenance Tank
Replacing Printer Parts (continued) Carefully remove the cutter. Warning: The blade is sharp. Be careful when removing it. Insert the new cutter. Make sure the cutter pin goes into the hole. Tighten the screw using a cross-head screwdriver. Align the cutter cover, then press it in until it snaps into place. Press OK to finish the replacement procedure. The cutter moves back to the home position. Run the cutter adjustment from the Maintenance menu using the control panel. Replacing the Maintenance Tank The Pro 7890 has one maintenance tank (on the right side) and the Pro 9890 has two (one on either side). You need to replace the maintenance tank (part # C12C890191) when you see MAINTENANCE TANK FULL on the LCD screen, the icon has an X, and the printer won’t print. If you have the Pro 9890, check the LCD screen to determine which tank needs to be replaced (left or right). Note: The printer will not print if one of the maintenance tanks is full. -
Page 10: Control Panel Menus
Control Panel Menus Control Panel Menus Boldface type indicates the default setting. Press the Menu button to access the menus. See the User’s Guide for details. Menu Item PRINTER SETUP PLATEN GAP PAGE LINE ROLL PAPER MARGIN PAPER SIZE CHECK PAPER SKEW CHECK REFRESH MARGIN AUTO NOZZLE CHECK PRINT NOZZLE PATTERN INITIALIZE SETTINGS TEST PRINT NOZZLE CHECK STATUS SHEET NETWORK STATUS SHEET JOB INFORMATION... -
Page 11: Head Alignment
Control Panel Menus (continued) PAPER SETUP ROLL PAPER REMAINING REMAINING PPR SETUP ROLL PAPER LENGTH ROLL LENGTH ALERT PAPER TYPE CUSTOM PAPER PAPER TYPE PLATEN GAP THICKNESS PATTERN PAPER FEED ADJUST DRYING TIME PAPER SUCTION SET ROLL PAPER TENSION REMOVE SKEW HEAD ALIGNMENT PAPER THICKNESS SELECT PAPER TYPE... -
Page 12: Where To Get Help
Contact the RIP manufacturer. Epson and Epson Stylus are registered trademarks and Epson Exceed Your Vision is a registered logomark of Seiko Epson Corporation. Epson UltraChrome is a registered trademark; ePlaten is a trademark; and Epson Preferred is a service mark of Epson America, Inc. - Page 13 Control Panel Lights and Buttons Paper light Power light and button Pause/reset light and button Black ink Ink light change button Ink cover open button Left arrow or paper source button Paper feed up button Paper release (ePlaten™) light and button Menu button Paper cut button...