Kodak Pixpro AZ361 Digital Camera Quick Start Guide
- User manual (95 pages) ,
- Quick start manual (2 pages)
Advertisement
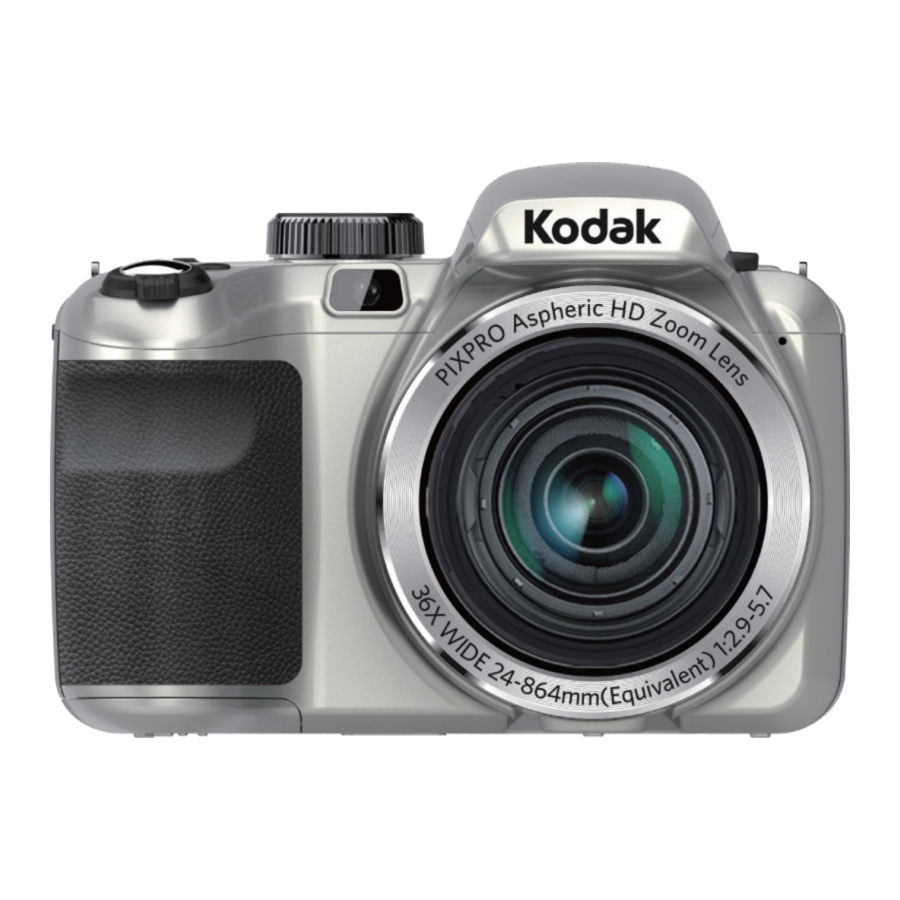
Camera Views

| 1 | AF Assist Beam/Timer Indicator | 16 | SET Button |
| 2 | Flash Lamp | 17 | Strap Buckles |
| 3 | Microphone | 18 | USB Port |
| 4 | Lens | 19 | HDMI Port |
| 5 | LCD Screen | 20 | Zoom Lever |
| 6 | Exposure Compensation Button | 21 | Shutter Button |
| 7 | Status Indicator | 22 | Continuous Capture Button |
| 8 | i Button | 23 | Fast Video Recording Button |
| 9 | Menu Button | 24 | Power Switch |
| 10 | Display Button | 25 | Mode Dial |
| 11 | Playback Button | 26 | Flash Button |
| 12 | AF Button/Arrow Button (Up) | 27 | Speaker |
| 13 | Flash Button/Arrow Button (Right) | 28 | Tripod Receptacle |
| 14 | Delete Button/Self-Timer Button/Arrow Button (Down) | 29 | Battery Cover |
| 15 | Macro Button/Arrow Button (Left) |
Inserting the Battery

- Open the battery cover.
- Insert the battery into the battery slot in the correct position as shown in the following diagram.
- Close the battery cover.
Setting the Date/Time/Language

- Push ON/OFF to turn the camera on and the language menu will appear. Use the Up/Down/Left/Right button to select a language, then press
![]() to confirm the language.
to confirm the language. - Use the Up/Down/Left/Right Button again to set the date and time, and press
![]() to confirm.
to confirm.
 to confirm the language.
Taking a Picture

- Hold the camera securely.
- Use the Zoom Lever to select Tele or Wide positions to zoom in or out on your subject.
- Press the Shutter Button half way to focus on the subject. When the focus box turns green, press the Shutter Button completely down to take the picture.
Using the mode dial

This camera provides a convenient mode dial that allows you to manually switch between. Different camera settings with ease. Available modes are listed below:
 | Auto Mode |  | Face Beautifier |
 | Program AE |  | Panorama Mode |
 | Shutter priority |  | Scene Mode |
 | Aperture priority |  | Movie Mode |
 | Manual Mode |  | Custom Settings |
Additional Features

- Panorama mode: Panorama Mode allows you to create a panoramic picture. The camera will create a panoramic photo by stitching individual images taken in panorama mode.
- Using quick recording: In shooting mode, press Recording button
![]() to begin recording video. When you are finished, press the Recording button again or the Shutter key to stop recording. The camera will store the video and return to shooting mode.
to begin recording video. When you are finished, press the Recording button again or the Shutter key to stop recording. The camera will store the video and return to shooting mode.
Using the menu button

To change the settings in each mode, press  button, press
  to move between options, select
  setting menu, then press
  button to select and save menu option.
 | Photo Setup |  | General Setup |
 | Transmission |  | File/Software |
Flash Mode
Press the flash button  to open the flash as needed.
The Kodak trademark and trade dress are used under license from Kodak.
© 2013 by JK Imaging Ltd. All rights reserved.
JK Imaging Ltd. 1411 W. 190th Street, Suite 550, Gardena, CA
90248, USA www.kodakcamera.jkiltd.com
Licensed Product

Documents / ResourcesDownload manual
Here you can download full pdf version of manual, it may contain additional safety instructions, warranty information, FCC rules, etc.
Download Kodak Pixpro AZ361 Digital Camera Quick Start Guide
Advertisement
Thank you! Your question has been received!


Need Assistance?
Do you have a question about the Pixpro AZ361 that isn't answered in the manual? Leave your question here.