Advertisement
- 1 IMPORTANT SAFEGUARDS
- 2 SAVE THESE INSTRUCTIONS
- 3 Parts and Features
- 4 Care and Cleaning
-
5
Troubleshooting
- 5.1 Latch will not close all the way
- 5.2 Brew Indicator Light is on but coffee is not coming out
- 5.3 Brew Indicator Light flashes but brew cycle will not begin
- 5.4 Grounds in coffee cup
- 5.5 Leaking from Brew Basket
- 5.6 Coffee is too weak
- 5.7 Coffee is too strong
- 5.8 Sediment in coffee cup
- 5.9 Cold brew is not cold
- 6 Limited Warranty
- 7 Documents / Resources
IMPORTANT SAFEGUARDS


When using electrical appliances, basic safety precautions should always be followed to reduce the risk of fire, electric shock, and/or injury to persons, including the following:
- Read all instructions.
- This appliance is not intended for use by persons (including children) with reduced physical, sensory, or mental capabilities, or lack of experience and knowledge, unless they are closely supervised and instructed concerning use of the appliance by a person responsible for their safety.
- Close supervision is necessary when any appliance is used by or near children. Cleaning and user maintenance shall not be made by children without supervision. Children should be supervised to ensure that they do not play with the appliance.
- Do not touch hot surfaces. Use handles or knobs. Care must be taken, as burns can occur from touching hot parts or from spilled, hot liquid.
- To protect against electric shock, do not place cord, plug or coffee maker in water or other liquid.
- Unplug from outlet when the coffee maker is not in use and before cleaning. Allow to cool before putting on or taking off parts and before cleaning the appliance.
- Coffee maker must be operated on a flat surface away from the edge of counter to prevent accidental tipping.
- The use of accessory attachments not recommended by the appliance manufacturer may cause injuries.
- Do not operate any appliance with a damaged supply cord or plug, or after the appliance malfunctions or has been dropped or damaged in any manner. Supply cord replacement and repairs must be conducted by the manufacturer, its service agent, or similarly qualified persons in order to avoid a hazard. Contact Customer Service for information on examination, repair, or adjustment as set forth in the Limited Warranty.
- Do not use outdoors.
- Do not let cord hang over edge of table or counter or touch hot surfaces, including the stove.
- Do not place coffee maker on or near a hot gas or electric burner or in a heated oven.
- To disconnect coffee maker, turn controls to OFF (
![]() ) and then remove plug from wall outlet.
) and then remove plug from wall outlet. ![]()
To reduce the risk of fire or electric shock, do not remove the bottom cover. No user-serviceable parts are inside. Repair should be done by authorized service personnel only.- Do not use appliance for other than intended use.
- Do not place coffee maker in a cabinet when in use.
- Scalding may occur if the latch is lifted during the brewing cycles.
- Brew basket assembly may remain hot after the coffee maker is turned off.
SAVE THESE INSTRUCTIONS
Other Consumer Safety Information
This appliance is intended for household use only.

Electrical Shock Hazard: This product is provided with either a polarized (one wide blade) or grounded (3-prong) plug to reduce the risk of electric shock. Do not defeat the safety purpose of the plug by modifying the plug in any way or by using an adapter. If it still does not fit, have an electrician replace the outlet.
The length of the cord used on this appliance was selected to reduce the hazards of becoming tangled in or tripping over a longer cord. If a longer cord is necessary, an approved extension cord may be used. The electrical rating of the extension cord must be equal to or greater than the rating of the appliance. Care must be taken to arrange the extension cord so that it will not drape over the countertop or tabletop where it can be pulled on by children or accidentally tripped over.
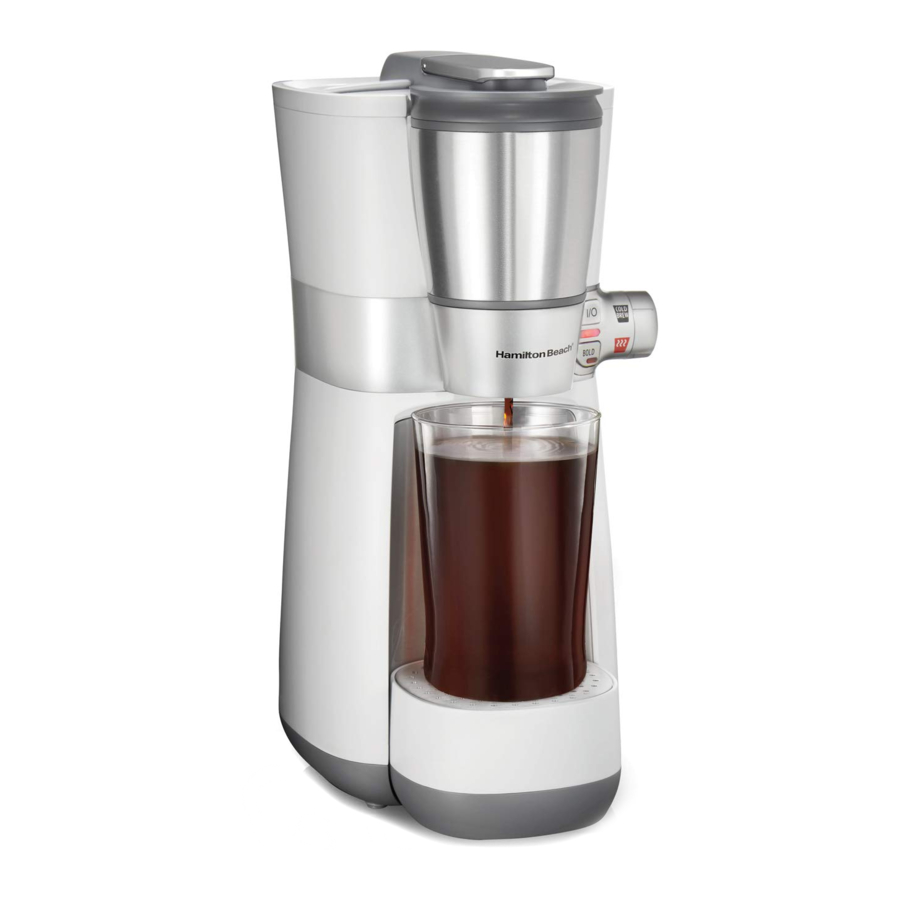
Parts and Features

- Brew Basket Lid with Clear Seal
- Removable Filter with Gray Seal
- Brew Basket
- Removable Funnel
- Latch
- Water Fill Lid
- Water Reservoir
- Brew Basket Holder
- Drip Tray Cover
- Drip Tray
- Base
- ON/OFF (I/ ) Button
- Brew Indicator Light
- BOLD Button
- BOLD Brew Light
- Brew Selection Knob
How to Make Coffee

Burn Hazard. If brew basket overflow occurs, unplug coffee maker and allow coffee in brew basket to cool before removing brew basket from brew basket holder. To avoid hot coffee overflowing from the brew basket:
- Do not add coffee above rim of removable filter, especially when using decaffeinated coffee or very fine coffee grounds such as espresso grounds.
Burn Hazard. To avoid contact with hot water:
- Do not use more than 16 oz. (473 mL) of water.
- Fill reservoir with the mug or cup into which the water will be brewed.
- Fully insert mug or cup under brew basket holder.
Before first use: Brew one cycle with water and discard water. Wash Brew Basket Lid, Removable Filter, Brew Basket, Removable Funnel, Drip Tray Cover and Drip Tray in hot, soapy water. Rinse and dry.
Automatic shutoff: The Coffee Maker will automatically shut off after brew cycle is complete.
- Plug into outlet.
- Lift Water Fill Lid. Fill Water Reservoir with desired amount of water between 8 oz. (237 mL) minimum and 16 oz. (473 mL) maximum. Close Water Fill Lid.
NOTE: Remove Drip Tray if brewing into travel mug. - Lift Latch and remove Brew Basket.
- Rotate Brew Basket Lid to remove, and then lift out Removable Filter from Brew Basket.
- Refer to "Coffee Measurement" chart and add grounds to Filter. Return Filter with Black Seal to Brew Basket.
- Place Brew Basket Lid on Brew Basket and rotate to secure.
NOTE: If Lid is not secured in place, Latch will not close and brewing will not start. - Add Brew Basket in Brew Basket Holder and push Latch down until you hear a click and it locks in place.
- Turn Brew Selection Knob clockwise to COLD BREW (
![]() ) until it clicks into place, or counterclockwise to Hot Brew (
) until it clicks into place, or counterclockwise to Hot Brew ( ![]() ) until it clicks into place.
) until it clicks into place. - Place mug on Drip Tray. If using a travel mug, remove Drip Tray and place travel mug on Base.
- For stronger-tasting coffee, press BOLD Button. Red light on BOLD Button will illuminate and stay on until brew cycle has finished. Press ON (l) Button to begin brewing.
NOTE: During COLD BREW (![]() ) mode or BOLD setting, coffee flow will start and stop many times during brew cycle to enhance flavor. Do not remove mug or travel mug until red Brew Indicator Light turns off.
) mode or BOLD setting, coffee flow will start and stop many times during brew cycle to enhance flavor. Do not remove mug or travel mug until red Brew Indicator Light turns off. - Once brew cycle is complete, red Brew Indicator Light will flash 3 times and Coffee Maker will turn off. Remove mug or travel mug.

NOTES:
- For chilled cold brew coffee, add ice to travel mug after brewing; 16 oz. (473 mL) of ice in cup will overflow.
- The Brew Basket is hot after brewing. Allow to cool before removing.
Coffee Measurement
| Water | Ground Coffee (Hot Mode) | Ground Coffee (Cold Mode) |
| 8 oz. (237 mL) | 8 g = 1.6 tbsp | 14 g = 2.8 tbsp |
| 10 oz. (296 mL) | 10 g = 2 tbsp | 18 g = 3.6 tbsp |
| 12 oz. (355 mL) | 12 g = 2.4 tbsp | 22 g = 4.4 tbsp |
| 14 oz. (414 mL) | 14 g = 2.8 tbsp | 26 g = 5.2 tbsp |
| 16 oz. (473 mL) | 16 g = 3.2 tbsp | 30 g = 6 tbsp |
- Based on a 5 oz. (148 mL) cup of coffee.
- Measurements are recommendations only.
You can vary amounts and types of grounds to your preference. - Do not exceed 30 g of grounds in Removable
Filter during any brew cycle. - Wait at least 5 minutes after brewing before emptying Brew Basket.
Care and Cleaning
Electrical Shock Hazard. Do not immerse base or tank in water.
- Unplug. Let Coffee Maker cool.
- Remove Brew Basket and pull out Removable Filter. Remove Clear Seal and Gray Seal to clean any grounds. Brew Basket, Removable Funnel, Brew Basket Lid with Clear Seal, and Removable Filter with Gray Seal are dishwasher safe, or they can be washed in hot, soapy water. Rinse and dry.
- Wipe outside with a soft, damp cloth. Do not use abrasive cleansers or pads, since these may scratch Coffee Maker finish.
Monthly Cleaning
- Plug into outlet.
- Add 2 oz. (60 mL) of white vinegar and 6 oz. (178 mL) water to Water Reservoir.
- Turn Brew Selection Knob to Hot Brew (
![]() ) until it clicks into place.
) until it clicks into place. - Place a mug or travel mug under Brew Basket Holder.
- Press ON (l) Button to begin brew cycle. Red Brew Indicator Light will illuminate until brew cycle is complete. Do not remove mug until red Brew Indicator Light has turned off.
- Repeat brew cycle 2 to 3 times with cold tap water to clean Coffee Maker.
Troubleshooting
Latch will not close all the way
- Brew Basket Lid is not on properly. Ensure Brew Basket Lid has been twisted into the locked position on the Brew Basket.
- Brew Basket not installed properly in the Brew Basket Holder. The Brew Basket Holder must be aligned with the bottom of the Brew Basket to prevent incorrect installment.
Brew Indicator Light is on but coffee is not coming out
- "Blooming" is in process. If using the COLD BREW mode or BOLD mode features, there will be times when the brew cycle pauses to ensure full extraction for enhanced coffee flavor. Once the red Brew Indicator Light turns off, the brew cycle is complete.
Brew Indicator Light flashes but brew cycle will not begin
- Out of water. Ensure a minimum of 8 oz. (237 mL) of water is added to the Water Reservoir before beginning brew cycle.
Grounds in coffee cup
- Gray Seal not installed on Removable Filter. Always ensure the Removable Filter with Gray Seal is properly installed before beginning each brew cycle.
- Removable Funnel needs to be cleaned. Take off Removable Funnel by pulling the part straight off of the bottom of the Brew Basket. Rinse in warm, soapy water, or wash in the dishwasher for easy cleaning. Then, install the Removable Funnel back onto the bottom of the Brew Basket until you hear a click.
- Brew Basket needs to be cleaned. Do not use Removable Filter to scoop grounds from coffee bin or bag. Always add coffee to the Removable Filter Basket using a spoon or a coffee scoop, and always rinse Removable Filter after each use.
Leaking from Brew Basket
- Brew Basket Lid Clear Seal not in place. Always ensure Clear Seal is properly installed onto Brew Basket Lid before beginning each brew cycle.
- Too much coffee added to Brew Basket. Ensure no more than 30 g of coffee is added to the Brew Basket.
- Coffee grounds around sealing surface. If there are coffee grounds around Brew Basket Lid sealing surface, leaking may occur. Clean any coffee from sealing surface before beginning brew cycle.
Coffee is too weak
- Add up to 30 g of coffee to the Brew Basket for a strong cup of coffee. For an even stronger cup of coffee, press the BOLD Button before beginning brew cycle.
Coffee is too strong
- Reduce the amount of coffee used in the Brew Basket, or use more water. The maximum amount of water is 16 oz. (473 mL).
Sediment in coffee cup
- Sediment can result when using fine grounds. To reduce sediment amount, use a coarser grind of coffee.
Cold brew is not cold
- To speed up the cold brew process, COLD BREW mode uses higher brew temperatures at the beginning of the brew cycle to extract the desired coffee flavors, but then finishes with lower brewing temperatures to prevent extraction of the non-desired coffee flavors that lead to acidic coffee. Add ice after brewing.
Limited Warranty
This warranty applies to products purchased and used in the U.S. and Canada.
This product is warranted to be free from defects in material and workmanship for a period of five (5) years from the date of original purchase in Canada and one (1) year from the date of original purchase in the U.S.
To make warranty claim, do not return this appliance to the store. Please write Hamilton Beach Brands, Inc., Customer Service Department, 4421 Waterfront Dr., Glen Allen, VA 23060, or visit hamiltonbeach.com/customer-service in the U.S. or hamiltonbeach.ca/customer-service in Canada.

Documents / Resources
References
Download manual
Here you can download full pdf version of manual, it may contain additional safety instructions, warranty information, FCC rules, etc.
Download Hamilton Beach 42500, 42501 - Rapid Cold Brew & Hot Coffee Maker Manual
Advertisement
Thank you! Your question has been received!


Need Assistance?
Do you have a question about the 42500 that isn't answered in the manual? Leave your question here.