Advertisement
Quick Links
Advertisement

Related Manuals for NETGEAR ProSAFE WC7600


Summary of Contents for NETGEAR ProSAFE WC7600
- Page 1 ProSAFE Wireless Controller WC7600...
-
Page 2: Package Contents
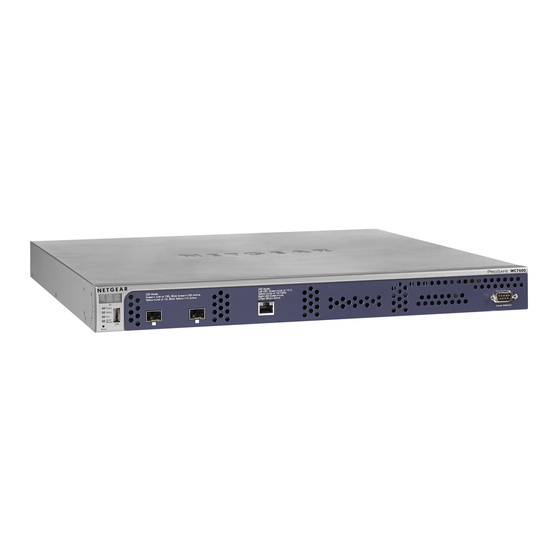
Package Contents The package contains the following items: • ProSAFE Wireless Controller WC7600 ® • AC power cable • Straight-through Category 5 Ethernet cable • Rack-mount kit • Rubber feet (4) with adhesive backing • Installation guide WARNING: DO NOT stack equipment, or place equipment in tight spaces or in drawers. - Page 3 Meet Your Wireless Controller Before you install your wireless controller, familiarize yourself with its LEDs, buttons, and ports. Front Panel Digital access point counter Slots and LEDs for optional SFP GBIC modules LED Mode: LED Mode: Left LED: Green=Link at 1G E, Green= Link at 10G, Blink Green=10G Active, Yellow=Link at 10/100M Yellow=Link at 1G, Blink Yellow=1G Active...
- Page 4 Rear Panel Power Status LED Power input...
- Page 5 Set Up the Wireless Controller To set up the wireless controller: Configure your computer with a static IP address of 192.168.0.210 and a subnet mask of 255.255.255.0. Connect one end of the supplied Ethernet cable to the Ethernet port on your computer and the other end to the Ethernet port on the front panel of the wireless controller.
- Page 6 Description The green Fan LED is lit, indicating that the fans are functioning correctly. Ethernet The right Ethernet port LED is lit green for a 1000 Mbps port connection or yellow for a 100 or 10 Mbps connection.
- Page 7 Access the Wireless Controller To access the wireless controller: On your computer, open a browser. In the address field, type http://192.168.0.250. The wireless controller’s login screen displays: Enter admin for the user name and password for the password, both in lowercase letters. Click the Login button.
-
Page 8: Configure The Basic Settings
The wireless controller’s web management interface displays. Configure the Basic Settings To configure the basic settings: From the main navigation menu, select Configuration > System > General. Enter a name for the wireless controller. Select the country in which the wireless controller is used. Click the Apply button. - Page 9 Enter the IP settings for your network and the VLANs that you want to assign to the wireless controller. Note: For large deployments, NETGEAR recommends that the wireless controller and access points are in separate VLANs to ensure uninterrupted connectivity between the wireless controller and the access points.
- Page 10 Select Configuration > System > DHCP Server. The Discovery Wizard (see Discover Access Points) requires a DHCP server to discover the access points. If you already have a DHCP server in your network, disable the DHCP server on the wireless controller.
-
Page 11: Deploy The Wireless Controller
b. Configure one or more profile groups, each with one or more profiles that have their own SSID and security settings. c. Click the Apply button. Note: For extensive information about the configuration options of the wireless controller, including profile groups, see the reference manual. - Page 12 Discover Access Points The wireless controller manages selected NETGEAR access points. For a list of supported NETGEAR access points, visit the NETGEAR support site. Before attempting to discover access points, familiarize yourself with the access point LEDs: Description Power The green Power LED blinks when the access point is first powered on and then lights solid green.
- Page 13 Description 2.4 Ghz 2.4 Ghz traffic on the WLAN. 5 Ghz 5 Ghz traffic on the WLAN. The Discovery Wizard can discover access points that are either in factory default state or already deployed and running. For the Discovery Wizard to discover access points across a Layer 2 network, Layer 3 network (behind a router), or remote access points, the following requirements apply: •...
-
Page 14: Troubleshooting Tips
Follow the steps onscreen to discover the access points and review the discovery results. Select Access Point > Discovery > Managed AP List. Add the access points that you want to be managed by the wireless controller to the Managed AP List. While the access points are converted from standalone mode to managed mode, the following occurs: •... - Page 15 • You might not have restarted the computer with the wireless controller to have TCP/IP changes take effect. Restart the computer. • The computer might be set to enable NetBIOS over TCP/IP. Check that TCP/IP is set to use a static IP address of 192.168.0.210 and a subnet mask of 255.255.255.0.
- Page 16 You must register your product before you can use NETGEAR telephone support. NETGEAR recommends registering your product through the NETGEAR website. For product updates and web support, visit http://support.netgear.com.