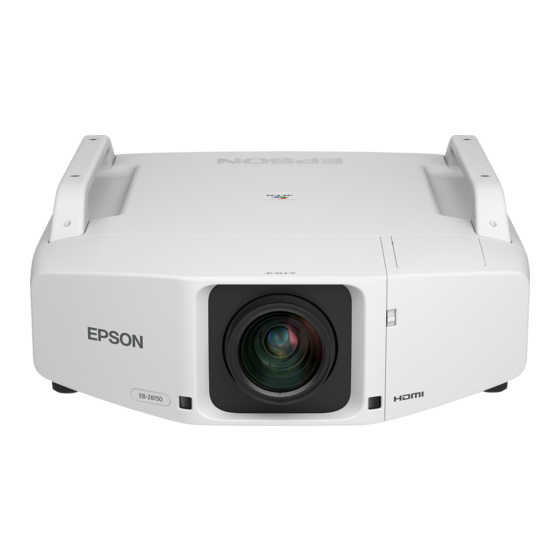
Epson PowerLite Pro Z8150NL User Manual
Hide thumbs
Also See for PowerLite Pro Z8150NL:
- User manual (256 pages) ,
- Product overview and specifications (9 pages) ,
- Quick reference card (7 pages)
Table of Contents
Advertisement
Quick Links
Advertisement
Table of Contents

Summary of Contents for Epson PowerLite Pro Z8150NL
- Page 1 PowerLite® Pro Z8150NL/Z8250NL/Z8255NL/ Z8350WNL/Z8450WUNL/Z8455WUNL User’s Guide...
- Page 2 Notations Used in This Guide • Safety indications The documentation and the projector use graphical symbols to show how to use the projector safely. Please understand and respect these caution symbols in order to avoid injury to persons or property. Indicates information that, if ignored, could possibly result in personal injury or even death due to incorrect handling.
-
Page 3: Table Of Contents
Changing the Aspect Mode (PowerLite Pro Z8150NL/Z8250NL/Z8255NL)......31 Part Names and Functions ........14 Projecting images from video equipment. - Page 4 Contents Saving a User's Logo ......... 43 Extended Menu .
- Page 5 Contents When the Indicators Provide No Help ........101 Monitoring and Controls Problems relating to images.
- Page 6 Contents Making a WPS (Wi-Fi Protected Setup) Connection with a Wireless Frame Interpolation (PowerLite Pro Z8450WUNL/Z8455WUNL only)......171 LAN Access Point.
- Page 7 Contents Removing and Attaching the Projector Lens Unit ..... . . 186 Specifications ..........201 Removing .
- Page 8 Introduction This chapter explains the projector's features and the part names.
-
Page 9: Projector Features
Projector Features Projector Features Various angles of projection The projector can be pointed up, down, or angled to project images Ease of Use when Installed on a Ceiling Mount on the ceiling or floor, in addition to normal horizontal projection. This Centered lens makes it an effective communication tool that lets you express your ideas... -
Page 10: Reliability You Can Depend On
Projector Features Reliability You can Depend on Dual lamps to reduce risk of shutdown The projector is equipped with two lamps. Even if one of the lamps breaks, you can continue projecting with the other lamp and avoid disrupting important presentations. Operating temperature of 32–122°F (0–50°C) Special coolant and fan in cooling system work against a high temperature environment during operation and improve reliability in normal use. -
Page 11: Meets A Wide Range Of Needs
Epson Cinema Filter supports the color gamut for digital cinema. without having to scroll or switch screens. Select Theatre or sRGB in Color Mode to use Epson Cinema Filter. When color mode is set to Theatre, 100% reproduction of the color gamut used for The frame interpolation feature digital cinema is possible. -
Page 12: Enhanced Security Functions
A variety of monitoring and control options are supported, such as the permission at events, in schools, and so on. s p.47 Epson EasyMP Monitor software. This software allows you to use the projector according to your system environment. s "Monitoring and Equipped with various theft-deterrent devices Controls"... - Page 13 Projector Features Project using "Connect to a Network Projector" By connecting the projector to a network and using the Network Projector function in Windows Vista or Windows 7, multiple users on the network can share the projector. s p.143...
-
Page 14: Part Names And Functions
Part Names and Functions Part Names and Functions Name Function Handle Use these handles when carrying the projector. Also, you can pass a theft-deterrent wire lock Front/Top through the handles to secure the projector. p.50 The illustration shows the projector with a standard zoom lens installed. Caution Do not carry the projector by yourself. -
Page 15: Rear
Part Names and Functions Name Function Rear Interface cover Opens and closes the interface cover. s p.191 open/close switch Ceiling mount Attach the optional ceiling mount here when attachment points suspending the projector from a ceiling. s p.150, (Four points) p.195 Name Function... -
Page 16: Interface
Part Names and Functions Name Function Interface Remote receiver Receives signals from the remote control. s p.23 The following ports can be accessed by removing the interface cover. For Status indicators The color of the indicators and whether they are information on how to remove the interface cover and connect video flashing or lit indicate the status of the projector. - Page 17 Part Names and Functions Name Function Name Function BNC input port For analog RGB signals from a computer and Monitor Out port Outputs to an external monitor the analog signal component video signals from other video from the computer connected to the Computer sources.
-
Page 18: Control Panel
Part Names and Functions Name Function Control Panel ][v/ Corrects vertical keystone distortion. s p.164 button If pressed while the configuration menu or a Help screen is displayed, these buttons only have the ] and [ ] functions which select menu items and setting values. -
Page 19: Remote Control
Part Names and Functions Name Function Remote Control [t] button Turns the projector power on or off. [Computer] button Changes to images from the Computer input port. p.26 [BNC] button Changes to images from the BNC input port. p.26 [Video] button Each time the button is pressed, the image displayed changes between the Video input port and S-Video input port. - Page 20 This button does not function when using [Focus] button Press to adjust the focus. We recommend setting PowerLite Pro Z8150NL/Z8250NL/ the focus, zoom, and lens shift at least 30 minutes Z8255NL/Z8350WNL. after you start the projection, because images are...


