Denon RCD-M40 Owner's Manual
Hide thumbs
Also See for RCD-M40:
- Service manual (89 pages) ,
- Owner's manual (84 pages) ,
- Quick start manual (7 pages)

Related Manuals for Denon RCD-M40


Summary of Contents for Denon RCD-M40
- Page 1 Contents Connections Playback Settings Tips Appendix RCD-M40 / RCD-M40DAB CD RECEIVER Owner’s Manual You can print more than one page of a PDF onto a single sheet of paper. Front panel Display Rear panel Remote Index...
- Page 2 Contents Contents Connections Playback Settings Tips Appendix Playback Accessories Inserting the batteries Basic operation Operating range of the remote control unit Turning the power on Features Selecting the input source Part names and functions Adjusting the volume Front panel Turning off the sound temporarily Display Playing CDs Rear panel...
- Page 3 Contents Connections Playback Settings Tips Appendix Settings Playing an iPod Listening to music on an iPod Menu map Setting operation mode (“On-Display” mode) Menu operation Charging the iPod/iPhone CLOCK SETUP Playing a USB memory device ALARM SETUP Playing files stored on USB memory devices ALARM ON/OFF Listening to DIGITAL IN CD AUTO PLAY...
- Page 4 Contents Connections Playback Settings Tips Appendix Tips Tips Troubleshooting Resetting factory settings Appendix Playing back DATA CDs Playing back USB memory devices About Discs Last function memory Explanation of terms Trademark information Specifications Index Front panel Display Rear panel Remote Index...
- Page 5 Playback Settings Tips Appendix Thank you for purchasing this Denon product. To ensure proper operation, please read this owner’s manual carefully before using the product. After reading this manual, be sure to keep it for future reference. Accessories Check that the following parts are supplied with the product.
- Page 6 Contents Connections Playback Settings Tips Appendix Inserting the batteries NOTE 0 To prevent damage or leakage of battery fluid: A Remove the rear lid in the direction of the arrow and remove it. 0 Do not use a new battery together with an old one. 0 Do not use two different types of batteries.
- Page 7 A variety of headphones are supported. Denon’s popular M series gives you high sound quality based on the simple & straight concept. Circuitry is uncomplicated, signal paths are 2 digital (optical) inputs for TV or digital gear short, and all adverse influences on sound quality have been minimized.
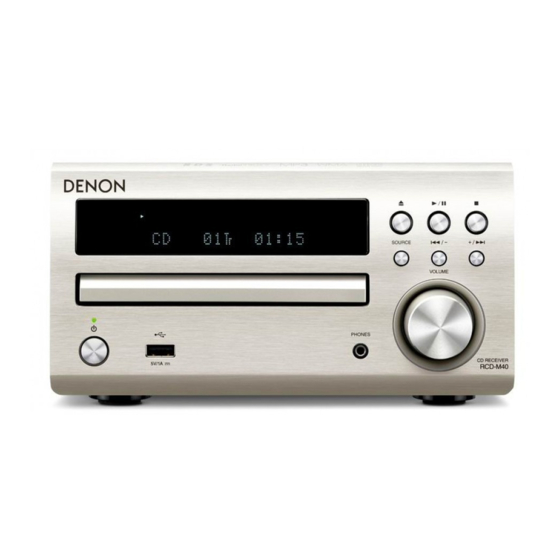
- Page 8 Contents Connections Playback Settings Tips Appendix Part names and functions Front panel RCD-M40DAB Q0 Q1 Front panel Display Rear panel Remote Index...
- Page 9 Contents Connections Playback Settings Tips Appendix t y u C Display Various information is displayed here. D Remote control sensor This receives signals from the remote control unit. (v p. 6) E Disc tray open/close button (5) Used to open/close the disc tray. F Play/Pause button (1/3) G Stop button (2) (for continental model only) Band/Stop button (2) (for RCD-M40DAB model only)
- Page 10 Contents Connections Playback Settings Tips Appendix Display A Playback mode indicators D TOTAL indicator 1 : During Playback Lights when the total number of tracks and total time of the CD are 3 : During pause displayed. B Tone indicators E Play mode indicator SDB: Lights when the super dynamic bass function is set to “ON”.
- Page 11 Contents Connections Playback Settings Tips Appendix Rear panel RCD-M40DAB Front panel Display Rear panel Remote Index...
- Page 12 Contents Connections Playback Settings Tips Appendix A FM antenna terminal (ANTENNA) (for continental model only) RCD-M40DAB DAB/FM antenna terminal (ANTENNA) (for RCD-M40DAB only) Used to connect FM antenna or DAB/FM antenna. (v p. 22) B AC inlet (AC IN) Used to connect the supplied power cord. (v p. 24) C Analog audio connectors (ANALOG IN) Used to connect devices equipped with analog audio connectors.
- Page 13 Contents Connections Playback Settings Tips Appendix Remote control unit A POWER button (X) This turns the power on/standby. (v p. 26) B DIMMER button Adjust the display brightness of this unit. (v p. 52) C CLOCK button The current time appear on the unit. (v p. 51) D SLEEP button This sets the sleep timer.
- Page 14 Contents Connections Playback Settings Tips Appendix G Signal transmitter This transmits signals from the remote control unit. (v p. 6) H CHANNEL buttons (+, –) This switches between PRESET channels. I FOLDER/ALL button This switches the playback range on a USB device or data CD. J MUTE button (:) This mutes the output audio.
- Page 15 Contents Connections Playback Settings Tips Appendix O RANDOM button Switches the random playback. P REPEAT button Switches to the repeat playback. Q SDB/TONE button Adjusting the tone. R VOLUME buttons (df) These adjust the volume level. S Information button (INFO) This switches display items such as the elapsed time, album name and title name in the playback screen.
- Page 16 Contents Connections Connections Playback Settings Tips Appendix o Contents o Cables used for connections Provide necessary cables according to the devices you want to connect. Speaker connection Connecting an analog device Speaker cable Connecting a digital device Connecting an iPod or USB memory device to the USB port Connecting a DAB/FM antenna Subwoofer cable Connecting the power cord...
- Page 17 Contents Connections Playback Settings Tips Appendix Speaker connection Here we connect the speakers in the room to this unit. Turn the speaker terminal counterclockwise to loosen This section explains how to connect them using typical examples. NOTE 0 Disconnect this unit’s power plug from the power outlet before connecting the speakers.
- Page 18 Contents Connections Playback Settings Tips Appendix Connecting the subwoofer Connecting speakers Use a subwoofer cable to connect the subwoofer. Subwoofer Front panel Display Rear panel Remote Index...
- Page 19 Contents Connections Playback Settings Tips Appendix Connecting an analog device Connecting a digital device You can connect this unit to various devices with analog audio output. You can connect this unit to devices with digital audio output (TV, digital gear, etc.). Analog device Digital...
- Page 20 USB memory device 0 Denon does not guarantee that all USB memory devices will operate or receive power. When using a portable USB hard disk drive (HDD) which came with an AC adapter, use that device’s supplied AC adapter. NOTE 0 USB memory devices will not work via a USB hub.