Table of Contents
Advertisement
Advertisement
Table of Contents

Related Manuals for NAD T761


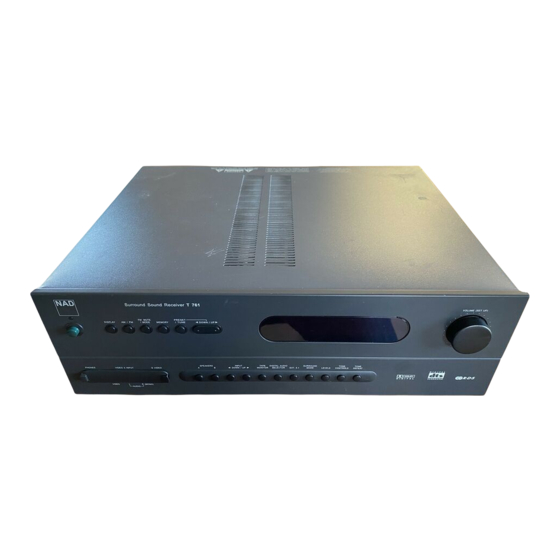
Summary of Contents for NAD T761
- Page 1 T 761 • OWNER'S MANUAL...
-
Page 2: Important Safety Instructions
IMPORTANT SAFETY INSTRUCTIONS ATTENTION: CAUTION RISQUE DE CHOC ELECTRIQUE RISK OF ELECTRIC SHOCK DO NOT OPEN CAUTION: TO REDUCE THE RISK OF ELECTRIC SHOCK, DO NOT REMOVE COVER (OR BACK). NO USER SERVICEABLE PARTS INSIDE. REFER SERVICING TO QUALIFIED SERVICE PERSONNEL Warning: To reduce the risk of fire or electric shock, do not expose this unit to rain or moisture. -
Page 3: Safety Warning
SAFETY WARNING CLASS 1 LASER PRODUCT LUOKAN 1 LASERPLAITE KLASS 1 LASERAPPARAT THIS DIGITAL APPARATUS DOES NOT EXCEED THE CLASS B LIMITS FOR RADIO NOISE EMISSIONS FROM DIGITAL APPARA- TUS AS SET OUT IN THE RADIO INTERFERENCE REGULATIONS OF THE CANADIAN DEPARTMENT OF COMMUNICATIONS. LE PRESENT APPAREIL NUMVERIQUE N’EMENT PAS DE BRUITS RADIOELECTRIQUES DEPASSANT LES LIMITES APPLICABLES AUX APPAREILS NUMERIQUES DE LA CALSSE B... - Page 4 REAR PANEL CONNECTIONS (Figure 1.) FRONT PANEL CONNECTIONS (Figure 2.)
-
Page 5: Remote Control
REMOTE CONTROL (Figure 3.) 7 5 1 Batterij niet weggooien maar inleveren als KCA (Figure 4.) (Figure 5.) (Figure 6.) - Page 6 SIMPLE T 761 SYSTEM (Figure A.) SOPHISTICATED T 761 SYSTEM (Figure B.)
- Page 7 THE OPTICAL DIGITAL INPUT 1 IS LINKED TO THE VIDEO 1 INPUT. THE COAXIAL DIGITAL INPUT 3 OR 4 IS LINKED TO THE VIDEO 3 OR 4 INPUT. COAXIAL DIGITAL...
-
Page 8: Notes On Installation
NAD T 761 SURROUND SOUND RECEIVER NOTES ON INSTALLATION. Your NAD T 761 should be placed on a firm, level surface. Avoid placing the unit in direct sunlight or near sources of heat and damp. Allow adequate ventilation. Do not place the unit on a soft surface like a carpet. -
Page 9: Channel Inputs
VCR to Video In for Video play- back. Connect the Video Input of the VCR to Video Out of the NAD T 761 receiver for recording of video signals. Refer also to the description of S-Video and Video Composite above in this section. -
Page 10: Monitor Out
Before making any connections, check that the T 761 and the power amplifiers it will be connected to are switched off. With volume turned down to a low level, switch power on only after all connections have been made. SUBWOOFER OUT Unlike for the full range five channels as described above, there is no power amplifier built-in for an addi- tional subwoofer. -
Page 11: Trigger In Out
If the unit responds to the remote control com- mand, it will not be necessary to connect NAD-Link. Never loop the last unit back to the first NAD unit in the NAD-Link chain. Unplug all units from the mains before connecting or disconnecting NAD-Link. -
Page 12: Ac Power Cord
The total power consumption of any components connected to the AC outlets may not exceed 120 Watts. Never connect the mains lead of a power amplifier to the switched power outlets of the NAD T 761. NOTE: The AC outlets should be used with units with a COMBINED power consumption of no more than 120 Watts. -
Page 13: Preset / Tune
Preset number flashes and the red “MEM- ORY” indicator is shown in the Display Panel. If no other button is pressed within 10 seconds “MEMO- RY” will stop flashing and the receiver will default to its previous state. Refer to the separate chapter “Storing and recalling Presets”... - Page 14 (No. 15). VIDEO 1 Video 1 selects the signal from a TV/Satellite/Cable receiver or DVD player connected to VIDEO 1 as the active input. “VIDEO-1” is shown in the Display Panel when selected. The Digital Input 1 is linked to the Video 1 input (marked Digital In 1 on back panel;...
-
Page 15: Tape Monitor
Tape, Video 3 and Video 4 out- puts when the Ext. 5.1. input has been selected. TUNER Selects the signal from the receiver’s built-in tuner. The station or preset last tuned to will be selected. The corresponding station name or RDS PS name and preset are shown in the Display Panel when selected. -
Page 16: Surround Mode
de-activate the digital input, e.g. Video 1. By pressing the Digital Audio Selector button you can toggle between the Digital input to be active (“DIGITAL” is shown in the display area) or inactive (“ANALOG”) is shown in the display area. In the display area, if a digital audio signal is detected, the corresponding indicator (Digital 1 through 5) will stop blinking and remain lit. -
Page 17: Storing And Recalling Presets
Panel, and then press MEMORY (No. 6) again. The Memory light in the Display Panel will go out and the station is now stored in your NAD T 761’s memory. To exit the Memory mode without storing a station, leave all the tuner controls untouched; the Memory mode will automatically cancel itself after 10 seconds. - Page 18 sleep time returns to 0 minutes. Pressing the POWER on the front panel (No.1) or STAND-BY but- ton will also cancel the Sleep mode. • MUTE: Press the MUTE button to temporarily switch off the sound to the speakers and headphones. Mute mode is indicated by “MUTING”...
-
Page 19: On-Screen Display (Osd)
ON SCREEN DISPLAY (OSD) The NAD T 761 is equipped with an elaborate On Screen Display facility (OSD). As the OSD is an essential tool to set up the various parameters for Surround sound correctly it is recommended that you connect your monitor or television to the T 761. -
Page 20: Channel Delays
CHANNEL BALANCE LEFT CENTER RIGHT REAR L REAR R DO NOT SAVE & EXIT SAVE & EXIT • The T 761 allows the volume of each speaker to be individually trimmed so that none of the speakers dominates in playback and detracts from the sur- round illusion. -
Page 21: Setting Up The Surround System
and the deepest bass for all other channels will be routed to the Subwoofer. With OFF selected, the LFE channel and deepest bass will be equally divided to all those speakers which have been set to Large. NOTES: Speakers set to “Large”, will in addition reproduce the deepest bass, when Subwoofer is set to ON. - Page 22 Each millisecond corresponds approximately with 1 foot or 30.5 centimeters. NOTE: The channel delay option is not available in DTS surround mode. To set the center channel delay time: • Call up the SETUP menu of the On Screen Display. •...
- Page 23 Press the TEST button again to leave or cancel the Test mode, any changes will be memorized automati- cally. The loudspeaker levels can also be individually adjusted with the OSD setup menu: • Call up the SETUP menu of the On Screen Display.
-
Page 24: Troubleshooting
• Speakers wired out of phase • Batteries flat, or incorrectly inserted • IR transmitter or receiver windows obstructed • IR receiver in direct sun or very bright ambient light • Antenna leads incorrectly connected • Station not selected or weak signal with FM Mute on.