Table of Contents
Advertisement
Quick Links
Advertisement
Table of Contents

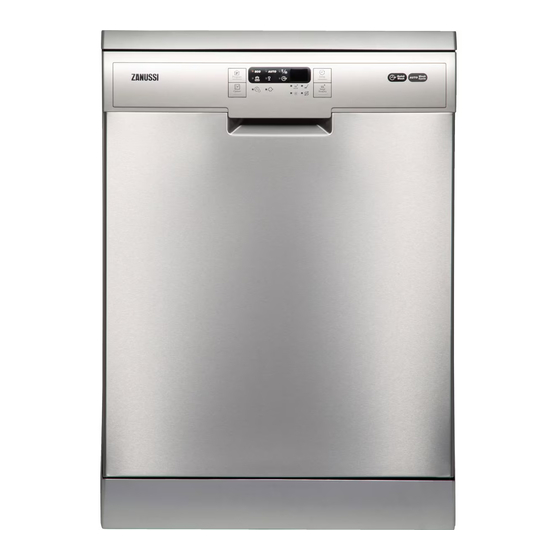
Summary of Contents for Zanussi ZDF17002XA
- Page 1 User Manual GETTING STARTED? EASY. ZDF17002XA EN User Manual Dishwasher...
-
Page 2: Safety Information
SAFETY INFORMATION Before the installation and use of the appliance, carefully read the supplied instructions. The manufacturer is not responsible for any injuries or damages that are the result of incorrect installation or usage. Always keep the instructions in a safe and accessible location for future reference. - Page 3 If the supply cord is damaged, it must be replaced by the • manufacturer, its Authorised Service Centre or similarly qualified persons in order to avoid a hazard. Put the cutlery in the cutlery basket with the sharp ends • pointing down or put them in the cutlery drawer in a horizontal position with the sharp edges down.
-
Page 4: Control Panel
Authorised Service Centre to replace the water SERVICE inlet hose. • To repair the appliance contact an Authorised Service Centre. • Use original spare parts only. • Do not sit or stand on the open door. • Dishwasher detergents are dangerous. Obey DISPOSAL the safety instructions on the detergent WARNING! Risk of injury or... - Page 5 INDICATORS Indicator Description Salt indicator. It is on when the salt container needs refilling. It is always off while the programme operates. Rinse aid indicator. It is on when the rinse aid dispenser needs refilling. It is always off while the programme operates. Running programme indicator.
-
Page 6: Programme Selection Mode
Consumption values Degree of soil Programme Programme phases Type of load Water Energy Duration (kWh) (min) • Normal or • Wash 45 °C 12 - 14 0.7 - 0.9 82 - 92 light soil • Rinses • Delicate • crockery and glassware •... -
Page 7: Deactivating The Rinse Aid Empty Notification
1. Press and hold Delay and XtraDry until the • The display shows the current setting: e.g. indicators = level 5. flash and the display is blank. 2. Press Program to change the setting. 3. Press on/off button to confirm the setting. As the appliance stores the saved settings, there is no need to configure it before every cycle. - Page 8 • The indicator still flashes. • The indicator still flashes. • The display shows the current setting: e.g. • The display shows the current setting: = level 4. – = AirDry activated. – The levels of rinse aid range from 0A to –...
-
Page 9: Before First Use
XTRADRY TIMEMANAGER Activate this option to boost the drying The TimeManager allows to reduce the duration of performance. a selected programme by approximately 50%. XtraDry is a permanent option for all programmes The washing results are the same as with the normal programme duration. -
Page 10: Daily Use
ADDING RINSE AID The rinse aid helps to dry the dishes without streaks and stains. It is automatically released during the hot rinse phase. • Fill the dispenser until the rinse aid reaches the marking "MAX". • Remove any spilled rinse aid with an absorbent cloth to prevent excessive foaming during the washing cycle. -
Page 11: Hints And Tips
• Adjust the water softener to the lowest level. • Set the rinse aid dispenser to the lowest position. STARTING A PROGRAMME closing the door, the appliance continues from the point of interruption. 1. Keep the appliance door ajar. 2. Press the on/off button to activate the If the door is opened during the drying appliance. -
Page 12: Unloading The Baskets
tablets (e.g. ''3in1'', ''4in1'', ''All in 1''). Follow the LOADING THE BASKETS instructions written on the packaging. • Use the appliance to wash dishwasher-safe • Select the programme according to the type of items only. load and degree of soil. With the ECO •... -
Page 13: Cleaning The Filters
CLEANING THE FILTERS • Make sure that there are no residues of food or soil in or around the edge of the sump. • Put back in place the flat filter (C). Make sure that it is correctly positioned under the 2 guides. •... -
Page 14: Internal Cleaning
INTERNAL CLEANING • Do not use abrasive products, abrasive cleaning pads, sharp tools, strong chemicals, scourer or • Carefully clean the appliance, including the solvents. rubber gasket of the door, with a soft damp • Using short-duration programmes regularly can cloth. -
Page 15: The Washing And Drying Results Are Not Satisfactory
Problem and alarm code Possible cause and solution The programme lasts too long. • If the delay start option is set, cancel the delay setting or wait for the end of the countdown. • Activate the TimeManager option to reduce the programme du- ration. - Page 16 Problem Possible cause and solution Poor drying results. • Tableware has been left for too long inside a closed appli- ance. • There is no rinse aid or the dosage of rinse aid is not enough. Set the rinse aid dispenser to a higher level. •...
-
Page 17: Technical Information
Problem Possible cause and solution Limescale deposits on the table- • The level of salt is low, check the refill indicator. ware, on the tub and on the in- • The cap of the salt container is loose. side of the door. •... -
Page 18: Rating Plate
RATING PLATE INFORMATION FOR TEST INSTITUTES For all the necessary information for test performance, send an email to: info.test@dishwasher-production.com Write down the product number (PNC) that is on Mod..the rating plate. Prod. No..Ser. - Page 20 WWW.ZANUSSI.COM/SHOP...


