Table of Contents
Advertisement
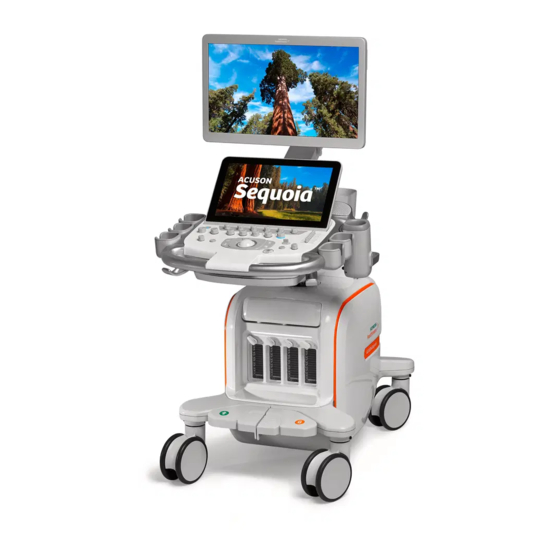
ACUSON Sequoia
Replacement of Parts
System
Sequoia Elastomer replacement
Siemens Medical Solutions
Ultrasound Division
ejt
US02-109.841.01.01.02
Print No.:
Replaces: n.a.
Part No.: 08658986
sd
US
2003
© Siemens AG
The reproduction, transmission or use
of this document or its contents is not
permitted
without
express
written
authority. Offenders will be liable for
damages. All rights, including rights
created by patent grant or registration
of a utility model or design, are
reserved.
English
Doc. Gen. Date: 02.04
n.a.
Advertisement
Table of Contents

Related Manuals for Siemens ACUSON Sequoia


Summary of Contents for Siemens ACUSON Sequoia
- Page 1 ACUSON Sequoia Replacement of Parts System Sequoia Elastomer replacement 2003 © Siemens AG The reproduction, transmission or use of this document or its contents is not permitted without express written authority. Offenders will be liable for Siemens Medical Solutions damages. All rights, including rights...
- Page 2 Assemblers and other persons who are not employed by or otherwise directly affiliated with or authorized by Siemens or one of its affiliates are directed to contact one of the local offices of Siemens or one of its affiliates before attempting installation or service pro- cedures.
- Page 3 Buyer with respect to software supplied by such supplier, and (ii) No supplier of Siemens shall be liable to buyer for any general, special, direct, indi- rect, consequential, incidental or other damages arising out of the sublicense of the com- puter programs supplied with the equipment.
-
Page 4: Table Of Contents
Administration ............15 ACUSON Sequoia US02-109.841.01.01.02... -
Page 5: Overview
Overview 1Sequoia Elastomer Replacement This document provides instructions for replacing the elastomer of a User Interface Assembly on the ACUSON Sequoia ultrasound system. Replacing the elastomer corrects the problem of sticky or unresponsive keys on the ultra- sound UI keyboard. - Page 6 Sequoia Elastomer Replacement Fig. 1: Sequoia Elastomer Descriptions Pos. 1 L/R, U/D Elastomer Pos. 2 TEQ Elastomer Pos. 3 Main Elastomer ACUSON Sequoia US02-109.841.01.01.02 Siemens Page 6 of 16 02.04 Medical Solutions USA, Inc.
-
Page 7: Installation
Sequoia Elastomer Replacement Installation To replace the ACUSON Sequoia Elastomer: Remove the UI Assembly from the System CAUTION Observe Electrostatic Discharge (ESD) Procedures Failure to comply will cause damage to the Assembly and will result in an additional service call. -
Page 8: Prepare The Ui Assembly For Elastomer Replacement
Sequoia Elastomer Replacement 6. Remove keyboard bezel. Fig. 3: ACUSON Sequoia keyboard bezel 7. Raise user keyboard and monitor to maximum height. 8. Push the Sequoia name plate off to expose the mounting screw for the MO disk hous- ing front cover. - Page 9 Trackball function switch cable 4. Disconnect cables from rear edge of the FPP. Fig. 5: View from behind Sequoia monitor Pos. 1 Pos. 2 RJ12, RJ45, FPP, and Power cables Siemens US02-109.841.01.01.02 ACUSON Sequoia Page 9 of 16 Medical Solutions USA, Inc. 02.04...
- Page 10 17. Lift each of the seven rotary encoders and its crown washer out of the UI assembly. NOTE It is important to mark each encoder ribbon cable with the loca- tion number that can be found near the connector base i.e. J9, J10. ACUSON Sequoia US02-109.841.01.01.02 Siemens Page 10 of 16 02.04...
- Page 11 19. Remove the elastomer. NOTE The elastomer comes in three separate sections. Fig. 8: Sequoia Elastomer Descriptions Pos. 1 L/R, U/D Elastomer Pos. 2 TEQ Elastomer Pos. 3 Main Elastomer Siemens US02-109.841.01.01.02 ACUSON Sequoia Page 11 of 16 Medical Solutions USA, Inc. 02.04...
-
Page 12: Replace Elastomer
1. Replace elastomer and verify that the plastic pegs on the UI assembly and the holes in the elastomer align. Fig. 9: Sequoia Elastomer Alignment Pos. 1 Elastomer Alignment marker ACUSON Sequoia US02-109.841.01.01.02 Siemens Page 12 of 16 02.04 Medical Solutions USA, Inc. - Page 13 The mounting nut should be installed by holding the 1/2 inch (or 13 mm) socket with fingers only. Do not use a ratchet. Over-torquing the nut can crack the glass encoder wheel. Siemens US02-109.841.01.01.02 ACUSON Sequoia Page 13 of 16 Medical Solutions USA, Inc. 02.04...
-
Page 14: Configuration
1. Boot system to SUI. 2. Select UI diagnostics in the service diagnostics menu. 3. Verify user interface passes the following tests: - Keyboard - LCD - LED ACUSON Sequoia US02-109.841.01.01.02 Siemens Page 14 of 16 02.04 Medical Solutions USA, Inc. -
Page 15: Administration
Sequoia Elastomer Replacement Administration Complete all paperwork as required by the regional office. Siemens US02-109.841.01.01.02 ACUSON Sequoia Page 15 of 16 Medical Solutions USA, Inc. 02.04... - Page 16 Sequoia Elastomer Replacement ACUSON Sequoia US02-109.841.01.01.02 Siemens Page 16 of 16 02.04 Medical Solutions USA, Inc.