Table of Contents
Advertisement
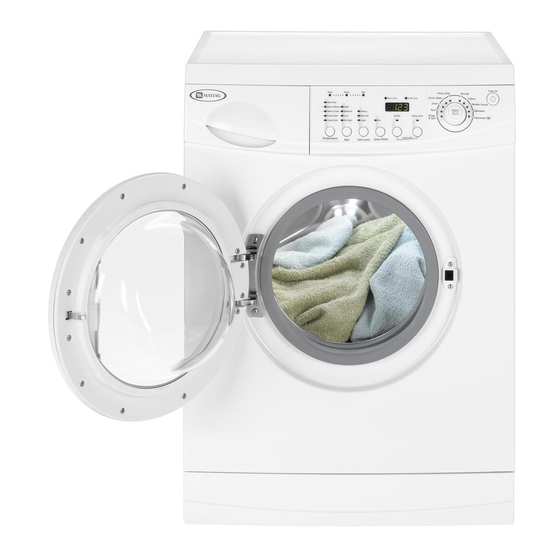
HIGH-EFFICIENCY WASHER INSTALLATION INSTRUCTIONS
MACHINE À LAVER HAUTE EFFICACITÉ
GUIDE DE MISE EN SERVICE
INSTRUCCIONES PARA LA INSTALACIÓN
DE LA LAVADORA DE ALTA EFICIENCIA
LEAVE THESE INSTRUCTIONS WITH THE OWNER
LAISSER CE GUIDE DE MISE EN SERVICE AU PROPRIÉTAIRE
DEJAR ESTAS INSTRUCCIONES CON EL PROPIETARIO
2201459
(7/28/04 Revision)
(0623/04 Revision)
Advertisement
Table of Contents

Related Manuals for Maytag MAH2400A


Summary of Contents for Maytag MAH2400A
- Page 1 HIGH-EFFICIENCY WASHER INSTALLATION INSTRUCTIONS MACHINE À LAVER HAUTE EFFICACITÉ GUIDE DE MISE EN SERVICE INSTRUCCIONES PARA LA INSTALACIÓN DE LA LAVADORA DE ALTA EFICIENCIA LEAVE THESE INSTRUCTIONS WITH THE OWNER LAISSER CE GUIDE DE MISE EN SERVICE AU PROPRIÉTAIRE DEJAR ESTAS INSTRUCCIONES CON EL PROPIETARIO...
-
Page 2: Cabinet Dimensions
Note: The height of the washer from top to floor is 33 1\4" this includes the leveling leg screwed all the way in. The customer can unscrew the leg out an additional 7\8" for a total overall height of 34 1\8". -
Page 3: Basic Location Requirements
Or may extend the fill time beyond what the washer controls will normally allow and result in the washer turning off. A time limit is built into the controls in the event of an internal hose becoming loose and avoids a flooded home. -
Page 4: Drain Facility
FLOORING For best performance the washer must be installed on a solidly constructed floor. Wood floors may need to be reinforced to minimize vibration and/or unbalanced load situations. Carpeting and soft tile surfaces are contributing factors in vibration and/or tendency for a washer to move slightly during the spin cycle. -
Page 5: Stacking Kit Installation
ADDITIONAL INFORMATION 50-HERTZ OPERATION This Maytag appliance is manufactured for operation on 60 Hz AC approved electrical service. This model is not designed for use on 50 Hz AC electrical services and conversion of the product from 60 to 50 Hz operations is not recommended. -
Page 6: Important To Installer
2. Slide the bolt and spacer up and remove the bolt with spacer through the hole in the rear wall of the washer. Repeat for each bolt. 3. Fill the holes with the supplied plastic covers. Keep the shipping bolts and spacers for future use. - Page 7 For installations where the drain hose cannot be conveniently elevated to at least 18”, the drain hose must be supported. 2. Check the inlet hose to ensure a screen strainer and washer is Check the inlet hose to ensure a washer is inside of each fill inside of each fill hose.
-
Page 8: Final Installation Checklist
Test for proper operation by running the washer through a complete cycle. COLD WEATHER STORAGE The following precautions should be taken if a washer is to be stored, after use, where it would be subject to freezing conditions. 1. Turn off the water supply, then remove the inlet hoses from the facets.