
Related Manuals for Siemens iQ700 ER9A6SD70A/08


Summary of Contents for Siemens iQ700 ER9A6SD70A/08
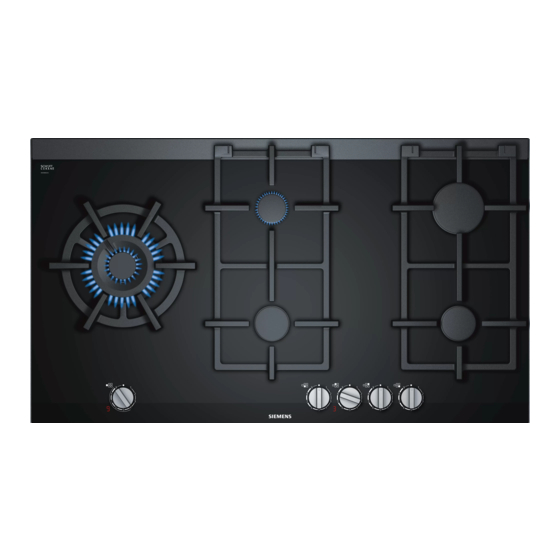
- Page 1 Gas hob ER9A.SD7.. This cooktop is approved for use with Natural Gas and Propane. Leave these instructions with the owner. USER INSTRUCTIONS INSTALLATION INSTRUCTIONS MAINTENANCE INSTRUCTIONS...
-
Page 2: Table Of Contents
Additional information on products, accessories, maximum height of 2000 metres above sea replacement parts and services can be found at level. www.siemens-home.bsh-group.com and in the online shop www.siemens-home.bsh-group.com/eshops Do not use lids or hob guards for children which are not recommended by the hob manufacturer. -
Page 3: Important Safety Information
Important safety information This appliance is not intended for use by (Important safety persons (including children) with reduced information physical, sensory or mental capabilities, or lack of experience and knowledge, unless they have been given supervision or D O NOT MODIFY THIS APPLIANCE. I m p o r t a n t s a f e t y i n f o r m a t i o n instruction concerning use of the appliance by DO NOT USE OR STORE FLAMMABLE... -
Page 4: What To Do If You Smell Gas
Important safety information The burners get very hot. Do not rest Risk of fire! Warning – Risk of electric shock! ■ inflammable objects on the hob. Do not Do not clean the appliance using steam ■ store objects on the hob. cleaners. -
Page 5: Installation And Connection
Installation and connection Preparing to install 5Installation and connection Refer to AS/NZS 5601.1 for piping size details. These built-in cooktops are intended to be inserted in a S tatutory requirements benchtop cutout. I n s t a l l a t i o n a n d c o n n e c t i o n This installation must conform with the following: Do not stick the cooktop onto the worktop with silicone. -
Page 6: Clearances
Installation and connection Clearances Installation of cooktop into the kitchen bench A range hood fitted above the top must be installed according to the installation instructions for the range Side clearances: If the distance measured from the hood. A minimum distance of 650 mm is required for a periphery of the nearest burner to any vertical surface is range hood and 750 mm for an exhaust fan. -
Page 7: Electrical Connection
Installation and connection Electrical connection Gas connection During the planning stage, consider the position of An electrical 10 amp socket needs to be within 1 m of supply connections. the hotplate to allow electrical connection. The socket must remain accessible after installation of the The cooktop must be connected to the gas supply with appliance. -
Page 8: Converting The Cooktop From Nat. Gas To Propane
Installation and connection The supply connection point shall be accessible with Replacing the nozzles of high-output, standard- the appliance installed. output and economy burners WARNING: Ensure that the hose assembly is restrained Remove the pan supports, burner caps and from accidental contact with the flue outlet of an diffusers. - Page 9 Installation and connection To do this, use the removal lever, which is available Replacing the inner flame nozzle (fig. 9b): from our after-sales service (code 483196). Use the Unscrew part M3 from part M2, which is threaded. lever to release the front clip fastener at the point To do this, counterhold the threaded part (fig.
-
Page 10: Getting To Know Your Appliance
Getting to know your appliance Adjusting the bypass *Getting to know your If necessary, use a Torx screwdriver to adjust the bypass screws (M): appliance A: For Propane the bypass screws must be tightened properly. B urner locations B: For Natural Gas the bypass screws must finish flush G e t t i n g t o k n o w y o u r a p p l i a n c e with the fitting. -
Page 11: Residual Heat Indicator
Getting to know your appliance For dual-wok burners, the inner and outer flames can Residual heat indicator be controlled separately. The available power levels are Every burner on the hob has a residual heat indicator as follows: that indicates whether it is hot or warm. Inner and outer flame on appears in the display the burner is still hot. -
Page 12: Gas Burners
Gas burners An orange-coloured flame is normal. This is caused by ÄGas burners the presence of dust in the atmosphere, spilt liquids, etc. In the event of the burner flames being accidentally S witching on manually extinguished, turn off the burner control and do not G a s b u r n e r s attempt to re-ignite the burner for at least one minute. -
Page 13: Table Of Cooking Times
Settings table and tips Pans should be placed on burner that was mentioned. The model overview the hob carefully. describes all of the burners on the hob. Do not strike the hob and Example: do not place excessive weight on it. Meal Total Step 1... - Page 14 Settings table and tips Meal Total Step 1 Step 2 Meal Total Step 1 Step 2 time in time in Burner Burner ˜ § v ˜ § v ˜ § v ˜ § v min. min. Standard-output 20-24 10-12 10-12 Standard-output 25-30 25-30...
- Page 15 Settings table and tips Meal Total Step 1 Step 2 Meal Total Step 1 Step 2 time in time in Burner Burner ˜ § v ˜ § v ˜ § v ˜ § v min. min. Standard-output 8-13 8-13 Small sausages (12 pcs) š...
-
Page 16: Cleaning And Maintenance
Cleaning and maintenance 2Cleaning and maintenance Meal Total Step 1 Step 2 time in Burner ˜ § v ˜ § v min. C leaning Standard-output 27-32 10-12 17-20 £ ¦ C l e a n i n g a n d m a i n t e n a n c e burner Once the appliance is cool, use a sponge to clean it with soap and water. -
Page 17: Trouble Shooting
Trouble shooting 3Trouble shooting D O NOT MODIFY THIS APPLIANCE. T r o u b l e s h o o t i n g Only authorized personnel from the Service Centre are qualified to work on the appliance. Sometimes certain faults detected can be easily resolved. -
Page 18: Customer Service
Customer service 4Customer service W hen contacting our customer service, please provide C u s t o m e r s e r v i c e the product number (E-Nr.) and production number (FD) of the appliance. This information is given on the specifications plate located on the lower section of the hob and on the label in the user manual. - Page 20 BSH Hausgeräte GmbH Carl-Wery-Straße 34 81739 München, GERMANY siemens-home.bsh-group.com Manufactured by BSH Hausgeräte GmbH under the trademark licence of Siemens AG *8001262291* 9001133988 (021104)