Advertisement
Quick Links
Advertisement

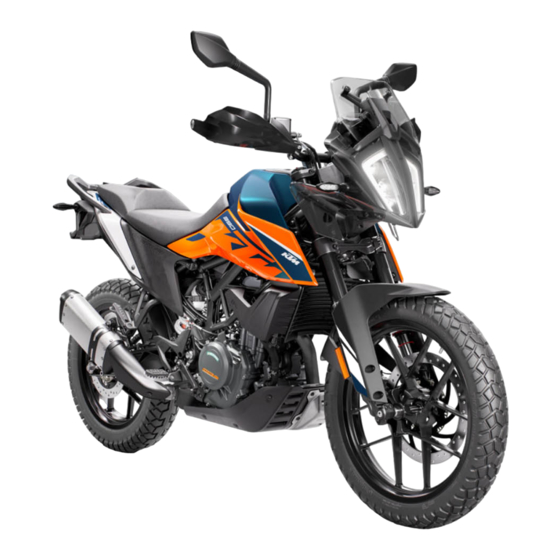
Summary of Contents for KTM 390 ADVENTURE 2022
- Page 1 SETUP INSTRUCTIONS 2022 390 ADVENTURE Art. no. 3214692en...
- Page 3 KTM accepts no liability for delivery options, deviations from fig- ures and descriptions, misprints, and other errors. The models portrayed partly contain special equipment that does not belong to the regular scope of supply.
-
Page 4: Means Of Representation
1 MEANS OF REPRESENTATION Symbols used The meaning of specific symbols is described below. Indicates an expected reaction (e.g. of a work step or a function). Indicates an unexpected reaction (e.g. of a work step or a function). Indicates a page reference (more information is provided on the specified page). Indicates information with more details or tips. - Page 5 To operate the vehicle, the vehicle electronics must be enabled. This process is conducted during initial setup in KTM Dealer.net. Enabling ensures that the initial setup in KTM Dealer.net is docu- mented. Enabling can be performed either temporarily, e.g. for a test ride, or permanently for vehicle handover.
- Page 6 2 SETUP – Roll down the film at the sides. Info To avoid damaging the motorcycle during unpacking, leave the other films on the vehicle until you have fin- ished work on the vehicle. – Remove the separate enclosure and unpack it. Check that the scope of supply is complete using the enclosed packing list.
- Page 7 SETUP 2 – Check that the vulcanized part of the front brake line is hooked into the bracket below the fuel tank. The brake line is correctly hooked into the bracket, as shown in the figure. The brake line is not correctly hooked into the bracket. –...
- Page 8 2 SETUP – Make sure that the clutch cable is attached to the clutch release lever and secured. – Check the clutch lever play. ( p. 8) – Carefully loosen and remove the tension belt over the link fork. Info An assistant prevents the motorcycle from falling over.
- Page 9 15) – Check the headlight setting. ( p. 16) – Prepare the vehicle according to the specifications in the KTM Dealer.net for handover to the customer. Info Transport mode must be deactivated to be able to start the motorcycle.
- Page 10 3 WORK Checking the clutch lever play Note Clutch damage If there is no free travel by the clutch lever, the clutch will begin to slip. – Check the free travel of the clutch lever each time before using the motorcycle. –...
- Page 11 WORK 3 Removing the passenger seat – Insert the ignition key in seat lock and turn it clockwise. – Raise the rear of the seat, push it towards the rear, and lift it off. – Remove the ignition key from the seat lock. H01991-10 Mounting the passenger seat –...
-
Page 12: Charging The 12-V Battery
3 WORK Mounting the front rider's seat Main work – Attach the front rider's seat in area and lower at the rear. – Finally, check that the front rider's seat is correctly mounted. H01994-01 Finishing work – Mount the passenger seat. ( p. - Page 13 WORK 3 – Remove the front rider's seat. ( p. 9) – Disconnect the negative cable of the 12-V battery. ( p. 11) Main work – Connect a battery charger to the 12-V battery. Adjust the bat- tery charger. EU battery charger XCharge‑professional (00029095050) Alternative 1 US battery charger XCharge‑professional (00029095051)
- Page 14 3 WORK Connecting the negative cable of the 12-V battery Main work – Connect negative cable of the 12-V battery. S04165-12 Finishing work – Mount the front rider's seat. ( p. 10) – Mount the passenger seat. ( p. 9) –...
- Page 15 WORK 3 3.11 Setting the time and date Condition The motorcycle is stationary. – Press the SET button when the menu is closed. – Press UP or DOWN button until Preferences appears. Press the SET button to open the menu. –...
- Page 16 3 WORK Warning Danger of poisoning Fuel is poisonous and a health hazard. – Avoid skin, eye and clothing contact with fuel. – Immediately consult a doctor if you swallow fuel. – Do not inhale fuel vapors. – In case of skin contact, rinse the affected area with plenty of water. –...
- Page 17 WORK 3 3.14 Refueling Danger Fire hazard Fuel is highly flammable. The fuel in the fuel tank expands when warm and can escape if overfilled. – Do not fuel the vehicle in the vicinity of open flames or lit cigarettes. – Switch off the engine for refueling.
- Page 18 3 WORK 3.15 Checking the headlight setting – Park the vehicle on a horizontal surface in front of a light- colored wall and make a mark at the height of the center of the low beam headlight. – Make another mark at a distance under the first marking.
-
Page 19: Technical Data
TECHNICAL DATA 4 Chassis tightening torques EJOT PT Screw, chain guard ® K60x30 3 Nm (2.2 lbf ft) Screw, tail light 2 Nm (1.5 lbf ft) Remaining screws, chassis 5 Nm (3.7 lbf ft) Screw, chain guard 7 Nm (5.2 lbf ft) Loctite ®... - Page 20 5 SUBSTANCES Super unleaded (ROZ 95) Standard/classification – DIN EN 228 (ROZ 95) Guideline – Only use super unleaded fuel that matches or is equivalent to the specified standard. – Fuel with an ethanol content of up to 10% (E10 fuel) is safe to use. Info Do not use fuel containing methanol (e.g., M15, M85, M100) or more than 10% ethanol (e.g., E15, E25, E85, E100).
- Page 21 *3214692en* 3214692en 03/2022 KTM Sportmotorcycle GmbH 5230 Mattighofen/Austria Photo: Mitterbauer/KISKA/KTM KTM.COM...


