Advertisement
Quick Links
To deodorize your new chair
leave the chair in a well
ventilated area for 1-2 days
Cautions
DO NOT
Use this product only for
use the chair
one person
seating
at a time
unless all bolts, screws
and knobs are tight
Be careful,
Regularly check all bolts,
knobs are tight
heavy
screws, and
are
and has
If there are any problems, do not hesitate to e-mail us.
Enjoy your new favorite chair
Our goal is to create a perfect customer experience.
Let us know if you have any feedback.
Your comment motivates us to become a better team.
support@neochair.com
www.neochair.com
For longer use
Re-tighten bolts every 6 months by using
the enclosed allen-key.
*Using an electric drill can damage the chair.
Please re-tighten bolts manually.
DO NOT
DO NOT
use the chair if
stand on the chair
only components are
use as a step stool or ladder
missing or damaged
some of the part
Failure to follow these warnings
sharped edge
serious injury
may cause
support@neochair.com
@NEOCHAIR
neochair_office
DBS
(-H)
ASSEMBLY
INSTRUCTION
Contents
Instructions
User Manual
Cautions
support@neochair.com
www.neochair.com
※Please make sure all the parts are included.
Missing parts?
support@neochair.com
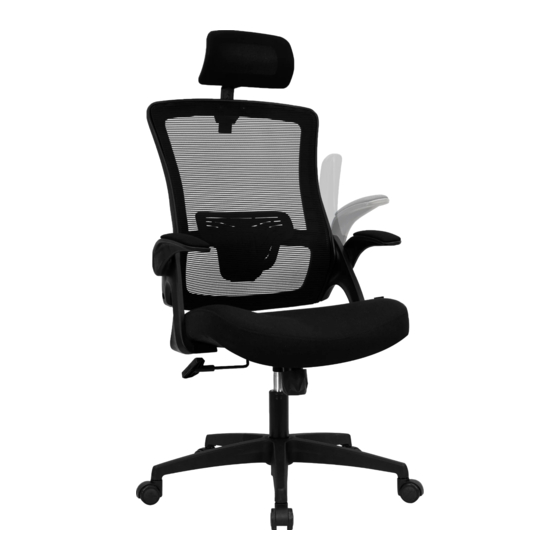
BACK X1
SEAT X1
ARMREST X2
Headrest models comes with below part
BASE X1
WHEEL X5
BASE LEG X1
Read the instructions carefully.
A
X10
(SEAT + BACK
ARMREST)
B
X4
(LOCKING)
CONTROL
GAS LIFT
MECHANISM X1
CYLINDER X1
C
X10
(WASHER)
D
X1
E
X2
(ALLEN KEY)
HEAD REST X1
HEAD REST BOLT
Please follow the assembly steps.
Advertisement

Related Manuals for Neo Chair DBS


Summary of Contents for Neo Chair DBS
- Page 1 To deodorize your new chair For longer use (-H) leave the chair in a well Re-tighten bolts every 6 months by using ventilated area for 1-2 days the enclosed allen-key. *Using an electric drill can damage the chair. ASSEMBLY Please re-tighten bolts manually. INSTRUCTION Contents Instructions...
- Page 2 Instructions TIPS! ※NOTICE GAS LIFT CYLINDER X1 Please use the allen key included instead of an electric drill. Use the box for an easier assembly. STEP 1 Bottom MAKE SURE TO REMOVE THE GAS LIFT CAP BASE LEG X1 STEP 2 Insert gas lift cylinder into the center of the base.
- Page 3 User Manual Check fully tighten x 10 FRONT Tension Right hand Adjustment Tilt Lumbar Once all of the armrests bolts are in place, Match the front stickers and Down fully tighten every bolt. secure the Control Mechanism to the seat. STEP 3 This step is only for a Tilt Tension...