Sonos Playbar Manual
- Product manual (40 pages) ,
- Faq sheet (9 pages) ,
- User manual (4 pages)
Advertisement
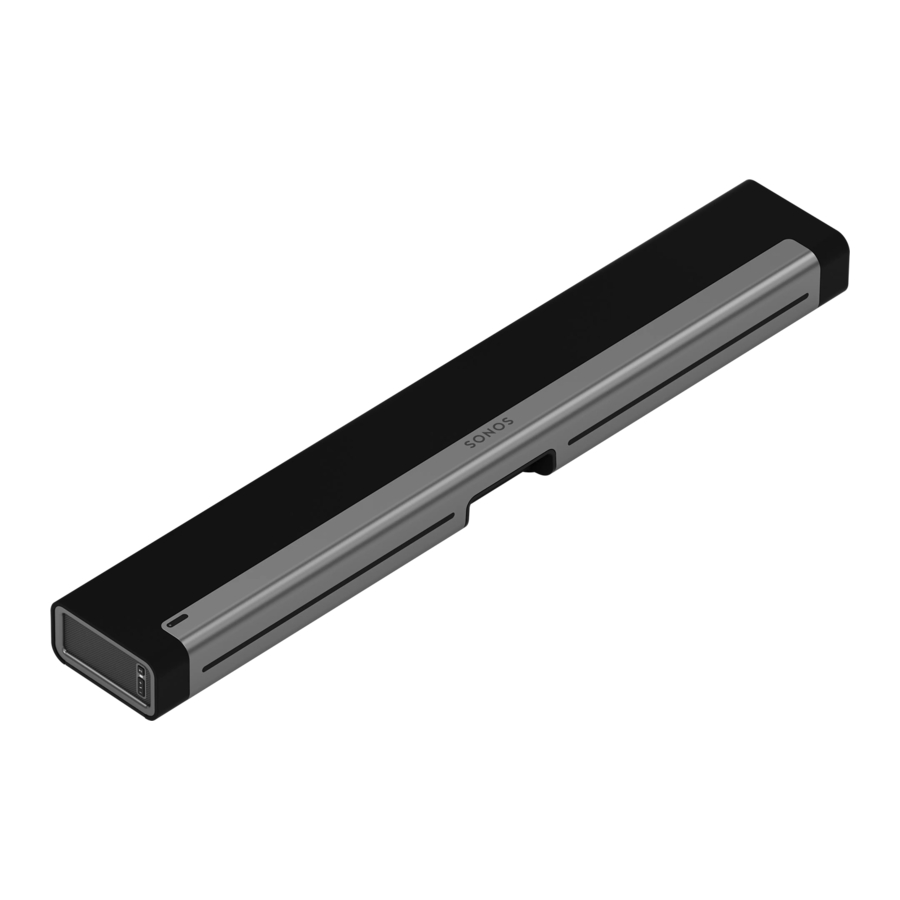
Playbar
Home theater soundbar and streaming music speaker in one—
- Sophisticated 9-speaker design.
- Simple two-cord setup. One for power. One for your TV.
- Mount horizontally above or below the TV or place flat on a TV stand.
- Easily expandable. Add a Sub and two Sonos speakers for 5.1 surround sound. For more information, see Sonos home theater.
- Works with either Sonos S2
![]() or Sonos S1
or Sonos S1 ![]() (for Android and iOS).
(for Android and iOS). - See Getting started when you're ready to add a Playbar to your Sonos system.
 or Sonos S1
  (for Android and iOS).
Note: The grille cloth is not removable. Tampering with the cloth may damage your Playbar.
Controls and lights
 | Volume up (+) Volume down (-) | Press to adjust the volume. Note: You can also use the app and remote control. |
 | Play/Pause |
|
| Status light | Indicates the status. Learn more If the light is distracting, you can turn it off in your room's settings. | |
| IR sensor light | The IR (InfraRed) sensor receives signals sent by a remote control. When the Playbar receives a volume or mute command, the IR light displays momentarily. You can adjust this setting so the light never displays in the room's settings. |
Connector panel

| Ethernet ports (2) | Use the supplied Ethernet cable if you want to connect to a router, computer, or network-attached storage (NAS) device (optional). |
| Digital audio IN (optical) | Use an audio optical cable to connect the Playbar to your TV. |
| AC power (mains) input | Use only the supplied power cord (using a third-party power cord will void your warranty). Note: Insert the power cord firmly until it is flush with the speaker. |
| IR repeater | Allows the commands from your remote control to reach your TV if the Playbar is positioned in front of the TV. This setting is on by default, but can be turned off in the room's settings. |
Select a location
You can mount the Playbar to a wall above or below your TV or place it on a credenza.
Placed on a credenza
- Place horizontally on a stable and level surface at least 2" (50mm) from TV.
- Don't place vertically or on its side.
- Don't block the TV's IR sensor.
- For best sound quality, place with the connector panel toward the TV (Sonos logo is closer to TV).
- Don't place in a cabinet or on a shelf.
- Keep both ends of the Playbar at least 1' (30cm) from a wall or other obstruction.

Wall mounted
To put Playbar on a wall, see Wall mount.
Connect the cables
Before you start
- Disconnect existing home theater or surround sound equipment from your TV.
- Connect any external devices, like a cable box or DVD player, directly to your TV.
Connect the soundbar to your TV
- Remove the protective cap from each end of the optical audio cable.
- Connect the optical audio cable from your TV's digital audio OUT (optical) to the Playbar's digital audio IN (optical). Don't twist or bend the cable.
Note: The Playbar's digital audio IN port and the optical cable are 'D-shaped'—make sure the connector aligns correctly into the port.


Remove the protective caps from each end of the optical audio cable before inserting.
Connect the power cord
Attach the power cord and plug in the Playbar. Push the power cord in firmly until it is flush with the surface.
If you don't have the app, download it from the app store. You'll use it to set up and control your Sonos system. See Getting started.
Wall mount
You can mount Playbar to a wall above or below a wall-mounted TV. Use the Playbar wall mount kit. You can buy it on www.sonos.com. Follow the instructions in the kit.

Don't use any other hardware to mount the Playbar.
Guidelines
- When mounting below a TV, keep 1" (25mm) space (minimum) between Playbar and TV.
- When mounting above a TV, keep 2" (50mm) space (minimum) between Playbar and TV.
- Preserve audio quality: make sure the connector panel faces away from the TV.
- Keep both ends of the Playbar at least 1 ft. (30cm) from a wall or other obstruction.
Note: Connect the power and audio cables to the Playbar before mounting to the wall.
What you need
- Masking tape
- Pointed tool (like an awl)
- Phillips head screw driver
- Power drill with Phillips head attachment
Note: There are 2 spare screws (and anchors) included in the kit. Use these to provide additional reinforcement if you'd like.
- Tape the template to the wall above or below your TV. Use a level.

- Use a pointed tool to pierce through the template and mark the mounting holes. Mark closer to the corners of the holes.

- Remove the template.
- Drill pilot holes.


Wall mounting information
| Wall Material | Pre Drill | Use Wall Anchors | Use Screws |
| Wood Stud | 1/8" (3 mm) bit | No | Yes |
| Drywall (no stud) | 3/16" (4.5 mm) bit | Yes | Yes |
| Hard wallboard or double board | 3/16" (4.5 mm) bit | Yes | Yes |
| Plaster | 1/4" (6.5 mm) bit | Yes | Yes |
| Concrete or Brick | 1/8" (3 mm) bit | Yes | Yes |
- Insert and secure the wall anchors (don't use the anchors if drilling into wood).

- Place the bracket on the wall and loosely tighten the screws to secure the bracket. Check with a level and then tighten the screws.
- Hang the Playbar securely on the bracket pegs.


Specifications
| Feature | Description |
| Audio | |
| Amplifier | Nine Class-D digital amplifiers perfectly tuned to match the nine dedicated speaker drivers and the acoustic architecture. |
| Tweeter | Three tweeters create the crispest and clearest high-frequency response. |
| Mid-Woofer | Six mid-woofers give you the full range of sound effects and music from the left and right channels, and crisp, clear dialog from the center. Mid-woofers act together as a phased speaker array so what you hear matches what you see on screen. |
| System Requirements | TV with optical audio output, broadband Internet, and a Sonos app. Internetconnected TV not required. |
| Networking* | |
| Wireless Connectivity | Connects to your home WiFi network with any 802.11b/g/n router. 802.11n only network configurations are not supported—you can either change the router settings to 802.11b/g/n or connect a Sonos product to your router. |
| Ethernet Port (2) | Two 10/100 Mbps Ethernet ports. You can plug a Sonos product directly into your router if your WiFi is unstable. |
| General | |
| Power Supply | Auto-switching 100-240 V, 50-60 Hz 2A AC universal input. |
| Dimensions (H x W x D) | 3.35" (H) x 35.43" (W) x 5.51" (D), 8 5mm (H) x 900 mm (W) x 140 mm (D) |
| Weight | 11.9 lb (5.4 kg) |
| Operating Temperature | 32°F to 104°F (0°C to 40°C) |
| Storage Temperature | -4°F to 158°F (-20°C to 70°C) |
| Multiple Orientations | Mount Playbar on the wall either above or below your TV, or lay flat on your TV table. |
| Control | Use your remote control, voice, touch controls or the Sonos app. |
| Supported Devices | Playbar connects to your TV using a single optical cable and plays all sources connected to the TV, including cable boxes and game consoles. |
| Package Contents | Playbar, AC power cord, optical audio cable, and Quickstart Guide. |
* Specifications subject to change without notice.

VideosSonos Playbar - Installing Video
Documents / Resources
References
Download manual
Here you can download full pdf version of manual, it may contain additional safety instructions, warranty information, FCC rules, etc.
Advertisement
Thank you! Your question has been received!


Need Assistance?
Do you have a question about the Playbar that isn't answered in the manual? Leave your question here.