Toro ProStripe 560 Installation Instructions Manual
Roller shaft kit
Hide thumbs
Also See for ProStripe 560:
- Operator's manual (28 pages) ,
- Operator's manual (24 pages) ,
- Operator's manual (24 pages)
Advertisement
Quick Links
Roller Shaft Kit
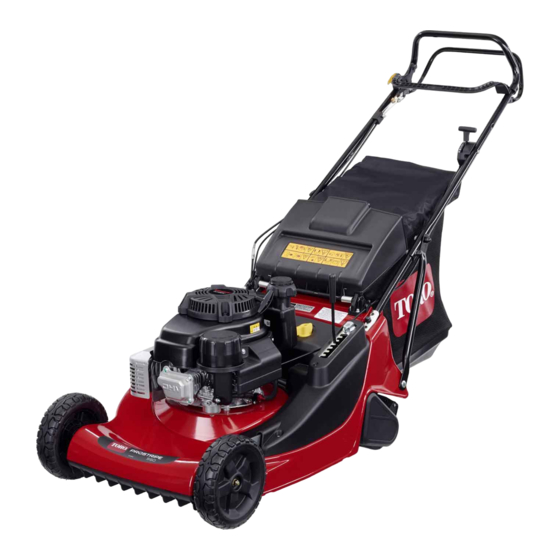
ProStripe
Model No. 134-6409
Loose Parts
Use the chart below to verify that all parts have been shipped.
Description
No parts required
Shaft
Washer (M6 x 18)
Bolt (M6 x 25)
No parts required
Preparing the Machine
WARNING
Tipping the machine may cause the fuel to
leak. Fuel is flammable and explosive, and
can cause personal injury.
Run the engine dry or remove the fuel with a
hand pump; never siphon the fuel.
1.
Run the engine dry or remove the fuel with a
hand pump.
2.
Move the machine to a level surface, shut off
the engine, wait for all moving parts to stop, and
allow the engine to cool.
3.
Disconnect the spark-plug wire from the spark
plug; refer to the Operator's Manual for your
machine.
© 2021—The Toro® Company
8111 Lyndale Avenue South
Bloomington, MN 55420
®
560 Mower
Qty.
–
1
1
1
–
Register at www.Toro.com.
Prepare the machine.
Install the kit.
Finish the installation.
Original Instructions (EN)
Printed in the UK
All Rights Reserved
Form No. 3447-126 Rev A
Installation Instructions
Use
*3447-126*
Advertisement

Related Manuals for Toro ProStripe 560


Summary of Contents for Toro ProStripe 560
- Page 1 Disconnect the spark-plug wire from the spark plug; refer to the Operator’s Manual for your machine. *3447-126* © 2021—The Toro® Company Original Instructions (EN) 8111 Lyndale Avenue South Printed in the UK Bloomington, MN 55420 Register at www.Toro.com.
-
Page 2: Installing The Kit
Installing the Kit If the grass bag is on the machine, remove the it. Remove the chain cover from the machine by removing the 2 chain-cover bolts (Figure Note: Retain the chain cover and 2 chain-cover bolts for later installation. Remove and retain the existing circlip, thrust washer, sprocket, and chain from the gearbox post (Figure g349697... - Page 3 g356632 Figure 2 1. Shaft (Qty. 1) 3. Bolt (M6 x 25) (Qty. 1) 2. Washer (M6 x 18) (Qty. 1) When shimming the rear roller, tighten only to remove end float. Do not tighten to the point where the roller locks up or the roller has too much resistance when rotating.
-
Page 4: Finishing The Installation
Finishing the Installation Install the previously removed chain, sprocket (10T), thrust washer (20 mm), and circlip onto the gearbox post as shown in Figure Secure the previously removed chain cover onto the machine with the 2 corresponding bolts (Figure g349697 Figure 3 1. - Page 5 g356633 Parts Ref. Part Number Qty. Description 134-5253 Roller shaft 111-7679 Washer (M6 x 18) ZBHIF025U Bolt (M6 x 25)
- Page 6 Notes:...
- Page 7 Notes:...