Ferroli CONNECT Manual
Hide thumbs
Also See for CONNECT:
- Installation and use manual (204 pages) ,
- Installation and use manual (220 pages) ,
- Installation and use manual (148 pages)
Table of Contents
Advertisement
Quick Links
Advertisement
Table of Contents

Related Manuals for Ferroli CONNECT


Summary of Contents for Ferroli CONNECT
-
Page 2: Table Of Contents
Introduction ....................29 General safety rules ..................29 Control class according to ErP regulations ..........29 For the installer ....................30 Contents ...................... 30 Installing the receiver ................... 31 Thermostat installation................. 33 Thermostat support assembly ..............34 For the end user ..................... 35 Buttons and Icons .................. -
Page 3: Introduction
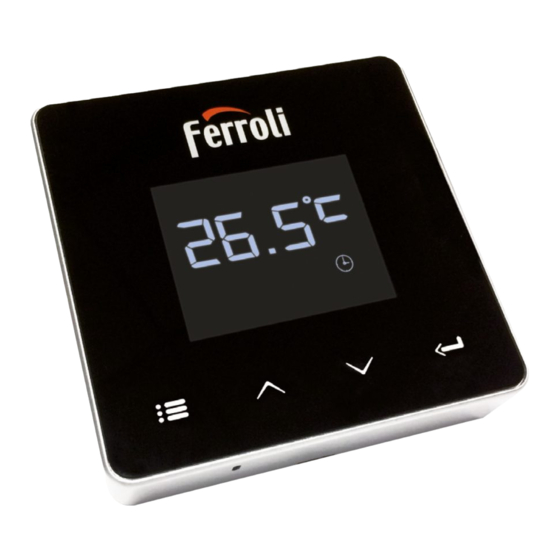
1. InTrOduCTIOn Dear customer, thank you for choosing the COИИECT smart thermostat. It will allow you to accurately control the room temperature and, thanks to Wi-Fi connec- tivity, can be controlled remotely via the dedicated APP. This manual is intended for installers and end users. The main component of the system is the programmable thermostat that can manage the time programs set by the APP, measure the zone temperature and send on/off com- mands to the remote control unit, connected directly to the boiler. -
Page 4: For The Installer
Class and COИИECT Boiler type contribution Boiler with fixed flow On-Off type I = 1% temperature (On-Off) Connection via communication bus. Flow set point V = 3% calculated according to room temperature Connection via communication bus. Flow set point Boiler with variable flow calculated according to the room and outdoor tem- VI = 4% temperature (set point... -
Page 5: Installing The Receiver
USB cable Power supply AAA type batteries Table support Accessories 4.2 Installing the receiver aTTEnTIOn: To protect the device, remove the power supply from the boiler before mak- ing the connection. The operation must be carried out by qualified personnel. The receiver can work with the OpenTherm protocol or with the On-Off contact. - Page 6 Bus to the boiler that supports the OpenTherm protocol. In this case, more information is available on boiler status (see “5.7.1 Basic operations” on page 49). On-Off option (B fig. 1): connect the two terminals of the receiver with label ON/OFF to boilers that do not have the OpenTherm communication protocol.
-
Page 7: Thermostat Installation
4.3 Thermostat installation Separate COИИECT from the base fig. 2. Secure the base using the screws provided fig. 3. In case of thermostat directly connected to the boiler or to a zone valve, the cables must be connected in the appropriate terminal fig. 4. Insert two 1.5V AAA batteries fig. -
Page 8: Thermostat Support Assembly
Inserire 2 batterie da 1,5V tipo AAA. 4.4 Thermostat support assembly 4.4 Montaggio supporto termostato fig. 2 - fig. 7 - Thermostat support cod. 3541S180 - Rev. 04 - 09/2019... -
Page 9: For The End User
5. fOr ThE End usEr 5.1 Buttons and Icons A description of the symbols on the display and the meaning of the buttons is given below. fig. 8 Icon description Icon description Wireless Heating WiFi DHW (domestic hot water) Low battery level Flame Temperature and time mode/save/exit On / Off increase... - Page 10 Battery: The icon on the screen is activated when the battery level is too low. flame » Thermostat connected to an on-off boiler, the icon indicates request status. » Thermostat connected to an OpenTherm boiler, the icon indicates burner status. Note: At first activation the thermostat is configured automatically in On-Off wire connection mode.
-
Page 11: Functional Diagram
5.2 functional diagram fig. 9 cod. 3541S180 - Rev. 04 - 09/2019... -
Page 12: System Configuration
5.3 system configuration To allow proper operation with your device (Tablet or smartphone), proceed as follows: • Download the App (COИИECT) directly from the App Store of your device or using the QR CODE on the outside of the package. • After installation, create the account. 5.3.1 Creating the account •... -
Page 13: Wi-Fi Configuration (Receiver-Router)
5.5 Wi-fi configuration (receiver-router) Connect with your Smartphone / Tablet device to the local WiFi network. Method 1 • Click “+” and enter the local network password • Press “next” • In the receiver, briefly press the WPS button with a dedicated tool •... -
Page 14: App Coииect
5.6 aPP COИИECT On the main screen, press to access the On the next screen, press A to manage the control of one of the configured boilers room temperature control or press B to dis- play boiler status. fig. 11 - fig. 10 - Main screen cod. - Page 15 The possible modes are: The connected remote timer control setting can be accessed on this screen. Manual mode Weekly programming Vacation mode Thermostat off fig. 13 - Possible modes fig. 12 - remote Timer Control cod. 3541S180 - Rev. 04 - 09/2019...
- Page 16 On this screen boiler status can be displayed, if it is connected via OpenTherm protocol. If the boiler is connected to a room thermostat, no information is displayed. fig. 14 - With OpenTherm fig. 15 With room thermostat cod. 3541S180 - Rev. 04 - 09/2019...
-
Page 17: Manual Mode
5.6.1 Manual mode The desired room temperature can be set in this mode. fig. 16 cod. 3541S180 - Rev. 04 - 09/2019... -
Page 18: Weekly Programming Mode
5.6.2 Weekly programming mode In this mode it is possible to set the desired temperature in the various time slots of all the days of the week. Pressing at the place shown in fig. 17. fig. 17 cod. 3541S180 - Rev. 04 - 09/2019... - Page 19 3 temperature levels are available: T3 (COMFORT level), T2 (ECO level) and T1 (FROST PROTECTION level - Not modifiable via APP but only via remote timer control). To set the temperature of level T2 and T3, follow the sequence. fig. 19 fig. 18 Set the temperatures and confirm.
- Page 20 Press in the time slot to be changed. fig. 21 After programming the temperatures, save the configuration. fig. 22 cod. 3541S180 - Rev. 04 - 09/2019...
- Page 21 Click "apply" to select the days in which to copy the settings just made. fig. 23 When level T1 (FROST PROTECTION level) is selected, to prevent freezing damage, the system sends a heat request to the boiler only when the temperature falls below 5°C. If the outside temperature information is available (via WEB or OpenTherm), the tem- perature set in the boiler takes this value into account to adjust the flow.
-
Page 22: Vacation Mode
5.6.3 Vacation mode 5.6.4 Thermostat mode off In this mode the boiler is switched off and In this mode the boiler is switched off and will be reactivated if the temperature drops will be reactivated if the temperature drops below 5°C. below 5°C. The vacation end date can be set by pressing the setting icon fig. 25... -
Page 23: Thermostat
5.7 Thermostat 5.7.1 Basic operations 1. Press the “mode” button to switch between the various modes: a. Off : in this mode the heat request is disabled; only the frost protection mode remains active. b. Vacation : the set temperature is that of frost protection energy saving for a number of days set via the buttons c. - Page 24 No. Parameter Display description 1) Clock Set hours, minutes, year (y), month (m), day (d). Set comfort temperature (CFT) / economy 2) Temperature temperature (ECO) / frost protection (FRT) 3) COUP code RF code (see par. 5.3) Set DHW temperature, function available only with 4) DHW temperature OpenTherm connection Reading of some boiler parameters only with...
- Page 25 4) dhW temperatures (OpenTherm boilers only) » Press the buttons to select the DHW temperature, and then “set” enter. » Press the buttons to change the value. » Press “set” or “mode” to return to the previous menu. Note: If the thermostat receives the data from the boiler, then it displays this value, otherwise the setting range is 30 –...
-
Page 26: Receiver
5.8 receiver The receiver unit allows data exchange between the thermostat and the boiler. A button with coloured LEDs indicates system status. Status Functionality Green Power ON Green FLASHING Data transmission FLASHING WIFI or RF connection search 6. TEChnICal sPECIfICaTIOns Power supply 100 ~ 240Vac, 50 / 60 Hz Consumption 1.2W...