Advertisement
Quick Links
Installation Information
INSTALLATION INFORMATION
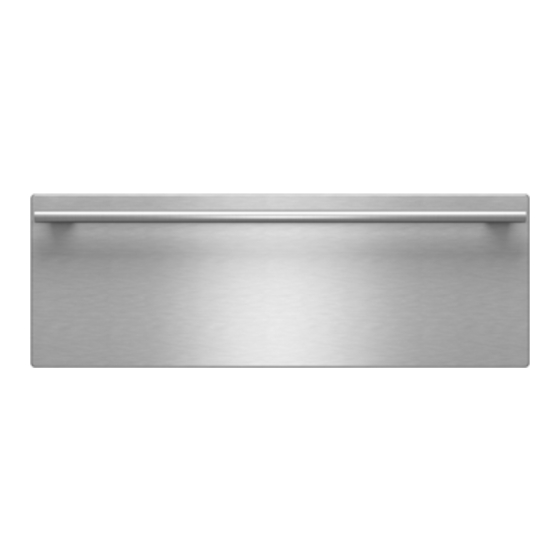
The Wolf Warming Drawer is designed to be set into a built-in wall or cabinet installation.
This section of the manual covers some of the installation issues that a service technician may need to know when
servicing a Wolf warming drawer. If additional installation information is needed after reviewing this section of the
manual, please refer to the installation guide or contact Wolf Appliance, Inc. Customer Service Department at (800)
332-9513.
Electrical Requirements:
NOTE: All National Electrical Code regulations must be followed. In addition, be aware of local codes and ordi-
nances when installing your service.
• Dedicated 110 to 120 Volts AC, 60Hz, 15 or 20 ampere fused electrical supply
• Separate electrical circuit serving only this appliance
• A properly grounded 3-prong receptacle
Outdoor applications require that the unit be connected to a properly grounded GFCI circuit.
TO AVOID SHOCK HAZARD, THE INSTALLATION SITE MUST BE EQUIPPED WITH A PROPERLY GROUNDED
3-SLOT RECEPTACLE TO MATCH THE 3-PRONG (GROUNDED) POWER SUPPLY CORD PROVIDED ON THE
APPLIANCE.
TO AVOID SHOCK HAZARD, NEVER REMOVE THE GROUND PRONG FROM THE PLUG OF THE POWER
SUPPLY CORD.
NOTE: This appliance must be installed in accordance with National Electrical Codes, as well as all state, munici-
pal and local codes. The correct voltage, frequency and amperage must be supplied to the appliance from a dedi-
cated, grounded circuit which is protected by a properly sized circuit breaker or time delay fuse. The proper voltage,
frequency, and amperage ratings are listed on the product rating plate.
#814750 - Revision A - January, 2011
Warming Drawer WWD30-2
Neutral
Figure 2-1. Electrical Receptacle
2-2
Line
Voltage
(Power)
Ground
Advertisement

Summary of Contents for Wolf WWD30-2
- Page 1 This section of the manual covers some of the installation issues that a service technician may need to know when servicing a Wolf warming drawer. If additional installation information is needed after reviewing this section of the manual, please refer to the installation guide or contact Wolf Appliance, Inc. Customer Service Department at (800) 332-9513.
-
Page 2: Installation Information
10 3/8" (264) product. Overall Depth 26 1/4” (689) Wolf recommends using a 33" (838) wide cabinet for the warming drawer with stainless steel drawer front. A minimum 30" (762) wide Overall Depth (behind frame) 22 3/4" (578) by 24" (610) deep cabinet is required with a minimum base support Minimum Cabinet Width 30"... - Page 3 (See Figure 2-5) Warming Drawer Installation with Built-In Oven and/or Microwave: The warming drawer may be installed in combination with a Wolf built-in oven and/or microwave, provided the warming drawer is fully enclosed, top and bottom. See Figure 2.6 NOTE: Dimensions will vary according to the specific installation.
- Page 4 Installation Information Warming Drawer WWD30-2 Recessed or Flush Inset Installation In addition to the standard installation the warming drawer with E series drawer front can be installed in a recessed or flush inset application. A recessed installation requires the cabinetry be recessed by 3/16" (5) so the collar is flush with the cabinet face frame but the drawer front will sit proud.
- Page 5 Installation Information Warming Drawer WWD30-2 Flush Inset Tower Installation INS TAL L AT ION W IT H S TANDAR D MIC R OWAVE AND E S E R IE S OVE N TOP VIEW " (629) min FLUSH INSET 1"...
- Page 6 Installation Information Warming Drawer WWD30-2 Flush Inset Tower Installation INS TAL L AT ION W IT H C ONVE C T ION MIC R OWAVE AND E S E R IE S OVE N TOP VIEW " (629) min FLUSH INSET 1"...
- Page 7 Installation Information Warming Drawer WWD30-2 Flush Inset Tower Installation INS TAL L AT ION W IT H DR AW E R MIC R OWAVE AND E S E R IE S OVE N TOP VIEW " " (32) FOR MICROWAVE (629) min 1"...


