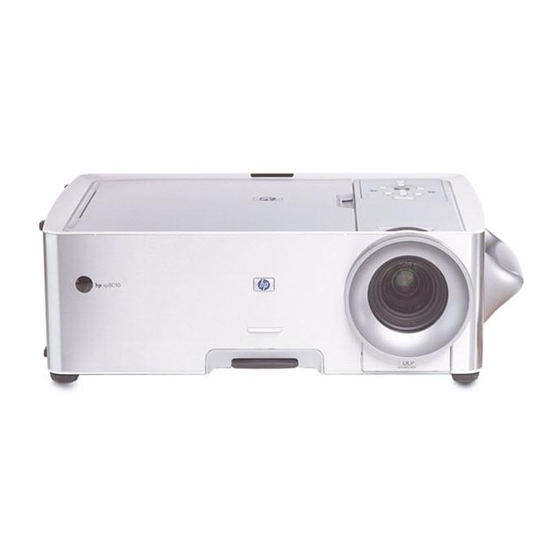
HP xp8010 Series Installation Manual
Ceiling mount installation card
Hide thumbs
Also See for xp8010 Series:
- Reference manual (98 pages) ,
- Reference (18 pages) ,
- Quick setup manual (9 pages)
Advertisement
Quick Links
H
Be sure to install the projector
!
into a solid, structural ceiling
member:
4
Ceiling Mounting Procedure:
Before installation, refer to the
user manual for the projection
distance based upon the desired
image size. Use this projection
distance to locate the ceiling
mount.
HP recommends that a com-
!
petent carpenter or electrician
install this ceiling mount.
hp
u
Drill four holes into the structural ceiling
member.
Attach the ceiling rod to the ceiling with
the four cylinder screws.
Structural Ceiling
Ceiling Rod
v
Mount the projector to the ceiling mount
bracket with the three bracket screws.
Cylinder Screw
Three Bracket Screws
Advertisement

Summary of Contents for HP xp8010 Series
- Page 1 Use this projection distance to locate the ceiling mount. HP recommends that a com- petent carpenter or electrician install this ceiling mount. Drill four holes into the structural ceiling member.
- Page 2 (2.5cm) increments. Make necessary roll and yaw adjustments to the projector. (YAW ADJUSTMENT) v v v v v Open the on-screen menu and select Setup > Projector Position. Select the appropriate ceiling option. (ROLL ADJUSTMENT) 180°...


