Table of Contents
Advertisement
Quick Links
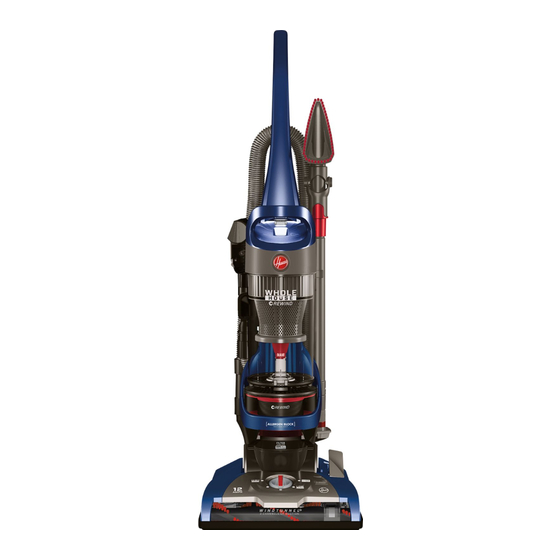
OWNER'S MANUAL
Operating and Servicing Instructions
Español - página E1
hoover.com
IMPORTANT: READ CAREFULLY BEFORE ASSEMBLY AND USE.
Questions or concerns? For assistance, please call Customer Service at 1-800-944-9200
Mon-Fri 8am-7pm EST. PLEASE DO NOT RETURN THIS PRODUCT TO THE STORE.
THIS PRODUCT IS INTENDED FOR HOUSEHOLD USE ONLY.
IF USED COMMERCIALLY WARRANTY IS VOID.
©2018 Techtronic Floor Care Technology Limited. All Rights Reserved. #961151110-R4
Advertisement
Table of Contents

Related Manuals for Hoover UH71250


Summary of Contents for Hoover UH71250
- Page 1 OWNER’S MANUAL Operating and Servicing Instructions Español - página E1 hoover.com IMPORTANT: READ CAREFULLY BEFORE ASSEMBLY AND USE. Questions or concerns? For assistance, please call Customer Service at 1-800-944-9200 Mon-Fri 8am-7pm EST. PLEASE DO NOT RETURN THIS PRODUCT TO THE STORE.
-
Page 2: Table Of Contents
Hose........................... 13 Turbo Tool ......................... 13 Troubleshooting ....................14 Service ........................15 Warranty ......................16 If you need assistance: Visit our website at hoover.com. Follow the authorized dealer locator link to find the Hoover authorized dealer nearest you ® call 1-800-944-9200 automated referral... -
Page 3: Important Safety Instructions
IMPORTANT SAFETY INSTRUCTIONS SAVE THESE INSTRUCTIONS When using an electrical appliance, basic precautions should always be followed, including the following: READ ALL INSTRUCTIONS BEFORE USING THIS APPLIANCE. WARNING: TO REDUCE THE RISK OF FIRE, ELECTRIC SHOCK OR INJURY: • Fully assemble before operating. •... - Page 4 CAUTION: TO REDUCE THE RISK OF DAMAGE: • Avoid picking up hard, sharp objects with this product, as they may cause damage. • Store appropriately indoors in a dry place. Do not expose machine to freezing temperatures. • Brushroll continues to turn while product is turned on and handle is in upright position.
-
Page 5: Vacuum Assembly
1. VACUUM ASSEMBLY CARTON CONTENTS A. Handle* B. Vacuum Base C. Wand D. Crevice Tool E. Turbo Tool F. Adjustable Dusting Brush* G. (1) Large Screw H. Dirt Cup *Varies per model. Remove all parts from carton and identify each item shown. Make sure all parts are located before disposing of packing materials. -
Page 6: How To Use
2. HOW TO USE VACUUM DESCRIPTION 1. Handle 2. Dirt Cup Release Button 3. Carry Handle 4. System Check Indicator 5. Rinsable Filter Access 6. Dirt Cup 7. Filter made with HEPA media 8. Height Adjustment 9. Furniture Guard 10. Adjustable Dusting Brush 11. -
Page 7: Suction Only Mode/ Brushroll Shut-Off
SUCTION ONLY MODE/ BRUSHROLL SHUT-OFF for bare floors and very high pile carpet IMPORTANT 2.3 For optimal cleaning performance on bare floors Pedal (A) is inactive when the cleaner is in the upright and carpet with pile deeper position. than 1”, brushroll should be turned off. -
Page 8: Stair Cleaning
STAIR CLEANING 3.4 Use the Hose and Turbo Tool (Tool varies per model) for stair cleaning. CAUTION Use extra care when cleaning on stairs. To avoid personal injury or damage, and to prevent the cleaner from falling, always place cleaner at bottom of stairs on floor. Do not place cleaner on stairs or furniture, as it may result in injury or damage. -
Page 9: Dirt Cup
NOTICE A Thermal Protector has been designed into your cleaner to protect it from overheating. When the thermal protector activates the cleaner will stop running. If this happens proceed as follows: 1. Turn cleaner OFF and unplug it from the electrical outlet. 2. - Page 10 When used and maintained properly, your Filter should not need replacement within the warranty period. If desired, additional filter is DO NOT RINSE OR WASH THE FILTER available at Hoover.com or call 1-800-944-9200. Ask for Hoover Part ® MADE WITH HEPA MEDIA.
-
Page 11: Brushroll
BRUSHROLL 4.17 4.18 : How to Clean CAUTION To reduce the risk of injury from moving parts - Unplug before servicing. Brushroll - Bottom plate with screws Place handle in the low position and turn the cleaner over so the bottom side is up. 4.17 Remove the 6 screws as shown with a Phillips 4.19 screwdriver. -
Page 12: Belt
Place the bottom plate aligning the screw holes and re-install the 6 screws. What to Buy: Belt If desired, additional belts can be purchased at Hoover.com or 1-800-944-9200. When part No. 562289001. purchasing a new belt for models ask for Belt - HOOVER ®... -
Page 13: Hose
HOSE 4.25 WARNING To reduce the risk of personal injury - Unplug before cleaning or servicing. How to Clean 4.25 To remove hose for tool use, press the hose release button (A) and pull hose end out. Clear away debris or obstructions from hose. Do not use sharp objects to clean out hose as they can cause damage. -
Page 14: Troubleshooting
5. TROUBLESHOOTING If a minor problem occurs, it usually can be solved quite easily when the cause is found by using the checklist below. Any other servicing should be done by an authorized service representative. If appliance is not working as it should, has been dropped, damaged, left outdoors, or dropped into water, take it to a service center prior to continuing use. -
Page 15: Service
(Depot) by: • Checking the Yellow Pages under “Vacuum Cleaners” or “Household”. • Visit our website at hoover.com (U.S. Customers) or hoover.ca (Canadian customers). Follow the service center link to find the service outlet nearest you. • For an automated referral of authorized service outlet locations call 1-800-944-9200. -
Page 16: Warranty
For an automated referral to MERCHANTABILITY OR FITNESS FOR PARTICULAR authorized service outlets in the U.S.A., phone: 1-800-944- PURPOSE, ARE DISCLAIMED. IN NO EVENT WILL HOOVER 9200 OR visit Hoover online at www.hoover.com. For ®...