Table of Contents
Advertisement
Quick Links
Use & Care Guide
Guide d'utilisation et d'entretien
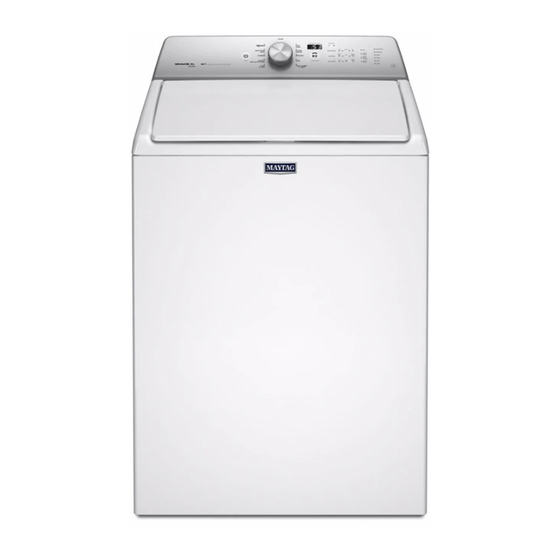
ELECTRONIC DRYER
SÉCHEUSE ÉLECTRONIQUE
W10680131C
W10680132C – SP
If you have any problems or questions, visit us at www.maytag.com
Pour tout problème ou toute question, consulter www.maytag.ca
Para obtener acceso
al Manual de uso y
cuidado en español, o para
obtener información adicional
acerca de su producto, visite:
www.maytag.com.
Advertisement
Table of Contents

Summary of Contents for Maytag YMEDB755DW1
- Page 1 Manual de uso y cuidado en español, o para obtener información adicional acerca de su producto, visite: www.maytag.com. If you have any problems or questions, visit us at www.maytag.com Pour tout problème ou toute question, consulter www.maytag.ca W10680131C W10680132C – SP...
-
Page 2: Table Of Contents
TABLE OF CONTENTS TABLE DE MATIÈRES DRYER SAFETY ..................2 SÉCURITÉ DE LA SÉCHEUSE ............16 CHECK YOUR VENT SYSTEM FOR GOOD AIR FLOW ....4 VÉRIFICATION D’UNE CIRCULATION D’AIR ADÉQUATE POUR LE SYSTÈME D’ÉVACUATION ..........18 CONTROL PANEL AND FEATURES ..........5 TABLEAU DE COMMANDE ET CARACTÉRISTIQUES ..... -
Page 4: Check Your Vent System For Good Air Flow
CHECK YOUR VENT SYSTEM FOR GOOD AIR FLOW Maintain good air flow by: Cleaning your lint screen before each load. Replace plastic or foil vent material with 4" (102 mm) diameter heavy, rigid vent material. Use the shortest length of vent possible. Use no more than four 90°... -
Page 5: Control Panel And Features
CONTROL PANEL AND FEATURES Not all features and cycles are available on all models. NOTE: The control panel features a sensitive surface that responds to a light touch of your finger. To ensure your selections are registered, touch the control panel with your finger tip, not your fingernail. When selecting a setting or option, simply touch its name. OPTIONS POWER Use to select available options for your dryer. -
Page 6: Cycle Guide
CYCLE GUIDE — SENSOR CYCLES Senses moisture in the load and shuts off when the load reaches the selected dryness level. The dry temperature shown is the default temperature. This setting can be modified on some cycles but is not retained for future drying with this cycle. The dryness level shown is the default dryness setting. - Page 7 CYCLE GUIDE — TIMED CYCLES Settings shown and options in bold are default settings for that cycle. Not all features and cycles are available on all models. Not all settings and options are available on each cycle. Adjusting drying time on Timed Cycles Selecting the Temperature When you select a Timed Cycle, A High heat setting may be used for drying heavyweight items such...
-
Page 8: Using Your Dryer
USING YOUR DRYER WARNING: To reduce the risk of fire, electric shock, or injury to persons, read the IMPORTANT SAFETY INSTRUCTIONS before operating this appliance. Touch POWER Clean the lint screen Touch POWER to turn on the dryer. Select the desired cycle Clean the lint screen before each load. - Page 9 Touch and hold START to begin cycle Adjust cycle settings, if desired Touch and hold START to begin the cycle. You may adjust different settings, depending on whether you Remove garments promptly have selected a Sensor Cycle, Timed Cycle, or Steam Refresh after cycle is finished Cycle.
-
Page 10: Dryer Care
DRYER CARE CLEANING THE LINT SCREEN Every load cleaning CLEANING THE DRYER LOCATION The lint screen is located in the top of the dryer. The control Keep dryer area clear and free from items that would block the panel has an indicator light “Check Lint” to remind you to air flow for proper dryer operation. - Page 11 NON-USE, STORAGE, AND MOVING CARE SPECIAL INSTRUCTIONS FOR STEAM MODELS Steam models only: Install and store your dryer where it will not freeze. Because some water may stay in the hose, freezing Water Inlet Hose can damage your dryer. If storing or moving your dryer during Replace inlet hose and hose screen after 5 years of use to freezing weather, winterize it.
-
Page 12: Troubleshooting
TROUBLESHOOTING First try the solutions suggested here or visit our website at www.maytag.com/product_help – In Canada www.maytag.ca for assistance and to possibly avoid a service call. If you experience Possible Causes Solution Dryer Operation Dryer will not run Door not closed completely. - Page 13 TROUBLESHOOTING First try the solutions suggested here or visit our website at www.maytag.com/product_help – In Canada www.maytag.ca for assistance and to possibly avoid a service call. If you experience Possible Causes Solution Dryer Results (cont.) Clothes are not drying The load is too large and heavy to dry Separate the load to tumble freely.
- Page 14 TROUBLESHOOTING First try the solutions suggested here or visit our website at www.maytag.com/product_help – In Canada www.maytag.ca for assistance and to possibly avoid a service call. If you experience Possible Causes Solution Dryer Results (cont.) Load too hot Load removed before cool down Allow the dryer to complete the cool down portion of the cycle portion of cycle complete.
-
Page 15: Warranty
DISCLAIMER OF REPRESENTATIONS OUTSIDE OF WARRANTY Maytag makes no representations about the quality, durability, or need for service or repair of this major appliance other than the representations contained in this Warranty. If you want a longer or more comprehensive warranty than the limited warranty that comes with this major appliance, you should ask Maytag or your retailer about buying an extended warranty. -
Page 16: Assistance Or Service
Avant de faire un appel pour obtenir de l’assistance ou un entretient, vérifier la section “Dépannage” ou consulter www.maytag.com/help. Cette vérification peut vous faire économiser le coût d’une visite de réparation. Si vous avez encore besoin d’aide, suivre les instructions ci-dessous.


