Table of Contents
Advertisement
Quick Links
Advertisement
Table of Contents

Related Manuals for KitchenAid 5KSM3311XBAC


Summary of Contents for KitchenAid 5KSM3311XBAC
- Page 1 5KSM3311...
-
Page 2: Table Of Contents
TABLE OF CONTENTS PARTS AND FEATURES ..................6 STAND MIXER SAFETY ..................7 Important Safeguards ..................7 Electrical Requirements ..................9 Electrical Equipment Waste Disposal ............10 USING THE STAND MIXER .................10 Choosing the Right Accessory..............10 Speed Control Guide..................11 Assembling the Stand Mixer ................12 Operating the Stand Mixer ................14 Disassembling the Stand Mixer ..............15 Optional Attachments ..................16 CARE AND CLEANING ..................17... -
Page 3: Parts And Features
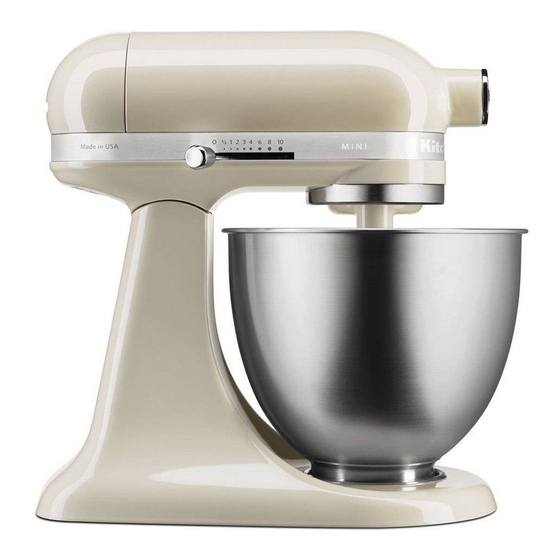
PARTS AND FEATURES PARTS AND ACCESSORIES Attachment hub Motor head Beater shaft Flat beater Speed control Bowl Wire whip Dough hook Flex Edge beater* Pouring shield* *Accessory sold separately 6 | PARTS AND FEATURES... -
Page 4: Stand Mixer Safety
STAND MIXER SAFETY IMPORTANT SAFEGUARDS When using electrical appliances, basic safety precautions should always be followed, including the following: 1. Read all instructions. Misuse of appliance may result in personal injury. 2. To protect against risk of electrical shock, do not put Stand Mixer in water or other liquid. - Page 5 9. The use of accessories not recommended or sold by KitchenAid may cause fire, electric shock or injury. 10. Do not use the Stand Mixer outdoors. 11. Do not let the cord hang over the edge of table or counter.
-
Page 6: Electrical Requirements
STAND MIXER SAFETY 14. This appliance is intended to be used in household and similar applications such as: - staff kitchen areas in shops, offices or other working environments. - farm houses. - by clients in hotels, motels and other residential type environments. -
Page 7: Electrical Equipment Waste Disposal
STAND MIXER SAFETY ELECTRICAL EQUIPMENT WASTE DISPOSAL Disposal of packing material which could otherwise be caused by inappropriate waste handling of this The packing material is 100% recyclable product. and is marked with the recycle symbol . The various parts of the packing must therefore be disposed of - The symbol on the product or... -
Page 8: Speed Control Guide
USING THE STAND MIXER SPEED CONTROL GUIDE All speeds have the Soft Start ® feature which automatically starts the Stand Mixer at a lower speed to help avoid ingredient splash-out and “flour puff” at start-up, then quickly increases to the selected speed for optimal performance. NOTE: The speed control can be set between the speeds listed in the chart to obtain speeds 1, 3, 5, 7, and 9 if a finer adjustment is required. -
Page 9: Assembling The Stand Mixer
USING THE STAND MIXER ASSEMBLING THE STAND MIXER Raise the motor head: Slide the Check to be sure that the Stand locking lever to the unlock position Mixer is unplugged, and the speed and lift the motor head. Once lifted, control is turned to “0”. - Page 10 USING THE STAND MIXER Lower the motor head: Slide the locking lever to the unlock position and guide the motor head down. Make sure motor head is completely down, then slide the locking lever to the lock position. Before mixing, test lock by attempting to raise the motor head.
-
Page 11: Operating The Stand Mixer
USING THE STAND MIXER OPERATING THE STAND MIXER NOTE: The Stand Mixer may warm up during use. Under heavy loads with extended mixing time, the top of the unit may become hot. This is normal. Electrical Shock Hazard Plug the Stand Mixer into an earthed Plug into an earthed outlet. -
Page 12: Disassembling The Stand Mixer
USING THE STAND MIXER NOTE: The pouring shield* can be used to avoid ingredients splashing out of the bowl when mixing as well as to easily pour ingredients in the bowl while mixing. (OPTIONAL) Pour ingredients into the bowl through the pouring chute. DISASSEMBLING THE STAND MIXER Raise the motor head: Check to be sure that the Stand Mixer is... -
Page 13: Optional Attachments
OPTIONAL ATTACHMENTS KitchenAid offers a wide range of optional attachments such as the spiralizer, pasta cutters, or food grinders that may be attached to the Stand Mixer attachment power shaft as shown here. -
Page 14: Care And Cleaning
USING THE STAND MIXER Insert attachment into attachment hub, making certain that attachment Tighten the attachment knob power shaft fits into the square by turning it clockwise until the attachment hub socket. It may be attachment is completely secured necessary to rotate the attachment to the Stand Mixer. -
Page 15: Troubleshooting
CARE AND CLEANING The wire whip is not dishwasher safe. Clean it thoroughly in hot, sudsy water and rinse completely before drying. Do not store the wire whip on the shaft. TROUBLESHOOTING 2. The Stand Mixer may emit a pungent odor, especially when new. -
Page 16: Warranty And Service
Contact number for Ireland: Tollfree number +44 (0) 20 8616 5148 E-mail contact for U.K. and Ireland: Go to www.kitchenaid.co.uk, and click on the link “Contact Us” at the bottom of the page. Address for U.K. and Ireland: KitchenAid Europa, Inc. - Page 17 ©2017 All rights reserved. Specifications subject to change without notice. 03/17 W10747072C...