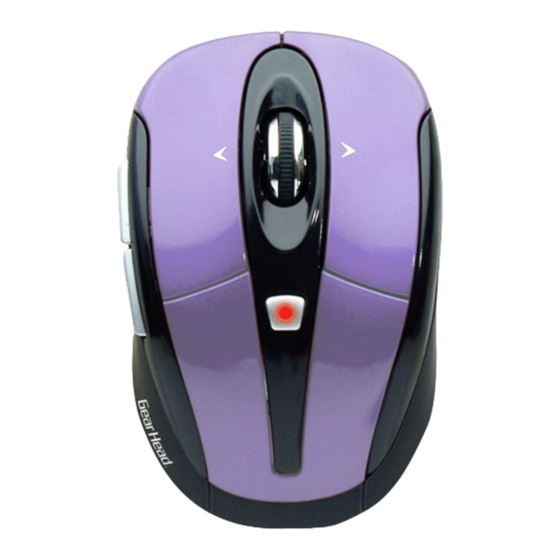
Summary of Contents for Gear Head MS-148HXI
- Page 1 User Manual PID#:111383/384/385/386/603-109289 PID#111646/47/48/49/50-109289 PID #: 111625/626/640/628-109289 Rev. 150312...
-
Page 2: Fcc Radiation Norm
To provide quality customer service and technical support, it is suggested that you keep the following information as well as your store receipt and this user manual. Date of Purchase: ________________________________ Product Rev. Number (located below the UPC on the package): ____________________ FCC RADIATION NORM This device complies with Part 15 of the FCC Rules. -
Page 3: Package Contents
Mac OS X® 10.3 and above (Tilt-Wheel function is compatible with PCs only) An available USB port SPECIFICATIONS Your new mouse complies with the following specifications: USB Interface Note: In order for the tilt-wheel function to work on your mouse you MUST download the setup software from the Gear Head website. -
Page 4: Installing Batteries
INSTALLING BATTERIES To properly install batteries into your mouse, please follow the instructions below: 1. Remove the battery compartment cover from your mouse. 2. Install two AAA batteries into the battery compartment following the orientation guide in the battery bay. 3. -
Page 5: Installation
INSTALLATION For All Operating Systems 1. Make sure you have successfully installed the batteries into your mouse. Refer to the Installing Batteries section in this manual if necessary. 2. Pull out the Nano Receiver stowed in the bottom of your mouse. 3. - Page 6 In order for the tilt-wheel function to work on your mouse you MUST download the setup software from the Gear Head website. 1. Go to the Support page (http://pcgearhead.com/support.php) on the Gear Head website and click the DOWNLOAD: DRIVERS, MANUALS, OR SOFTWARE button.
- Page 7 3. Find Model MPT3000CLR or MPT4000ART or MPT3000NEOand click get downloads…. 4. A pop-up window will appear to initiate the download; click Download to start downloading. (Note: Check the FCC ID number on the rating label which is located under the mouse. Then follow FCC ID number to download relevant software.) FCC ID (A)...
-
Page 9: Installing The Setup Software
5. Follow the onscreen instructions to download the setup software. INSTALLING THE SETUP SOFTWARE 1. Decompress the downloaded software and click the Set Up icon to begin installation. 2. The USB Optical Mouse - InstallShield Wizard will appear on the desktop. Choose your installation language on the following screen and click Next to continue. - Page 10 Button Assignment Advanced Functions Single/Macro You can assign any key function or key combination You can assign a function to to a single button on your any button of your mouse by mouse. selecting from the functions Basic The drop-down menu stored in the drop-down Commands provides 9 basic word...
- Page 11 Reset Current Profile Change the current settings shown on the software screen back to the default settings. You can store up to 5 different configurations with this software. Select a number then change the configuration in the Button Assignment and Advanced Mousewheel Options menu.
-
Page 12: Warranty Information
Return Merchandise for Service Any claim under this warranty must be made in writing to Gear Head, LLC, within 30 days after the owner discovers the circumstances giving rise to any such claim, and must include a copy of this warranty document, a receipt or copy of your invoice marked with the date of purchase, and the original packaging.


