
Related Manuals for Gear Head MS-148OR


Summary of Contents for Gear Head MS-148OR
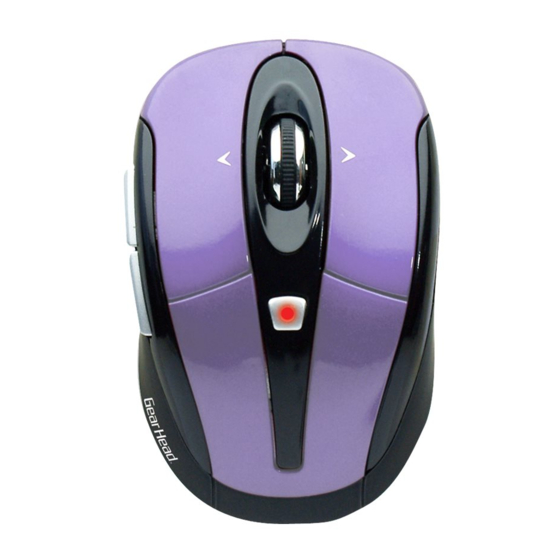
- Page 1 2.4 GHz Wireless Optical Tilt-Wheel Mouse MS-148OR User Manual PID #: 111383/4/5/6/111603-109289 Rev. 140220...
-
Page 2: User Record
All brand name and trademarks are the property of their respective companies Mac and Mac OS X are registered trademarks of Apple Inc. Windows, Windows XP, Windows Vista and Windows 7 are registered trademarks of Microsoft Corporation in the United States and/or other countries. USER RECORD To provide quality customer service and technical support, it is suggested that you keep the following information as well as your store receipt and this user manual. -
Page 3: Package Contents
10.3 and above (Tilt-Wheel function is compatible with PCs only) An available USB port SPECIFICATIONS Your new mouse complies with the following specifications: USB Interface Note: In order for the tilt-wheel function to work on your mouse you MUST download the setup software from the Gear Head website. -
Page 4: Installing Batteries
INSTALLING BATTERIES To properly install batteries into your mouse, please follow the instructions below: 1. Remove the battery compartment cover from your mouse. 2. Install two AAA batteries into the battery compartment following the orientation guide in the battery bay. 3. -
Page 5: Installation
INSTALLATION For All Operating Systems 1. Make sure you have successfully installed the batteries into your mouse. Refer to the Installing Batteries section in this manual if necessary. 2. Pull out the Nano Receiver stowed in the bottom of your mouse. 3. - Page 6 In order for the tilt-wheel function to work on your mouse you MUST download the setup software from the Gear Head website. 1. Go to the Support page (http://pcgearhead.com/support.php) on the Gear Head website and click the DOWNLOAD: DRIVERS, MANUALS, OR SOFTWARE button.
- Page 7 3. Find your model and click get downloads…. 4. A pop-up window will appear to initiate the download; click Download to start downloading. 5. Follow the onscreen instructions to download the setup software (MPT3000CLR).
-
Page 8: Installing The Setup Software
INSTALLING THE SETUP SOFTWARE 1. Decompress the downloaded software and click the Set Up icon to begin installation. 2. The USB Optical Mouse - InstallShield Wizard will appear on the desktop. Choose your installation language on the following screen and click Next to continue. 3. -
Page 9: Using The Software
USING THE SOFTWARE Button Assignment Advanced Functions Single/Macr You can assign any key function or key You can assign a combination to a single function to any button of button on your mouse. your mouse by selecting Basic The drop-down menu from the functions Commands provides 9 basic word... - Page 10 again. Pan Left Pan Right Switch You can set the functions of your Button Off Profile mouse buttons to go to a specified mouse configuration profile, every time that mouse button is clicked. Cycle of Switch You can rotate between the 5 profiles Profile you have set by clicking the assigned mouse button.
- Page 11 CHANGING THE SPEED OF YOUR MOUSE To adjust the speed of the cursor or the scroll button features on your computer, follow the instructions below: NOTE: The screenshots show in this section are for demonstration only and your screen may look slightly different but with similar options. ®...
-
Page 12: Warranty Information
Return Merchandise for Service Any claim under this warranty must be made in writing to Gear Head, LLC, within 30 days after the owner discovers the circumstances giving rise to any such claim, and must include a copy of this warranty document, a receipt or copy of your invoice marked with the date of purchase, and the original packaging. - Page 13 Warning:changes or modifications not expressly approved by the party responsible for compliance could void the user’s authority to operate the equipment. NOTE:This equipment has been tested and found to comply with the limits for a Class B digital device, pursuant to Part 15 of the FCC Rules. These limits are designed to provide reasonable protection against harmful interference in a residential installation.
- Page 14 CAUTION RISK OF EXPLOSION IF BATTERY IS REPLACED BY AN INCORRECT TYPE. DISPOSE OF USED RATTERIES ACCORDING TO THE INSTRUCTIONS Correct Disposal of this product. This marking indicates that this product should not be disposed with oter household wastes throughout the EU.To prevent possible harm to the environment or human health from uncontrolled waste disposal, recycle it responsibly to promote the sustainable reuse of material resources.