Table of Contents
Advertisement
Quick Links
Advertisement
Table of Contents

Related Manuals for Curtis MW906


Summary of Contents for Curtis MW906
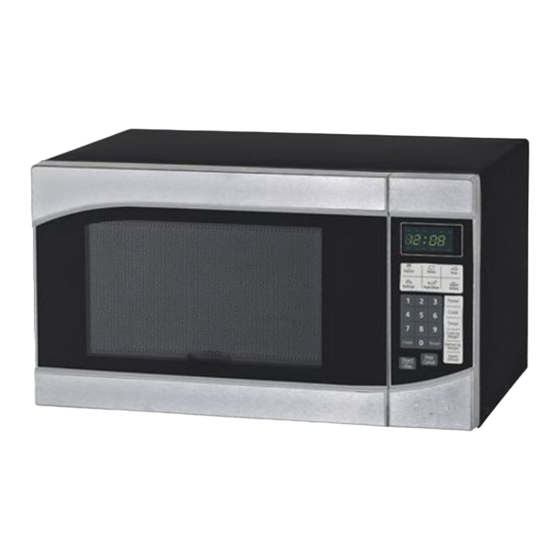
- Page 1 OWNER’S MANUAL Microwave Oven MW906 Please read these instructions carefully before installing and operating the oven. Record in the space below the SERIAL NO. found on the nameplate on your oven and retain this information for future reference. SERIAL NO.
-
Page 2: Table Of Contents
Do not attempt to operate this oven with the door-open since open-door operation can result in harmful exposure to microwave energy. It is important not to defeat or tamper with the safety interlocks. Do not place any object between the oven front face and the door or allow soil or cleaner residue to accumulate on sealing surfaces. -
Page 3: Important Safety Instructions
Liquids, such as water, coffee, or tea are When using electrical appliances, basic safety able to be overheated beyond the boiling precautions should be followed, including the point without appearing to be boiling due to following: surface tension of the liquid. - Page 4 cord away from heated surface. Do not let This appliance should be serviced only by cord hang over edge of table or counter. qualified service personnel, contact nearest authorized service facility for examination, only thermometers, which repair, or adjustment. specifically designed for use in microwave ovens.
-
Page 5: Installation Guide
Make sure that all the packing materials For correct operation, the oven must are removed from the inside of the door. have sufficient airflow. Allow 20cm of space above the oven, 10cm at back Check the oven for any damage, such and 5cm at both sides. -
Page 6: Utensils Guide
reduce the risks resulting from becoming Notes: entangled in or tripping over a longer cord. If you have any questions about the grounding Longer cord sets or extension cords are or electrical instructions, consult a qualified available and may be used if care is exercised electrician or service person. -
Page 7: Cooking Techniques
microwave use. Remove all metal before cooking. Styrofoam plates and cups — These can Note: melt and leave an unhealthy residue on food. Should you wish to check if a dish is safe for microwaving, place the empty dish in the oven Plastic storage and food containers —... -
Page 8: Specifications
Power Consumption: 120V~60Hz, 1350W (MICROWAVE) Output: 900W Operation Frequency: 2450MHz Outside Dimensions(H×W×D): 11 1/16×19×14 1/16 inches. Oven Cavity Dimensions(H×W×D): 8 11/16×13 3/8× 12 5/8 inches. Oven Capacity: 0.9 cu.ft Cooking Uniformity: Turntable System Net Weight: Approx. 30 Door Safety Lock System Oven Window Roller Ring Shaft... -
Page 9: Control Panel
MENU ACTION SCREEN Cooking time, power, indicators and present time are displayed. QUICK COOK BUTTONS Instant settings to cook popular foods NUMBER PADS(0-9) Touch to set time or amount. POWER Use to set power levels other than high. COOK Use for multi-stage cooking. Enables cooking at multiple power and time settings automatically. -
Page 10: Operation Instructions
SIGNALS DURING OVEN SETTINGS ONE SIGNAL: Oven accepts the entry. TWO SIGNALS: Oven does not accept the entry, check and try again. to 99 minutes and 99 seconds. If you want to set a power level other than ETTING THE CLOCK 100% power, touch POWER, then use the number pads to enter the power level. -
Page 11: Speed Defrost
Fractions of a pound Ounces PEED DEFROST Less than .03 .03 to .09 Touch SPEED DEFROST. .10 to .15 Enter desired defrosting time by touching .16 to .21 correct number pads. Digital timer sets minutes and seconds from left to .22 to .27 right so a single digit can be set (5 for 5 seconds ) .28 to .34... -
Page 12: Quick Cook Settings
by children. To cancel, press and hold RESET for 3 seconds. LOCK indication disappears. To set, press and hold RESET for 3 seconds. LOCK is indicated on the display. The QUICK COOK settings allow you to cook or reheat food automatically without entering power PIZZA level or time. -
Page 13: Reheat
In such case, it is normal. disposed to the particular disposal center It is occasionally necessary to remove the provided by the municipalities. glass tray for cleaning. Wash the tray in CURTIS INTERNATIONAL LTD. 315 ATTWELL DR., TORONTO, ON, M9W 5C1 CANADA www.curtisint.com...