Honeywell CL48PM User Manual
Portable evaporative air cooler
Hide thumbs
Also See for CL48PM:
- Owner's manual (81 pages) ,
- Instruction manual (19 pages) ,
- User manual (15 pages)

Related Manuals for Honeywell CL48PM


Summary of Contents for Honeywell CL48PM
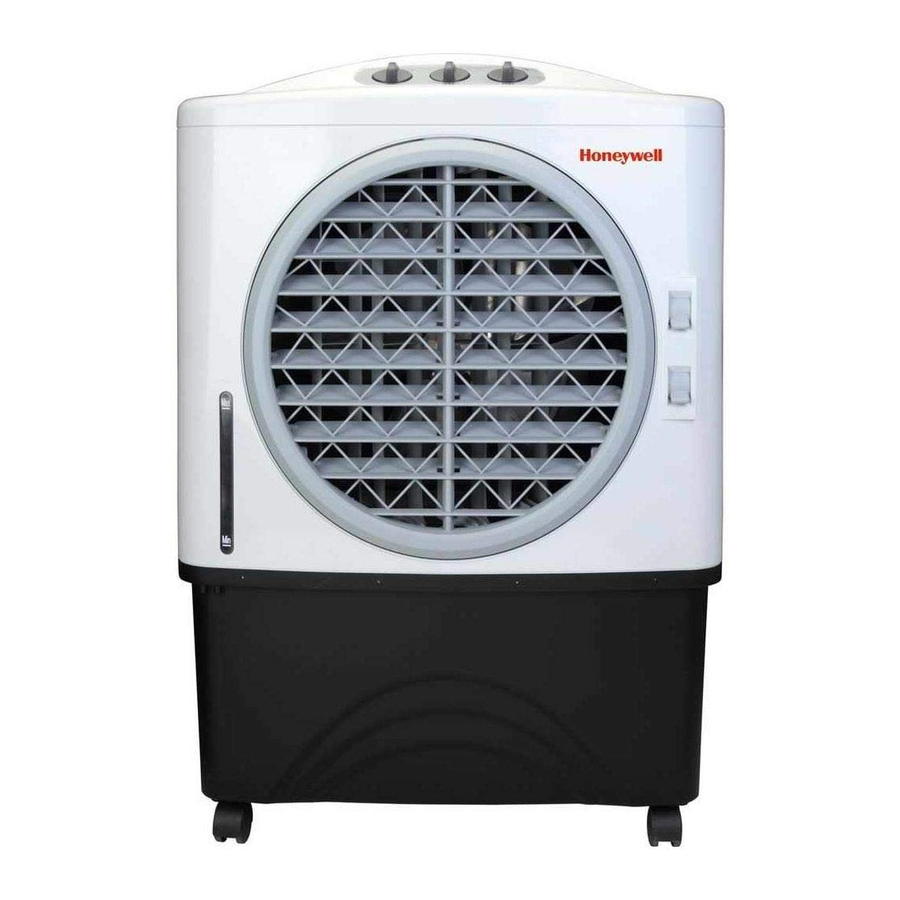
- Page 1 Portable Evaporative Air Cooler User Manual (Web) Read and save these instructions before use Model: CL48PM/ CO48PM...
-
Page 2: Parts Description
PARTS DESCRIPTION Control Panel Water Fill Door Water Level Indicator Rear Grill Water Inlet Hole Power Cord & Plug Handle Water Inlet Valve Left Side Grill Drain Plug Lever for Horizontal Louvers Honeycomb Cooling Media Water Tank Rear Grill Screws Casters Right Side Grill Louvers... -
Page 3: Use And Operation
USE & OPERATION CONTROL PANEL COOL SWING SPEED FUNCTION BUTTONS SPEED / ON - OFF Connect to the power supply and turn the SPEED knob. The fan will start. Change the speed from 3 to 1 (1 for Low, 2 for Medium and 3 for High fan speed). To switch OFF the unit, turn the SPEED knob to 0. COOL You must add water before operating the unit on Cool mode. - Page 4 USE & OPERATION (CONTINUED) FILLING WITH WATER It is ideal to use the Continuous Water Supply Connection to run the unit for long periods of time without refilling the tank. This also helps prevent pump failure in case the cooler is running with inadequate water in the tank.
- Page 5 USE & OPERATION (CONTINUED) FILLING WITH WATER (CONTINUED) Note: The water capacity refers to the total volume of water that can be contained within the air cooler water tank and water distribution system. The water capacity in the tank at the “Max.” indicator level may be lower than the actual water capacity of the air cooler.
- Page 6 USE & OPERATION (CONTINUED) CLEANING THE HONEYCOMB COOLING MEDIA (CONTINUED) Removing the Honeycomb Cooling Media: Remove the screws from the Rear Grill of the Air Cooler. Carefully pull out the Rear Grill from the Air Cooler. The Honeycomb Cooling Pad is secured on the Rear Grill by two Horizontal Bars that are fixed in place by two screws on the Left and Right Sides of these Horizontal Bars.