Kohler Finial K-378 Installation Manual
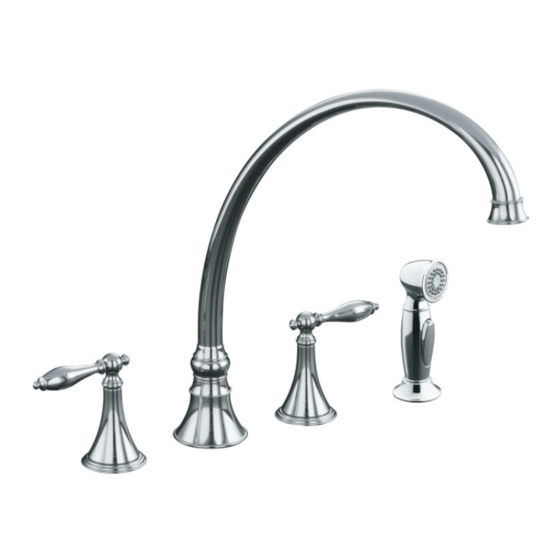
Kitchen sink faucet
Hide thumbs
Also See for Finial K-378:
- Installation manual (25 pages) ,
- Installation and care manual (21 pages) ,
- Installation manual (21 pages)
Advertisement
Available languages
Available languages
Quick Links
Advertisement

Related Manuals for Kohler Finial K-378


Summary of Contents for Kohler Finial K-378
- Page 1 Installation Guide Kitchen Sink Faucet K-377, K-378 K-16109, K-16111 M product numbers are for Mexico (i.e. K-12345M) Los números de productos seguidos de M corresponden a México (Ej. K-12345M) Français, page ″Français-1″ Español, página ″Español-1″ 1004636-2-E...
-
Page 2: Tools And Materials
For new installations, assemble the faucet to the sink before installing the sink. Kohler Co. reserves the right to make revisions in the design of faucets without notice, as specified in the Price Book. 1004636-2-E... - Page 3 2. Install the Handspray Slide the gasket, if provided, onto the spray holder. If a gasket is not provided, apply plumbers putty to the underside of the spray holder. Slide the spray holder through the mounting hole from above. Kohler Co. 1004636-2-E...
- Page 4 Hand tighten the spray holder nut from under the sink. If applicable, remove any excess plumbers putty. Insert the handspray hose through the spray holder. Attach the handspray hose to the shank tee. Wrench tighten the spray holder nut. 1004636-2-E Kohler Co.
- Page 5 Install a washer and then a nut to the bottom of the valve bodies. Align the valve bodies so the copper tubing faces the outside. Wrench tighten the nuts. Remove any excess plumbers putty. Connect and wrench tighten the hoses to the shank tee. Do not overtighten. Kohler Co. 1004636-2-E...
- Page 6 fitting and hand tighten the nuts. Wrench tighten all nuts. Do not overtighten. For hose connections (not shown): Attach one end of a hose (not supplied) to the hot valve and one end to the hot supply. 1004636-2-E Kohler Co.
- Page 7 Install the Supplies (cont.) Attach one end of a hose (not supplied) to the cold valve and one end to the cold supply. Carefully tighten all connections. Kohler Co. 1004636-2-E...
-
Page 8: Installation Checkout
Run the water for about one minute to remove any debris. Turn off the hot and cold faucet handles. Place the aerator insert and then the washer into the aerator body. Reinstall the aerator by turning it clockwise until hand tight. Check for leaks. 1004636-2-E Kohler Co. - Page 9 Merci d’avoir choisi la compagnie Kohler Nous apprécions votre engagement envers la qualité Kohler. Veuillez prendre s’il vous plaît quelques minutes pour lire ce manuel avant de commencer l’installation. Ne pas hésiter à nous contacter en cas de problème d’installation ou de performance.
- Page 10 Avant de commencer (cont.) Kohler Co. se réserve le droit d’apporter toutes modifications au design des robinets et ceci sans préavis, comme spécifié dans le catalogue des prix. 1004636-2-E Français-2 Kohler Co.
- Page 11 Serrer l’écrou du manche et la rondelle pour sécuriser le manche sur l’évier. 2. Installer le vaporisateur Glisser le joint, si fourni, sur le support du vaporisateur. Si un joint n’est pas fourni, appliquer du mastic de plombier en-dessous du support du vaporisateur. Kohler Co. Français-3 1004636-2-E...
- Page 12 Si possible, retirer tout excès de mastic de plombier. Insérer le flexible du vaporisateur dans son support. Raccorder le tuyau du vaporisateur au T du manche. Serrer à clé l’écrou du support du vaporisateur. 1004636-2-E Français-4 Kohler Co.
- Page 13 Aligner les corps de valve de manière à orienter la tuyauterie en cuivre vers l’extérieur. Serrer les écrous à la clé. Retirer tout excédent de mastic de plombier. Raccorder et serrer les flexibles à clé au T du manche. Ne pas trop serrer. Kohler Co. Français-5 1004636-2-E...
- Page 14 écrous à la main. Serrer tous les écrous à clé. Ne pas trop serrer. Pour des connexions de tuyaux (non-illustrés): Attacher une extrémité d’un tuyau (non fourni) à la valve d’eau chaude et une autre à l’alimentation d’eau chaude. 1004636-2-E Français-6 Kohler Co.
- Page 15 Installer les alimentations (cont.) Attacher une extrémité d’un tuyau (non fourni) à la valve d’eau froide et une autre à l’alimentation d’eau froide. Serrer délicatement toutes les connexions. Kohler Co. Français-7 1004636-2-E...
-
Page 16: Vérification De L'installation
Ouvrir les poignées des robinets d’eau chaude et froide. Placer l’insertion de l’aérateur puis la rondelle dans le corps de l’aérateur. Réinstaller l’aérateur en le pivotant vers la droite jusqu’au serrage. Vérifier s’il y a des fuites. 1004636-2-E Français-8 Kohler Co. -
Page 17: Herramientas Y Materiales
Gracias por elegir los productos de Kohler Le agradecemos que haya elegido la calidad de Kohler. Dedique unos minutos para leer este manual antes de comenzar la instalación. En caso de problemas de instalación o de funcionamiento, no dude en contactarnos. - Page 18 Antes de comenzar (cont.) Kohler Co. se reserva el derecho de modificar el diseño de la grifería sin previo aviso, tal como se especifica en la lista de precios. 1004636-2-E Español-2 Kohler Co.
- Page 19 Afloje el vástago 1/8 de vuelta. ¡IMPORTANTE! No afloje el vástago más de 1/2 vuelta. El surtidor puede no sellar y causar una fuga. Apriete la tuerca y arandela del vástago para fijar el vástago al fregadero. Kohler Co. Español-3 1004636-2-E...
- Page 20 Si aplica, limpie el exceso de masilla de plomería. Inserte la manguera del rociador de mano en el soporte portador del rociador. Conecte la manguera del rociador a la T del vástago. Apriete con una llave la tuerca del soporte portador del rociador. 1004636-2-E Español-4 Kohler Co.
- Page 21 Alinee los cuerpos de válvula de manera que los tubos de cobre estén orientados al exterior. Apriete las tuercas con una llave. Limpie el exceso de masilla de plomería. Conecte y apriete con una llave las mangueras a la T del vástago. No apriete demasiado. Kohler Co. Español-5 1004636-2-E...
- Page 22 Apriete todas las tuercas con una llave. No apriete demasiado. Para las conexiones de manguera (no ilustradas): Fije un extremo de una manguera (no provista) a la válvula del agua caliente y el otro extremo al suministro de agua caliente. 1004636-2-E Español-6 Kohler Co.
- Page 23 Instale los suministros (cont.) Fije un extremo de una manguera (no provista) a la válvula del agua fría y el otro extremo al suministro de agua fría. Apriete con cuidado todas las conexiones. Kohler Co. Español-7 1004636-2-E...
-
Page 24: Verificación De La Instalación
Coloque la pieza de inserción del aireador y luego la arandela en el cuerpo del aireador. Vuelva a instalar el aireador girándolo a la derecha hasta que esté apretado con la mano. Verifique que no haya fugas. 1004636-2-E Español-8 Kohler Co. - Page 25 1004636-2-...
- Page 26 1004636-2-...
- Page 27 1004636-2-...
- Page 28 USA: 1-800-4-KOHLER Canada: 1-800-964-5590 México: 001-877-680-1310 kohler.com ©2006 Kohler Co. 1004636-2-E...