Table of Contents
Advertisement
Quick Links
Thank you for purchasing a Panasonic product.
This document explains how to install the indoor camera properly.
For details about how to use the system, refer to the User's Guide (page 13).
Please read this document before using the unit and save it for future reference.
Installation Guide
Home Network System
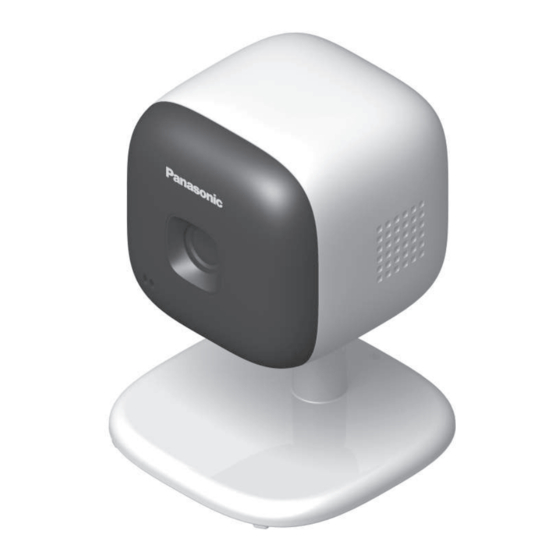
KX-HNC200FX
Model No.
Indoor Camera
Advertisement
Table of Contents

Related Manuals for Panasonic KX-HNC200FX


Summary of Contents for Panasonic KX-HNC200FX
- Page 1 Indoor Camera KX-HNC200FX Model No. Thank you for purchasing a Panasonic product. This document explains how to install the indoor camera properly. For details about how to use the system, refer to the User’s Guide (page 13). Please read this document before using the unit and save it for future reference.
-
Page 2: Table Of Contents
Table of Contents Introduction Accessory information ........3 Important Information About this system .........4 For your safety ..........4 Important safety instructions ......5 For best performance ........5 Other information .........6 Setup Part names and functions ......7 LED indicator ..........7 Setup overview ..........7 Registering the camera ........7 Information about sensor features ....8 Information about night vision mode ....9... -
Page 3: Accessory Information
Accessory information Supplied accessories Accessory item/Part number Quantity AC adaptor/PNLV236CE Additional accessories Please contact your nearest Panasonic dealer for sales information. Accessory item Order number DC extension cord PNJA1159Z Other information R Design and specifications are subject to change without notice. -
Page 4: Important Information
Danger of electric shock from property loss. Panasonic will not be exists. held responsible in the event that property R Never touch the plug with wet hands. -
Page 5: Important Safety Instructions
For best performance equipment that could be sensitive to external RF energy. Hub location/avoiding noise The hub and other compatible Panasonic CAUTION devices use radio waves to communicate with each other. Installation and location... -
Page 6: Other Information
Important Information Disposal of Old Equipment (Only for Other information European Union and countries with recycling systems) Routine care R Wipe the outer surface of the product with a soft moist cloth. R Do not use benzine, thinner, or any abrasive powder. -
Page 7: Setup
Setup Indicator Status Part names and functions Red, blinking Camera is out of range of the hub, or device malfunction Amber, blinking Camera is not slowly registered to a hub You can configure the camera so that its LED indicator does not light during normal operation. -
Page 8: Information About Sensor Features
We do not recommend use of the sensor features in these situations. R Panasonic takes no responsibility for any injury or damage caused by the use of the camera’s sensor features. -
Page 9: Information About Night Vision Mode
Setup Direction of motion Sound sensor It is easier to detect objects that move The sensor is triggered when the set sound sideways in front of the camera, and more level is exceeded. difficult to detect objects that move directly Note: toward the front of the camera. -
Page 10: Connections
Setup R Metal doors or screens Note: R Walls containing aluminium-sheet insulation R Use only the supplied Panasonic AC R Walls made of concrete or corrugated iron adaptor PNLV236CE. R Double-pane glass windows R Multiple walls R When using each device on separate floors... -
Page 11: Wall Mounting
Setup Pass a string (not supplied) through the Mount the camera to the wall. hole in the stand. Screws 28 mm Tie the string and hook it to the bracket. Wall mounting R Mount the camera on the stable location where the unit can be adequately supported when installing. -
Page 12: Appendix
Appendix Testing the motion Features available when detection range using the [Home Network] After you have installed the [Home Network] app on your mobile device, you can use your Some of the features that are available when mobile device to test the performance of the using the [Home Network] app are listed camera’s motion detection feature. -
Page 13: Accessing The User's Guide
Up to 90 % relative humidity (non-condensing) R Transmitting range Approx. 50 m indoors Approx. 300 m outdoors R Image sensor www.panasonic.net/pcc/support/tel/ 0.3 megapixel CMOS homenetwork/manual/ R Minimum illuminance required 0 lx R Focal length Fixed (0.4 m – infinity) R Angular field of view (camera angle) Horizontal: approx. - Page 14 Notes...
- Page 15 Notes...
- Page 16 We recommend keeping a record of the following information to assist with any repair under warranty. Serial No. Date of purchase (found on the bottom of the stand) Name and address of dealer Attach your purchase receipt here. © Panasonic Corporation 2016 PNQP1185YA CC0216WK1126...