Table of Contents
Advertisement
Quick Links
Stick Steam Cleaner
Steam
Cleaner
Get Cleaning...
What's your Vax model number?
What's your serial number?
Note these down in case you need them in future. Please keep instructions for further use.
vax.co.uk
(Located on the flap of the packaging)
e.g. S 8 7-T 2
(Located on the base of the machine)
User Guide
S87-T2 Series
Advertisement
Table of Contents

Related Manuals for Vax S87-T2 Series


Summary of Contents for Vax S87-T2 Series
- Page 1 User Guide Stick Steam Cleaner Steam Cleaner Get Cleaning... What’s your Vax model number? (Located on the flap of the packaging) e.g. S 8 7-T 2 What’s your serial number? (Located on the base of the machine) Note these down in case you need them in future. Please keep instructions for further use.
-
Page 2: Machine Overview
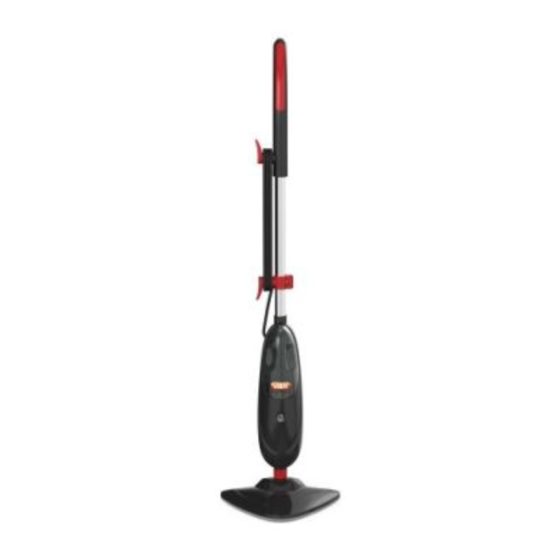
Machine Overview 1 Handle Unit 2 Upper cord clip 3 Lower cord clip 4 Power cord 5 Clean water tank 6 LED indicator a) Water heating/power on (orange LED) b) Steam ready (orange LED) (green LED) 7 Floor head 8 Steam release trigger 9 Microfibre cleaning pad Accessories 10 Carpet glider (dependant on model) -
Page 3: General Safety Information
If repair is the voltage marked on the rating label of the appliance. needed contact the Vax Careline. Do not use the stick steam cleaner if it has been dropped, This stick steam cleaner is intended for household use only and damaged, left outdoors or dropped into water. -
Page 4: Operation
Operation Assembling your stick steam cleaner Push handle into main body. Screw handle in place. Attach microfibre pad to floor head. Before you begin cleaning IMPORTANT: Please refer to floor manufacturer’s care recommendations before use and test the steamer on a discrete area of flooring to begin with. WARNING: To reduce the risk of personal injury, unplug the steamer when assembling the unit. - Page 5 WARNING: To reduce the risk of personal injury, unplug the steamer when assembling the accessories. IMPORTANT: Never use the stick steam cleaner without the microfibre cleaning pad correctly attached to the floor head. Place microfibre Tighten the cleaning pad over drawstring so the the floor head. microfibre cleaning pad is fitted securely. vax.co.uk...
- Page 6 Operation Steam cleaning hard floors IMPORTANT: Please refer to floor manufacturer’s care recommendations before use and test the steamer on a discrete area of flooring to begin with. WARNING: Never leave the stick steam cleaner in one spot on any surface for an extended period of time with a damp or wet microfibre cleaning pad attached as this may damage the floor surface.
-
Page 7: Maintenance
Maintenance (Keep your Vax as good as new) Empty the water tank IMPORTANT: Allow the unit to fully cool down before performing any maintenance or troubleshooting checks. Remove the clean water tank. Twist the cap anti-clockwise Empty any excess water over the to remove. - Page 8 Maintenance (Keep your Vax as good as new) Replacing the hard water filter IMPORTANT: Allow the unit to cool down fully before performing maintenance or troubleshooting checks. IMPORTANT: The condition of the filter affects the performance of your machine. Check and change filter (depending on level of use).
- Page 9 • vaxireland.ie or broken? or call: • Visit vax.co.uk for parts and spares (UK) 0844 412 8455 (ROI) 1-800 928 308 • Please call our Careline to purchase new spares or order This does not a ect your statutory rights.
-
Page 10: Other Information
Any queries or concerns about using your Vax, simply visit; vax.co.uk/support – vaxireland.ie or call the Vax Careline. Calls are charged at the UK local rate. Please make a note of the serial number and model number of the vacuum cleaner before calling. - Page 11 Notes vax.co.uk...
- Page 12 Vax Ltd, Kingswood Road, Hampton Lovett, Droitwich, Worcestershire, WR9 OQH, UK email: info@vax.co.uk - website: vax.co.uk Version 1.0...