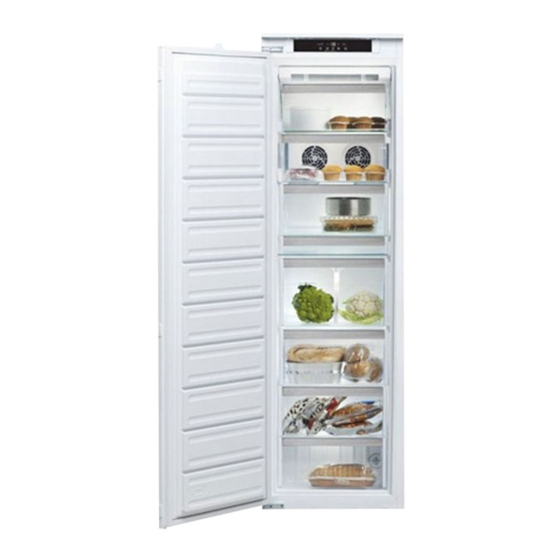
AEG ABE81816NC User Manual
Hide thumbs
Also See for ABE81816NC:
- User manual (60 pages) ,
- User manual (48 pages) ,
- User manual (64 pages)
Table of Contents
Advertisement
Quick Links
Advertisement
Table of Contents

Summary of Contents for AEG ABE81816NC
- Page 1 ABE81816NC User Manual Freezer USER MANUAL...
-
Page 2: Table Of Contents
10. TECHNICAL DATA....................15 FOR PERFECT RESULTS Thank you for choosing this AEG product. We have created it to give you impeccable performance for many years, with innovative technologies that help make life simpler features you might not find on ordinary appliances. Please spend a few minutes reading to get the very best from it. - Page 3 ENGLISH usage. Always keep the instructions in a safe and accessible location for future reference. 1.1 Children and vulnerable people safety This appliance can be used by children aged from 8 • years and above and persons with reduced physical, sensory or mental capabilities or lack of experience and knowledge if they have been given supervision or instruction concerning the use of the appliance in a...
-
Page 4: Safety Instructions
Do not use water spray and steam to clean the • appliance. Clean the appliance with a moist soft cloth. Only use • neutral detergents. Do not use abrasive products, abrasive cleaning pads, solvents or metal objects. - Page 5 ENGLISH Contact the Authorised Service • Obey the storage instructions on the Centre or an electrician to change the packaging of frozen food. electrical components. 2.4 Care and cleaning • The mains cable must stay below the level of the mains plug. WARNING! •...
-
Page 6: Installation
3. INSTALLATION 3.3 Electrical Connection WARNING! Refer to Safety chapters. CAUTION! Any electrical work required 3.1 Location to install this appliance should be carried out by a Refer to the assembly qualified electrician or instructions for the competent person. -
Page 7: Operation
ENGLISH 3. Connect the wire coloured brown to the terminal either marked with the min. 5 cm 200 cm “L“ or coloured red. 4. Check that no cut, or stray strands of wire is present and the cord clamp (E) is secure over the outer sheath. Make sure the electricity supply voltage is the same as that indicated min. - Page 8 4.2 Display A. Timer indicator B. FROSTMATIC function C. Temperature indicator D. Alarm indicator E. ChildLock function F. DrinksChill function 4.3 Switching on 1. To activate this function press the Mode button until the corresponding 1. Connect the mains plug to the power icon appears.
-
Page 9: Daily Use
ENGLISH The DrinksChill indicator flashes. an earlier power failure) is indicated by The Timer shows the set value (30 flashing the alarm icon and freezer minutes) for a few seconds. temperature indicators, and sounding of 2. Press the Timer regulator to change buzzer. -
Page 10: Hints And Tips
5.4 Ice-cube production In the event of accidental defrosting, for example due This appliance is equipped with one or to a power failure, if the more trays for the production of ice- power has been off for cubes. longer than the value shown... -
Page 11: Care And Cleaning
ENGLISH 6.4 Hints for storage of frozen • Once defrosted, food deteriorates rapidly and cannot be refrozen. food • Do not exceed the storage period indicated by the food manufacturer. • Make sure that the commercially frozen food products were adequately stored by the retailer. -
Page 12: Troubleshooting
8. TROUBLESHOOTING WARNING! Refer to Safety chapters. 8.1 What to do if... Problem Possible cause Solution The appliance does not op- The appliance is switched Switch on the appliance. erate. off. The mains plug is not con- Connect the mains plug to the nected to the mains socket mains socket correctly. -
Page 13: Noises
ENGLISH Problem Possible cause Solution The "FROSTMATIC" is Refer to "FROSTMATIC func- switched on. tion". There is too much frost and The door is not closed cor- Refer to "Closing the door". ice. rectly or the gasket is de- formed/dirty. The compressor does not This is normal, no error has The compressor starts after a... - Page 14 HISSS! BRRR SSSRRR! SSSRRR! HISSS! HISSS! BLUBB! CRACK! CRACK! BLUBB!
-
Page 15: Technical Data
ENGLISH 10. TECHNICAL DATA Dimensions of the recess Height 1780 Width Depth Rising time Hours Voltage Volts 230 - 240 Frequency The technical information is situated in internal side of the appliance and in the the rating plate, on the external or energy label. - Page 16 0016...


