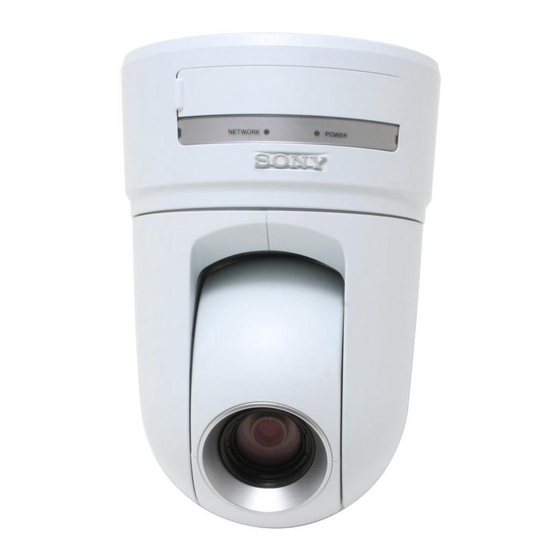
Sony OneHome SNC-RZ25N Integration Note
Hide thumbs
Also See for OneHome SNC-RZ25N:
- Install manual (123 pages) ,
- User manual (92 pages) ,
- Brochure & specs (6 pages)
Advertisement
Quick Links
OneHome
Manufacturer:
Model Number(s):
OneHome Versions:
Comments:
Document Revision Date:
O
S
VERVIEW AND
UPPORTED
Installing the Sony cameras can be broken down into the following steps:
1. Install cameras at desired locations, and pull power and Cat5 cabling as needed. Refer to the
Sony documentation for mounting details.
2. Connect the cameras electrically to the home network and configure the cameras. See Camera
Configuration.
3. Integrate the cameras into the OneHome system and test proper operation. This step is outlined
in HomeLogic Configuration Details.
T
S
HE
ONY CAMERAS SUPPORT THE FOLLOWING FEATURES
Pan / Tilt: These cameras can be turned to see various locations.
Zoom: The cameras also support the zoom function.
Presets: These cameras support presets, allowing the user to store predefined locations such as a
driveway or pool.
Audio In: The camera includes a microphone jack. Sound that is picked up by the camera is played at
the Viewer interface.
Video Out: The camera includes an analog video output, which can be connected to an analog DVR to
provide separate recording, or to a TV modulator to enable camera viewing on a television.
Image Flip: The camera can be mounted with its base up or down, and the image will appear normal.
T
S
DO NOT
HE
ONY CAMERAS
Audio Out: The camera includes an audio line-out, but sending audio to the camera is not supported from
the Viewer interface at this time.
Tour Program: The "tour program" feature that can be accessed from the camera's web interface is not
available from the Viewer interface, though similar behavior can be achieved using the Event Mapper.
Input/Output: The camera includes an I/O connector for sensor inputs and alarm outputs. These are not
supported by the OneHome system at this time.
Motion Detection: Support for motion detection from this camera is not integrated into HomeLogic at this
time.
HomeLogic LLC
Sony
SNC-RZ25N
4.0 (build 302 and later)
IP Setup Version 1.3.5
8/25/2008
F
EATURES
SUPPORT THE FOLLOWING FEATURES
100 Hoods Lane
Marblehead, MA 09145
Camera Integration Note
:
:
Phone (781) 639-5155
Fax (781) 639-9677
Advertisement

Summary of Contents for Sony OneHome SNC-RZ25N
- Page 1 VERVIEW AND UPPORTED EATURES Installing the Sony cameras can be broken down into the following steps: 1. Install cameras at desired locations, and pull power and Cat5 cabling as needed. Refer to the Sony documentation for mounting details. 2. Connect the cameras electrically to the home network and configure the cameras. See Camera Configuration.
- Page 2 The camera configuration is done with software provided by Sony, which must be run from a computer with Windows also connected to the same network as the camera. The software program from Sony is the IP Setup Program, and the version used for this document is shown above.
- Page 3 8. Start a browser and bring up the camera, as shown below: 9. Click Settings at the bottom, then select Camera to bring up the screen below: 10. Verify that JPEG is selected at the top of the page, as shown above. 11.
- Page 4 Variable Name Setting Comments Communication Device N/A (See Note 1) N/A (See Note 1) Video Cameras Name <User Defined> (Default: Sony SNC-RZ25N) Device Type Sony SNC-RZ25N Location <User Defined> (Not Required) IP Address <User Defined> (Default: 192.168.0.80) (See Note 2) Port <User Defined>...


