Table of Contents
Advertisement
USER'S GUIDE
GUÍA DEL USUARIO
Please keep all information for future reference.
Guarde toda información para tener como referencia futura.
PX310ES1B
Safety Precautions
Before trying to use the piano, be sure to
read the separate "Safety Precautions".
Precauciones de seguridad
Antes de intentar usar el piano, asegúrese
de leer las "Precauciones de seguridad"
separadas.
ES
Advertisement
Table of Contents

Related Manuals for Casio Privia PX-310


Summary of Contents for Casio Privia PX-310
- Page 1 USER’S GUIDE GUÍA DEL USUARIO Please keep all information for future reference. Guarde toda información para tener como referencia futura. PX310ES1B Safety Precautions Before trying to use the piano, be sure to read the separate “Safety Precautions”. Precauciones de seguridad Antes de intentar usar el piano, asegúrese de leer las “Precauciones de seguridad”...
- Page 2 This recycle mark indicates that the packaging conforms to the environmental protection legislation in Germany. Esta marca de reciclaje indica que el empaquetado se ajusta a la legislación de protección ambiental en Alemania. CASIO COMPUTER CO.,LTD. 6-2, Hon-machi 1-chome MA0508-B Printed in China Shibuya-ku, Tokyo 151-8543, Japan...
-
Page 3: Important Safety Instructions
• The product is not intended for children under 3 years. • Use only CASIO AD-12 adaptor. • The AC adaptor is not a toy. • Be sure to disconnect the AC adaptor before cleaning the product. -
Page 4: Table Of Contents
Contents General Guide ... E-2 Attachment of the Score Stand ... E-2 About the FUNCTION button ... E-3 Numeric Input Keys and +/– Keys ... E-4 Playing Back All the demo Tunes ... E-4 Power Supply ... E-4 Using the AC Adaptor ... E-4 Connections ... -
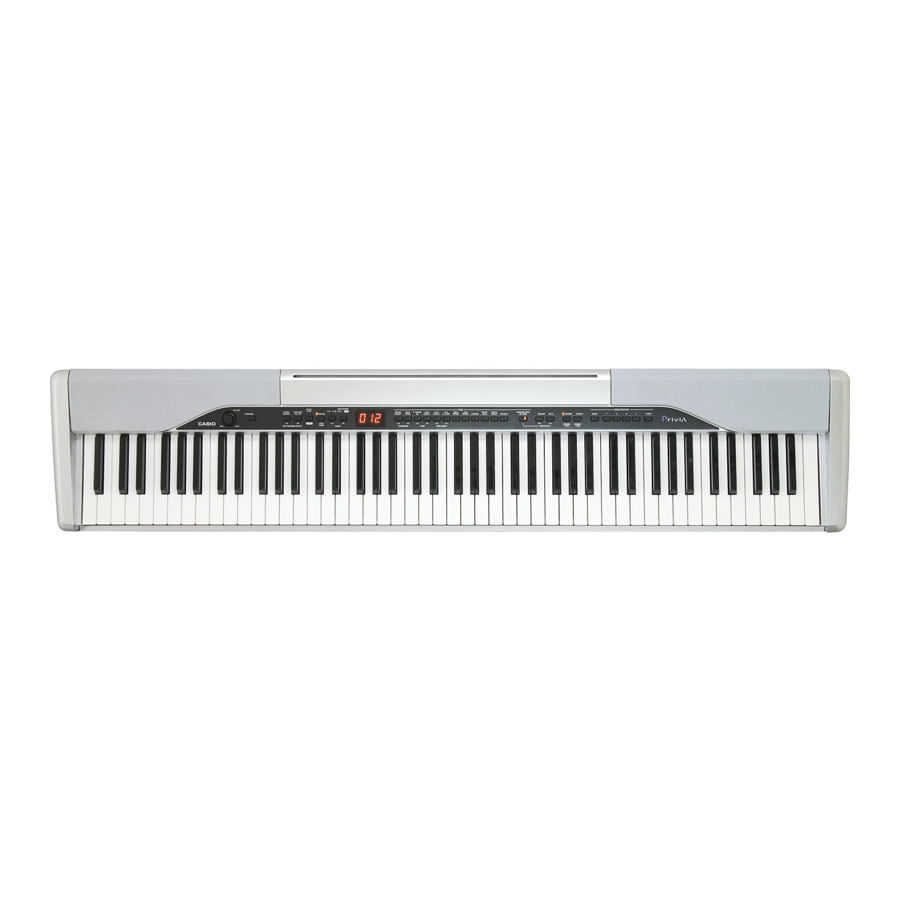
Page 5: General Guide
General Guide Bottom Left Side Panel G H I J K L NOTE • Each chapter of this manual starts with an illustration of the piano’s console, which shows the buttons and other controllers you need to operate. Back Panel Attachment of the Score Stand Insert the score stand into the slot at the top of the digital piano as shown in the illustration. -
Page 6: About The Function Button
PEDAL connector DAMPER PEDAL jack SOFT/SOSTENUTO PEDAL jack LINE OUT R, L/MONO jacks LINE IN R, L/MONO jacks POWER button DC 12V jack MIDI THRU/OUT/IN terminals PHONES jacks RHYTHM/SONG SELECT buttons TEMPO buttons TONE buttons TONE SELECT buttons REGISTRATION buttons VOLUME knob FUNCTION button INTRO/ENDING button... -
Page 7: Numeric Input Keys And +/- Keys
General Guide Numeric Input Keys and +/– Keys G For a moment after you hold down the FUNCTION button and then press another button to activate a function, you can use certain keyboard keys to input numbers or to increase (+) and decrease (–) setting values. -
Page 8: Connections
[Left Side Panel] PHONES jacks Headphones Connecting an audio or musical instrument amplifier Connecting to an audio or musical instrument amplifier provides even clearer, more powerful sound through external speakers. Audio amplifier AUX IN, etc. PIN plugs Standard jacks... -
Page 9: Connecting To A Pedal Jack
Connections Connecting to a PEDAL Jack Depending on the type of operation you want the pedal (SP-3) to perform, connect the pedal’s cable to the digital piano’s PEDAL DAMPER jack or PEDAL SOFT/SOSTENUTO jack. If you want to use both jacks at the same time, you need to purchase another optionally available pedal. -
Page 10: Playing With Different Tones
Playing with Different Tones Selecting and Playing a Tone Your piano has the following types of tones built in. Main Tones Variation Tones Advanced Tones GM Tones Drum Sets Selecting Main Tones and Variation Tones Press the POWER button. POWER button Use the VOLUME knob to adjust the volume level. -
Page 11: Adjusting The Brilliance Of A Tone
Playing with Different Tones While holding down the FUNCTION button, press the ADVANCED TONES/GM TONES button. Remember to keep the FUNCTION button depressed. • This causes the tone number of the tone that is currently assigned to the ADVANCED TONES/ GM TONES button to appear on the display. -
Page 12: Assigning Different Tones To The Left And Right Sides Of The Keyboard
Simultaneously press the TONE buttons of the two tones that you want to layer. Example: Press GRAND PIANO 1 button and STRINGS button at the same time. • If the layer tone is a variation tone, the indicator lamp above the VARIATION button will light. GRAND PIANO 1 STRINGS •... -
Page 13: Using Tone Effects
Playing with Different Tones Using Tone Effects Reverb: Makes your notes resonate Chorus: Adds more breadth to your notes Turning Effects On and Off Each press of the REVERB or CHORUS button toggles the setting as shown below. • You can determine the status of the effects by checking the REVERB and CHORUS indicator lamps. -
Page 14: Using The Piano's Pedals
NOTE • Under initial default settings, DSP is on for the main tone, and layer and split are turned off. DSP can be applied to only one part as shown below. Main Tone Initial Defaults Layer Tone DSP On Split Tone DSP On •... -
Page 15: Playing Rhythms
Playing Rhythms You can select from among 120 built-in rhythms. Rhythms 0 through 109 include percussion instrument sounds, but rhythms 110 through 119 do not. See the next page for information about how to use rhythms 110 through 119. Press the RHYTHM button so the RHYTHM indicator lamp (above the button) is lit. -
Page 16: Using Auto Accompaniment
(MODE). NORMAL: FULL RANGE CHORD: CASIO CHORD: FINGERED: • Here we will select the CASIO CHORD mode. • See page E-14 for information about how to use the chord modes. 407A-E-015A Press the SYNCHRO/FILL-IN button. • This configures the piano so rhythm and chord... - Page 17 You can change the location of the split point, which also changes the sizes of the keyboard areas. E-14 Chord Types CASIO CHORD accompaniment lets you play four types of chords with minimal fingering. Major chords Press one accompaniment key.
- Page 18 IMPORTANT! • The accompaniment keyboard can be used for playing chords only. No sound will be produced if you try playing single melody notes on the accompaniment keyboard. • The split point (page E-9) is the point that separates the Auto Accompaniment area and the melody area of the keyboard.
-
Page 19: Playing Tunes You Download From The Internet
Playing Tunes You Download from the Internet You can save music data for up to 10 tunes you download from the Internet to the digital piano’s user song area (No. 0 through 9). Once you store a song in digital piano memory, you can play it back using the following procedure. -
Page 20: Practicing A Tune
Practicing a Tune You can turn off the left hand part or right hand part of the user song* and play along on the digital piano. * With song data, the left-hand part is assigned to MIDI Channel 3, while the right-hand part is assigned to MIDI Channel 4. -
Page 21: Using Registration Memory
Using Registration Memory What is registration memory? Registration memory lets you save up to 32 (4 areas × 8 banks) digital piano setups (tone, rhythm, tempo, etc.) for instant recall whenever you need them. Registration Memory Setup Data The following are the settings that can be saved for each registration memory setup. -
Page 22: Using Registration Memory
To store a setup in registration memory On the digital piano, configure the tone, rhythm, and other settings you want to save as your setup. • See “Registration Memory Setup Data” (page E-18) for more information. Use the BANK button to select the registration memory bank where you want to save the setup. -
Page 23: Recording To And Playing Back From Song Memory
• Turning off power while a record operation is in progress deletes anything recorded up to that point. • CASIO COMPUTER CO., LTD. shall not be held responsible for any losses by you or any third party due Data recorded in track to loss of data caused by malfunction or repair of this digital piano, or by battery replacement. -
Page 24: Recording Your Keyboard Play
Recording Your Keyboard Play You can record to either track with or without playback of the other track. To record to one track without playing back the other Press the SONG MEMORY button so the PLAY indicator lamp is lit. •... -
Page 25: Playing Back From Song Memory
Recording to and Playing Back from Song Memory To record to a track while playing back from the other After you finish recording, you can play back Track 1 and Track 2 at the same time. Example: To record to Track 2 while playing back the contents of Track 1 Press the SONG MEMORY button so the PLAY indicator lamp is lit. -
Page 26: Deleting Song Memory Data
Deleting Song Memory Data IMPORTANT! • The procedure below deletes all of the data from the selected track. Note that the delete operation cannot be undone. Check to make sure you really do not need the data in Song Memory before you perform the following steps. -
Page 27: Other Settings
Other Settings Adjusting Accompaniment Volume Perform the following operation to change the volume level of the rhythm and chord accompaniment. While holding down the FUNCTION button, use the keyboard keys shown below raise accompaniment volume. : Raises the accompaniment volume : Lowers the accompaniment volume FUNCTION E-24... -
Page 28: Changing The Piano Key
(machines) produced by different manufacturers. NOTE • For detailed information about MIDI Implementation, visit the CASIO website at: http://world.casio.com/. ] at the same time = 440.0Hz. Other Settings Off: E-25... -
Page 29: Saving The Song Data You Download From The Internet
Other Settings MIDI Connections To use a computer or other MIDI device to record and playback the MIDI data produced by this keyboard, you must connect the MIDI IN and MIDI OUT terminals of both devices in order to send and receive data. - Page 30 CASIO MUSIC SITE http://music.casio.com/ • In addition to the software itself, the CASIO MUSIC SITE will also provide you with information about its installation and use. You can also find out about the latest news about your digital piano and other CASIO musical instruments, and much more.
-
Page 31: Troubleshooting
* Multiple digital samples are taken for the low range, middle range, and high range of the original musical instrument. Because of this, there may be a very slight difference in tonal quality and volume between sample ranges. Action... -
Page 32: Specifications
• Number of Rhythms: 120 • Tempo Range: 30 to 255 • Controllers: START/STOP, INTRO/ENDING, SYNCHRO/FILL-IN • Modes: Normal, CASIO CHORD, FINGERED, FULL RANGE CHORD • Accompaniment Volume: Adjustable User Songs: • Number of Tunes: 10 tunes maximum (Approximately 145 KB*) •... -
Page 33: Operational Precautions
Note that you will be charged separately for lithium battery replacement. • Note that CASIO COMPUTER CO., LTD. shall not be held liable for any damages or losses or any claims by third parties arising from corruption or loss of data caused by malfunction or repair of the unit, or from battery replacement. -
Page 34: Setting Control Key Chart
Setting Control Key Chart E-31 407A-E-033A... -
Page 35: Appendix
Appendix/Apéndice Tone List/Lista de sonidos Panel Tones/Sonidos de panel 2 2 2 2 2 3 3 3 3 3 4 4 4 4 4 5 5 5 5 5 GRAND PIANO 1 ROCK PIANO E.GRAND 80 ELEC.PIANO 1 ELEC.PIANO 2 60’S ELEC.PIANO ROCK ORGAN JAZZ ORGAN... -
Page 36: Rhythm List
• Rhythms 110 through 119 consist of chord accompaniments only, without any drums or other percussion instruments. These rhythms do not sound unless CASIO CHORD, FINGERED, or FULL RANGE CHORD is selected as the accompaniment mode. With such rhythms, make sure that CASIO CHORD, FINGERED, or FULL RANGE CHORD is selected before you try playing chords. -
Page 37: Drum Assignment List
Drum Assignment List/Lista de asignación de batería ” ” Indicates the same sound as STANDARD SET 1./” Key/ Note number STANDARD SET 1 STANDARD SET 2 ROOM SET METRONOME CLICK C#-1 METRONOME BELL METRONOME CLICK E -1 METRONOME BELL — —... - Page 38 Appendix/Apéndice 407A-E-070A...
-
Page 39: Midi Implementation Chart
Model PX-310 Function ... Basic Default Channel Changed Default Mode Messages Altered Note Number True voice Velocity Note ON Note OFF After Key’s Touch Ch’s Pitch Bender 0,32 6,38 Control Change 98,99 100,101 Program Change :True # System Exclusive System...