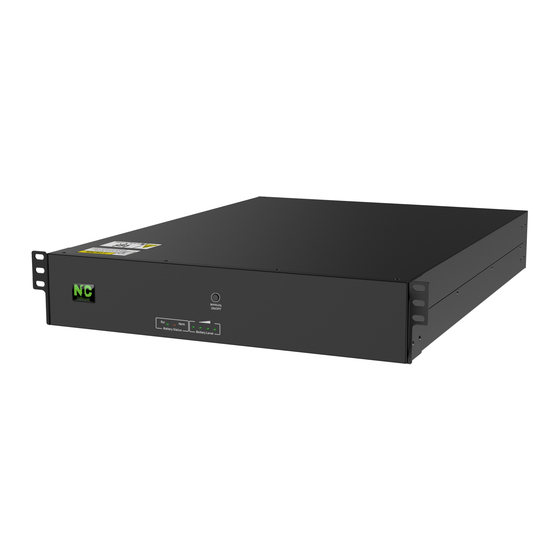
Summary of Contents for N1C LR Series
- Page 1 User Manual LR-Series Lithium- Iron Phosphate Battery Module (N1C.L4850EBM2U, N1C.L48100EBM3U) Version: 1.1...
-
Page 2: Table Of Contents
Table of Contents Safety Precautions ................1 1.1 Before Connecting ..............2 1.2 In Use ..................2 Introduction ..................3 2.1 Features ..................3 2.2 Package Contents ..............4 2.3 Dimensions ................4 2.4 Specifications ................5 2.5 Product Indicator & Setting ............6 Safe handling of lithium batteries guide ........ -
Page 3: Safety Precautions
Thank you for purchasing N1C.L4850EBM2U, N1C.L48100EBM3U Lithium battery module. Please read this manual before you install the battery. Follow the instruction carefully during the installation process. To receive full warranty benefits and information register your product at https://lithium- ion-ups.com/warrantyregistration/ 1. Safety Precautions Reminder 1). -
Page 4: Before Connecting
Warning 1.1 Before Connecting 1) After unpacking, please check the product and packing list first, if the product is damaged or missing parts, please contact the local retailer; 2) Before installation, be sure to cut off the grid power and make sure the battery is in the turned-off mode;... -
Page 5: Introduction
It is designed to integrate with reliable power modules such as UPS, solar inverter, and so on. Both N1C.L4850EBM2U, N1C.L48100EBM3U are built-in smart BMS battery management system, which can manage and monitor cells’ information including voltage, temperature, current, etc. -
Page 6: Package Contents
The packaging is recyclable, save it for reuse or dispose of it properly Module(x1) Manual(x1) Quick Installation Guide(x1) Ear Kit(x1) Screws(x8) Battery cable(x1) RJ45 cable (x1) RJ11 cable(x1) Signal cable (x1) *Optional: Battery cable (x 1) Rail Slide Kit *Can be purchased separately. 2.3 Dimensions N1C.L4850EBM2U N1C.L48100EBM3U... -
Page 7: Specifications
2.4 Specifications Model N1C.L4850EBM2U N1C.L48100EBM3U Nominal Voltage 48 VDC 48 VDC Total Capacity 50 Ah 100 Ah Nominal Capacity (Wh) 2400 Wh 4800 Wh Full Charge Voltage (FC) 52.5 V 52.5 V Full Discharge Voltage 34.5 V 34.5 V (FD) Max. -
Page 8: Product Indicator & Setting
Product Indicator & Setting N1C.L4850EBM2U front and rear panel N1C.L48100EBM3U front and rear panel... - Page 9 Manual power on/off button - to wake up or shut down the battery module. If battery module is off, press and hold the button for approximately 5 seconds to turn on the module. If battery module is working, press and hold the button for ...
- Page 10 Breaker Turn the breaker ON: Connect cells to BMS Turn the breaker ON: Shut down energy between Cells and BMS...
- Page 11 External Battery Connector (1). CON1 & CON2 in parallel. (2). “Positive” marked in ”+”, “Negative” marked in “-” COM Port Connector type: RJ45 Function: communication between battery module and power module. Pin Definition Definition RS485B RS485A RS485B RS485A PresentA PresentB...
- Page 12 Definition CANH CANL PresentA PresentB ID Switch ID Switch indicates the unique ID code for each battery module. It's required to assign a unique ID to each battery module for normal operation. We can set up the ID code for each battery module by rotating ...
-
Page 13: Safe Handling Of Lithium Batteries Guide
3. Safe handling of lithium batteries guide Product handling guidelines 3.2 Explanation of symbol... -
Page 14: Installation
4. Installation 4.1 Installation Environment Make sure that the installation environment meets the following conditions: The area is completely waterproof. The floor is flat and level. There are no flammable or explosive materials nearby. The ambient temperature is within the range of 0~50°C. ... -
Page 15: Installation
4.2 Installation Before installation, please pay attention to the following actions to avoid damage. Caution: If there is breaker installed on the battery cable between power module and battery module, turn on this breaker before battery module is powered on. Otherwise, it may cause surge current. - Page 16 Single Battery Module Connection Insert the supplied signal cable into the extension port ( P1 or P2 ). *It's requested to connect to the battery module for normal operation. Use supplied battery cable to connect to power module via CON1 or CON2. Insert the supplied RJ45 cable into the COM port on the battery module.
- Page 17 Multiple Battery Modules in Parallel Insert the supplied signal cable into the extension port ( P1 or P2 ) on the Master battery module #1. *It's requested to connect to the battery module for normal operation. Use supplied battery cable to connect to power module via CON1 or CON2. Insert the supplied RJ45 cable into the COM port on the battery module.
- Page 18 Insert supplied RJ11 cable to connect the extension port of the Master battery module #1. The other end connects to the extension port of the battery module #2. Use supplied battery cable to connect to the Master battery module #1 and battery module #2.
-
Page 19: Start-Up/Shut-Off The Battery Module
5. Start-Up/Shut-Off the Battery Module 5.1 Start up the battery module 1. When battery module is in the shutdow mode, press manual ON/OFF button for 5 secs. 2. Or, simply turn on the the power module and connect battery module to operating power module. -
Page 20: Trouble Shooting
6. Trouble Shooting Use the table below to solve minor installation and operation problems. Symptom Possible cause Remedy Same code Re-set each battery with multiple battery packs. different ID codes. Protection against under- Charge battery. voltage. Protection against over- Regulate cell temperature temperature under- in the range of -20°C to...


