Table of Contents
Advertisement
Quick Links
INSTALLATION INSTRUCTIONS
BEFORE YOU BEGIN
•
Please read these instructions carefully to familiarize yourself with the required tools, materials,
and installation sequences. Follow the sections that pertain to your particular installation. This
will help you avoid costly mistakes. In addition to proper installation, read all operating and
safety instructions.
•
All information in these instructions is based upon the latest product information available at the
time of publication. Kohler India reserves the right to make changes in product characteristics,
packaging or availability at any time without notice.
These instructions contain important care, cleaning, and warranty information - please leave
•
instructions for the consumer.
•
In case product is damaged when unpacked for first time, please do not install and report to
customer care.
•
Do not apply spares that are not provided by Kohler, and please note that glass adhesive tape
shall not be applied to the installation of Kohler spares. Kohler will not be responsible for any
damage related to installation with spares not provided by Kohler.
•
Faceplate is compatible only with pneumatic Instaflush tanks purchased after June 2019,
incase of older tank, order part - 1278771
FACEPLATE SPECIFICATION
Model
Power
User Sensing Distance
Flushing Actuation Sensing Distance
Flushing Actuation Confirmation Time
Refilling Duration Indicator
Night Light
Hygiene Flush
Manual Flush Button
* T&C depending on usage
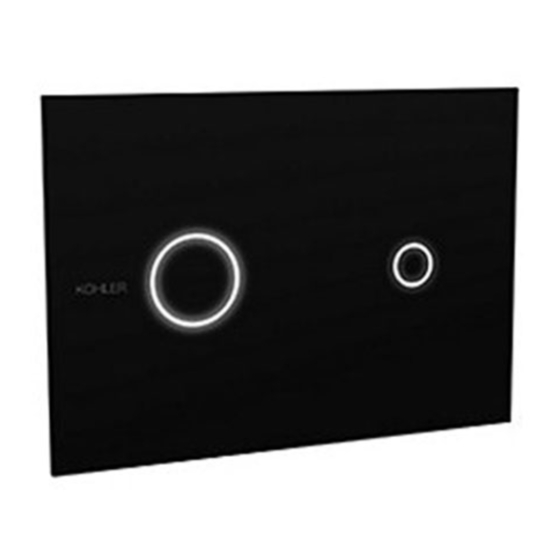
FP DC, MANUAL OVERRIDE
24146IN-7
2 'D' size Alkaline Batteries (3V DC)(not provided)
Consumption: < 21mAh/full flush cycle
Life: Minimum 10000 cycles*
Default: 70cm
Adjustable: 70cm-100cm
0.5-10.2cm
0.5s
Full Flush: Adjustable(25s-300s)
Half Flush: 60% of Full Flush Time
Default: Off
Default: Off
Yes (Behind Glass Panel)
1
SUMMON SENSOR
24146IN-7
1348773-IN2-A
Advertisement
Table of Contents

Summary of Contents for Kohler 24146IN-7
- Page 1 • Do not apply spares that are not provided by Kohler, and please note that glass adhesive tape shall not be applied to the installation of Kohler spares. Kohler will not be responsible for any damage related to installation with spares not provided by Kohler.
-
Page 2: Tools Required
TOOLS REQUIRED PACKAGE CONTENT ROUGH-IN DIMENSIONS NOTE: All dimensions are in mm(only for reference). Refer In-wall tank installation manual for tank dimensions. 1348773-IN2-A... -
Page 3: Installation Instruction
INSTALLATION INSTRUCTION Pump control module assembly installation Connect hose of full flush and half flush from Pump Control Module Assembly with air actuation assembly of the In-wall tank. Make sure to connect each flush with their respective air pipes. Pump Control Hang air pump onto supporting bracket after connecting the hose 1348773-IN2-A... - Page 4 Faceplate body installation Install four locknuts & tighten on faceplate body, adjust to “OPEN” mark as shown Insert 2 D size batteries into the battery box, close the lid and hang box onto rear of faceplate body Hold back plate to faceplate body 1348773-IN2-A...
- Page 5 After attaching back plate adjust locknuts to “LOCK” as shown and tighten anti-theft screws to secure faceplate onto plate. Faceplate installation Connect battery wire to outlet wire Connect manual flush air pipe to outlet slot in air cylinder in faceplate body Air Cylinder Manual Flush Air Hose Connect power output wire of pump and power input wire of faceplate body together,...
- Page 6 Tighten faceplate assembly onto square mask as shown. Assemble glass cover on faceplate assembly. Insert fixed tapes into the faceplate slots ADJUSTMENTS Setting Purpose How To Adjust Cleaning Mode When cleaning of faceplate Press the L button for <1s, the is needed cleaning mode is activated and lasts for 3 minutes.
-
Page 7: Troubleshooting
Flushing Actuation Sensing To change the flushing Press the R button for <1s, the 2 Distance LEDs flash quickly for 10s, put the sensing distance rear glass back in this duration. The left LED will flash slowly, place hand at desired distance in front of left LED. -
Page 8: Care And Maintenance
Do not use spray air-refresher, disinfector, or other deodorizing, cleaning solvent directly into the sensing window. c. Keep wires away from water. d. Recommended - 1352426 KOHLER glass cleaning solution SERVICE PARTS 1351251 1418089...


