Table of Contents
Advertisement
Quick Links
·
Please read these instructions carefully to familiarize
yourself with the required tools, materials, and installation
sequences. Follow the sections that pertain to your
particular installation. This will help you avoid costly
mistakes. In addition to proper installation, read all
operation and safety instructions.
·
All information in these instructions is based upon the
latest product information available at the time of
publication. Kohler China reserves the right to make
changes in product characteristics, packaging, or
availability at any time without notice.
·
These instructions contain important care, cleaning, and
warranty information - please leave instructions for the
consumer.
RECOMMENDED TOOLS AND MATERIALS
RECOMMENDED TOOLS AND MATERIALS
·
Open end/adjustable wrenches
·
Tape measure
·
Basin wrench
·
Pipe wrench
·
Square
·
Level
·
Pliers
·
Socket wrench with sockets
·
Philips driver
·
Seal tape
·
Special wrenches
·
Connection wire
·
Wire cutter
·
Insulation tape
·
Bushing
SENSOR SPECIFICATIONS
SENSOR SPECIFICATIONS
Model
744T(DC)/744T-C05(AC)
AAA size alkaline batteries( 2) (744T)
Power
220V AC 50/60Hz (744T-C05)
Water pressure at 0.10~0.55 MPa: 4 L,
Liter per flushing
6 L, 8 L,11 L(adjustable)
Environmental temperature: 1 ~55
Temperature
Water temperature: 1 ~45
Starting pressure
0.05~0.86MPa
Within 100cm from sensing window
Sensing distance
(along the direction of transmitting angle)
Flushing delay
3~8 seconds after user leave
Connect dimension
Inlet pipe G 1 , Outlet pipe G 1-1/2 .
Protective flushing
Auto flush once every 24h if unused
Sensor inlet dynamic pressure:
0.1~0.55MPa, recommended inner
Recommended
diameter of water supply ( including
working pressure
water meter, valve, etc. ) no less than
25 mm.
1046837-T01-D
·
·
·
·
/
·
·
·
·
·
·
·
·
·
·
·
·
·
·
744T(
2 7
220V AC 50/60Hz (744T-C05)
4
0.05~0.86MPa
25mm
18
E
201206
-1-
ODEON
/
TOILET/SQUAT SENSOR
INSTALLATION INSTRUCTIONS
K-744T(DC/
K-744T-C05(AC/
)/744T-C05(
(AAA 2)(744T)
0.10~0.55MPa
6
8
11
: 1 ~55
1 ~45
100cm
(
3~8
G1
G1-1/2
24
0.1~0.55MPa
(
)
Copyright Kohler China Ltd., 2007
)
)
-
)
)
, 2007
Advertisement
Table of Contents

Related Manuals for Kohler 744T(DC)


Summary of Contents for Kohler 744T(DC)
- Page 1 · · All information in these instructions is based upon the latest product information available at the time of publication. Kohler China reserves the right to make changes in product characteristics, packaging, or availability at any time without notice. ·...
- Page 2 Note: 1. The sensing distance in the table is measured with a 30cm 30cm 30 30cm white or black board as the reflecting surface. 2. The user may set the amount of water per flush according to the specifications of the specific toilet. 3 .The infrared transmiting angle is 27 downward , 37 when used with angle-comerting piece.
-
Page 3: Product Page
PRODUCT PAGE Double Valve Core Assy. Valve Core Membrane Main Valve Core Assy. Valve Core O-Ring Valve Core Membrane Cover W/O-Ring ( O-Ring) Inlet Connection Assy. Spring Stop Valve Assy. Screws Center Unit Assy. Main Check Valve Box Valve Spring Adjustment Nut O-Ring Connector... - Page 4 ROUGHING-IN K-4350 K-4349 UNIT: mm K-4368 K-4367 G1-1/2 G1-1/2 G1-1/2 SPUD G1-1/2 G1-1/2 SPUD G1-1/2 CL OF OUTLET CL OF OUTLET Table of installation positions for toilets (Used with K-4350, K-4368, K-4349, K-4367) ( K-4350, K-4368, K-4349, K-4367) 700 L 730 730 L 760 760 L 790 790 L 820...
- Page 5 CL OF OUTLET Table of installation positions for squats 700 L 730 730 L 760 760 L 790 790 L 820 820 L 850 640 H 670 670 H 700 700 H 730 730 H 760 760 H 790 Notice: a. To ensure sensing effect, the dimensions for L &...
-
Page 6: Installation
INSTALLATION Determine the installation location per rough-in dimensions and the table of installation position. Chisel out a slot and install the supply tubes. Then flush the supply tubes. The depth of the slot is not less than 105 mm, see the figure to the right for rough-in dimension requirement. - Page 7 Please directly reference to Step 3 when installing 744T (DC). Please match 16306T-NA AC power unit when installing 744T-C05 (AC). CAUTION: Outlet downwards a. Outlet of AC power unit upward prohibited. Outlet upwards b. Do not connect 220V AC power supply to DC wiring terminal.
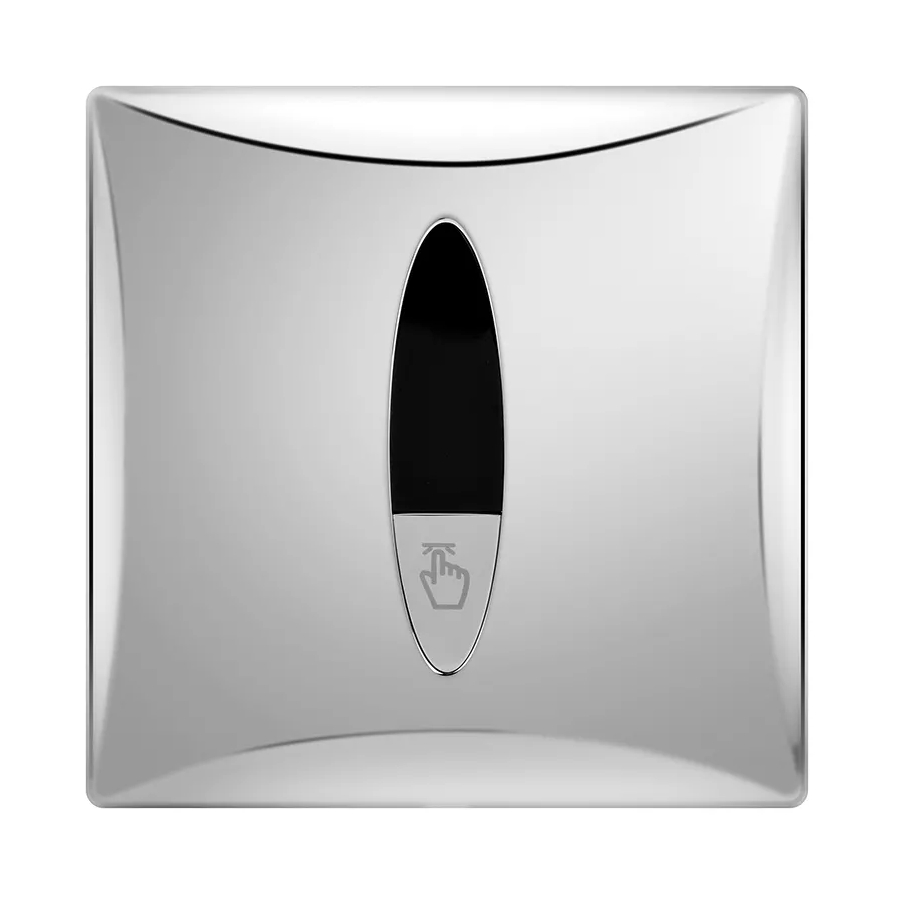
- Page 8 Notice: a. Because the installation position of the sensor will affect directly to the future operation of the sensor, you are recommended to confirm the correction position of the sensor after its placement and fix it. b. Don't mistake the direction of inlet and outlet.
- Page 9 Tiles Gently remove the manual device inside the plastic bag of valve box and drive the flushing unit with manual lever assembly. Once it is confirmed that there is no leakage after the connection of supply tube, put the manual lever Valve Box assembly to its original place.
- Page 10 Mount the manual lever assembly onto the bracket with screw. Notice: a. Don't twist, circle or pull the manual line to avoid it from broken. b. Don't adjust the screws on the manual lever assembly, or it will affect the operation of the assembly.
- Page 11 After installing the sensor cover, observe the cover if it is upright and its centerline is aligned with that of the toilet and squat. If any deviation occurs, remove the cover and loosen the locking screws of the fixed bracket. Adjust the fixed bracket for correctness.
- Page 12 USER S GUIDE USER S GUIDE Automatic Adjustment of Sensing Distance The accuracy of this section s steps will affect the sensing performance. The sensing distance of this product is set at within 100cm away from the sensing window along the direction of 100cm ( 30cm 30cm transmitting angle (with a 30cm x 30cm white board as the...
- Page 13 Notice: a. After finishing these steps, the toilet sensor is ready for use. b. The sensor cover installing must be finished within five minutes after power on. If this is not accomplished within 5 minutes, shut off the power. When the indicator stops flashing, power on again and repeat the above steps.
- Page 14 Notice: a. If it is necessary to set up again, you must cut off the power supply. Repeat the above steps after the indicator goes out. b. If sensinng time is less than 1 min, the sensor will flush at liquid wastes only volume automatically.
- Page 15 5. Adjustment of Flushing Volume When the water pressure is 0.10 ~ 0.55 MPa, the device may normally automatically control the flushing volume. If sometimes splashs, you can reduce the water flow. And if the flushing peformance is not good, you can enlarge the water flow.
-
Page 16: Maintenance
7. Protective Flushing When the toilet has not been used for a long time, the sensor will drive the solenoid valve to flush every 24 hours to avoid the deodorizer and the sewer pipe from drying up. MAINTENANCE Toilet & Squat Repair When repairing, you don t have to dismount the sensor. -
Page 17: Troubleshooting
TROUBLESHOOTING Please make following checks before repair: Symptoms Probable causes Corrective actions Check the power connect. 2. Remove the object or reduce the sensing No power or mistake connected. distance. 2. There is an object within the sensing distance. 3. Clean the window. No flushing 3. -
Page 18: Important Consumer Information
IMPORTANT CONSUMER INFORMATION Consumer Responsibilities 1. Do not attack the sensor. 2. Do not directly flush the sensor with water. The sensor is an electronic instrument. 3. Do not let sunlight or other light source enter or be reflected into Sensor Window. 4.