
Related Manuals for Genie WIP6F


Summary of Contents for Genie WIP6F
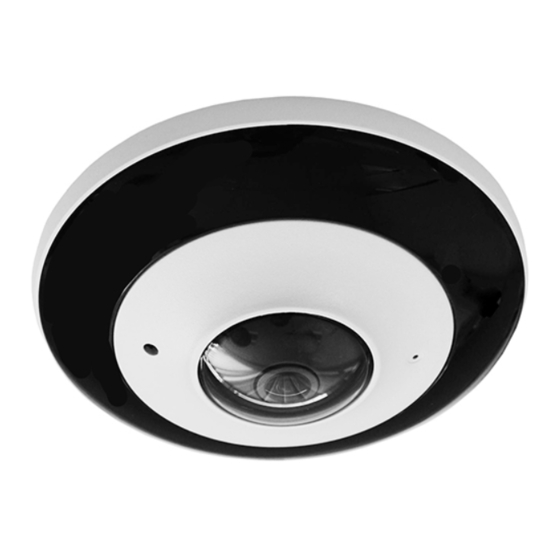
- Page 1 6MP IP IR Fisheye Camera WIP6F Quick Start Guide Please read these instructions carefully before operating the unit and keep for further reference.
- Page 2 Intro Section Please read this instruction carefully before operating the product and keep it for further reference. All examples and pictures used here are for reference only. The contents of this manual are subject to change without notice. CAUTION: • If the product does not work properly, please contact your dealer or the nearest service centre.
-
Page 3: Table Of Contents
Contents 1.0 Introduction ......................4 1.1 Product Features ...................4 1.2 Product Dimensions ..................4 1.3 Contents ......................4 1.4 Specification ....................5 2.0 Overview ......................6 3.0 Installation ......................8 3.1 Installing the Camera ...................8 3.2 Installing the Camera with a Junction Box ..........9 3.3 Installing SD Card ..................10 4.0 Network Connection ...................11... -
Page 4: Introduction
1.0 Introduction The Genie WIP6F is a 6MP IP IR fisheye camera. It supports local CVBS video output and two way audio as well as 20~30m IR night view distance. 1.1 Product Features • 6MP H.265 full real time coding •... -
Page 5: Specification
Quick Start Guide 6MP IP IR Fisheye Camera 1.4 Specification Image Sensor 1 / 2.9” 6MP progressive scan CMOS Image Size 2160 × 2160 Electronic Shutter 1 / 25 s ~ 1 / 100000 s Minimum Illumination 0.068 Lux @ F2.0, AGC ON, 0 Lux with IR 1.07mm @ F2.5 Horizontal field of view, 180°... -
Page 6: Overview
2.0 Overview Ethernet Connector 2. MIC In 3. HP Audio Output 4. Video Output 5. Alarm Input/Output 6. RS485 DC12V Power Supply 8. SD Card Slot 9. Reset DC12V • If the PoE switch is used to power the camera, DC12V power supply is not required. Alarm Input: Join the grounding ends of the sensor and the camera and then connect the signal cable of the sensor to the alarm input port (ALM-INA) of the camera. - Page 7 Quick Start Guide 6MP IP IR Fisheye Camera Connecting Network Cable Loosen the nut from the main element. 2. Run the network cable (without RJ 45 connector) through both elements. Then crimp the cable with RJ 45 connector. 3. Connect the cable to the hermetic connector. Then tighten the nut and the main cover.
-
Page 8: Installation
3.0 Installation 3.1 Installing the Camera Please make sure that the wall or ceiling is strong enough to withstand 3 times the weight of the camera. Please install the camera in and under a dry environment and place the cover of the camera within 4 hours of removing it. Remove the fixed ring from the gap of the camera (see Installing SD Card 2. -
Page 9: Installing The Camera With A Junction Box
Quick Start Guide 6MP IP IR Fisheye Camera 3.2 Installing the Camera with a Junction Box Remove the fixed ring from the gap of the camera (see Installing SD Card) 2. Install the junction box onto the wall. 3. Route the cables through the cable hole (take side conduit cabling for example) and connect the cables. -
Page 10: Installing Sd Card
Quick Start Guide 6MP IP IR Fisheye Camera 3.3 Installing SD Card Remove the fixed ring from the gap of the camera. Fixed Ring 2. Loosen the screws of the cover of the SD card and then insert the SD card. After that, install the cover back. -
Page 11: Network Connection
4.0 Network Connection Here we take accessing the device via LAN for example. In LAN, there are two ways to access: Access through IP-Tool 2. Directly Access through Web Browser The default network settings are as shown below: • IP address: 192.168.226.201 •... - Page 12 Quick Start Guide 6MP IP IR Fisheye Camera 4. Double-click the camera listed in the IP-Tool or manually enter the IP address in the address bar of the web browser to connect IP-CAM. Then follow directions to download and install the plugin. Enter the username and password in the login interface. The default username is admin;...
- Page 13 Sales +44(0)1707 330541 Enquiries sales@genieproducts.co.uk Website www.genieproducts.co.uk...