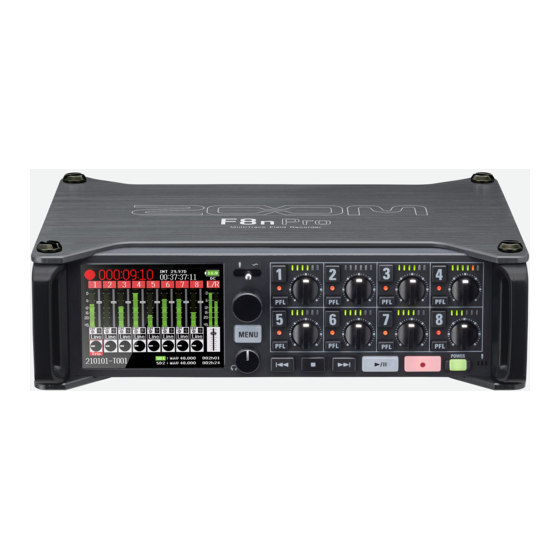
Zoom F8n Pro Quicktour
Multitrack field recorder
Hide thumbs
Also See for F8n Pro:
- Operation manual (316 pages) ,
- Firmware update manual (10 pages) ,
- Supplementary manual (6 pages)
Table of Contents
Advertisement
Quick Links
You must read the Usage and Safety Precautions before use.
The Operation Manual can be downloaded from the ZOOM website (www.zoom.jp/docs/f8n_pro).
This page has files in PDF and HTML formats.
The PDF file format is suitable for printing on paper and reading on a computer.
The HTML file format is suitable for smartphones and tablets and can be read with web browsers.
© 2021 ZOOM CORPORATION
Copying or reprinting this manual in part or in whole without permission is prohibited.
You might need this manual in the future. Always keep it in a place where you can access it easily.
The contents of this manual and the specifications of the product could be changed without notice.
Quick Tour
Advertisement
Table of Contents

Related Manuals for Zoom F8n Pro


Summary of Contents for Zoom F8n Pro
- Page 1 Quick Tour You must read the Usage and Safety Precautions before use. The Operation Manual can be downloaded from the ZOOM website (www.zoom.jp/docs/f8n_pro). This page has files in PDF and HTML formats. The PDF file format is suitable for printing on paper and reading on a computer.
-
Page 2: Inserting Sd Cards
Inserting SD cards • Supported recording media: SDHC, SDXC cards • To remove an SD card, push it further into the slot and then pull it out. • Always turn the power off before inserting or removing an SD card. Preparing power sources ■... -
Page 3: Turning The Power On
Press and hold to turn the power on. The power will automatically turn off if the F8n Pro is unused for 10 hours. If you want to keep the power on always, turn off the automatic power saving (Auto Power Off) -
Page 4: Setting The Date And Time
Setting the date and time Turn to select setting items, and press to confirm them. If power is not supplied by an AC adapter or batteries for a long time, date and time settings will be reset. If the date and time setting screen appears during startup, set them again. -
Page 5: Formatting Sd Cards
Formatting SD cards After purchasing a new SD card, always format it to maximize performance. All data previously saved on an SD card will be deleted when it is formatted. Select “SD1” after inserting an SD card. The Home Screen can be reopened by pressing and holding... - Page 6 Connecting When disconnecting a mic, pull the XLR plug while pushing the connector lock release button. Shotgun Wireless mic Wireless Shotgun to adjust the headphone volume. Headphones Enabling tracks for recording The status indicators will light red.
-
Page 7: Enabling Phantom Power
Enabling phantom power Do not use this function with devices that are not compatible with phantom power. Doing so could damage the device. Select “Input 1” after connecting a condenser mic to it. The Home Screen can be reopened by pressing and holding Adjusting input levels (trim) •... - Page 8 Fader settings have no effect on recorded data. Setting recording file scene names The F8n Pro names and manages recording files with the following format. Scene names, scene numbers and take numbers are also written in the recording file metadata.
- Page 9 Scene Name Mode The scene name and number are not used. When recording files are created, they are None named only with take numbers, such as “T001”, “T002”, “T003” and so on. Recording order T001.wav T002.wav T003.wav Files can also be created inside folders you have made. The name of the currently selected folder is used as the scene name.
- Page 10 This section explains procedures for receiving timecode once before filming (synchronizing with timecode from a camera, for example), and then recording with the F8n Pro separate from the camera or other device.
-
Page 11: Playing Recordings
Recording Press to stop recording. Shortcut operations (when recording paused) Show the name that will be given to the next take recorded. Press and hold Example: Scene001-T002 Advance the scene number by 1 (when the Home Screen is open). Move the previously recorded take to the FALSE TAKE folder Press and hold (when the Home Screen is open). -
Page 12: Functions Of Parts
Functions of parts ■ Front ① Display (LCD) ⑧ MENU button This shows the recorder status and Press this to open the MENU Screen or return to the previous screen. MENU Screen. ② Selection encoder ⑨ Headphone volume knob This adjusts the headphone volume. Use this to select and to confirm in ⑩... - Page 13 ⑬ Inputs 5–8 Connect this to a computer, smartphone or tablet to use the F8n Pro as an SD Connect mics and instruments to these. card reader or audio interface. These can be used with XLR and TRS USB bus power operation is not connectors.
-
Page 14: Menu Items
Make timecode input and output settings. SLATE Adjust the level of the slate mic/tone. SYSTEM Make F8n Pro system settings. SD CARD Check SD card data and format SD cards. Enable USB use, including as an SD card reader or audio interface. - Page 15 Input settings list Set this according to the connected device to “Mic”, “Line”, “USB 1”, “USB 2”, Input Source “USB 3” or “USB 4”. By connecting mics that can output Ambisonic A-format signals to Inputs Ambisonic Mode 1–4, audio can be converted to Ambisonic B-format and recorded. The high pass filter can cut low frequencies to reduce the sound of wind, vocal pops and other noise.
-
Page 16: Troubleshooting
→ Confirm that the USB cable being used is not Pro is not lowered. designed only to provide power. → The operation mode must be set on the F8n Pro Sound from a mic or connected equipment to allow the computer to recognize it.