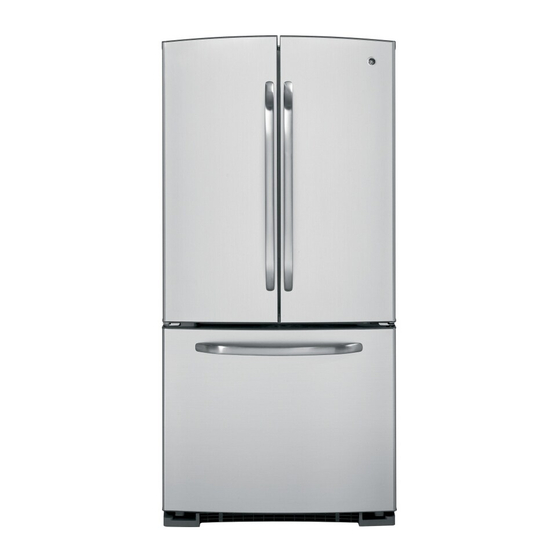
GE GBSC3HBX Owner's Manual And Installation Manual
Models 20, 22 and 23
Hide thumbs
Also See for GBSC3HBX:
- Dimensions and installation information (2 pages) ,
- Energy manual (1 page) ,
- Dimensions and installation information (2 pages)
Advertisement
Available languages
Available languages
Quick Links
Advertisement

Summary of Contents for GE GBSC3HBX
- Page 6 Cartridge Holder Cartridge Holder...
- Page 11 Power Switch Icemaker Green Power Feeler Arm Light Shelf Ice Bin Shelf Ice Bin...
- Page 15 ″ ″ ″ ″ ″ ″ ″ ″...
- Page 16 ″ ″ ″ ″ ″ ″...
- Page 17 ″ ″ ″ ″...
- Page 18 ″ ″ ″ ″...
- Page 19 ″ ″...
-
Page 22: Installation Instructions
REPLACING THE FREEZER DRAWER Two people may be required to complete this procedure. ATTACH AND SECURE THE DRAWER FRONT TO THE SLIDES Pull out the rail assemblies to the full length on each side of the cabinet. Locate the slots on the inside of the rail assemblies near the back. - Page 23 ″ ″...
- Page 24 ″ ″ ″ ″...
- Page 25 ″ ″ ″ ″...
- Page 27 ″ ″...
- Page 28 ″...
- Page 29 ″...
- Page 30 ″ ′ ′ ′...
- Page 31 ″ ″ ″ ″ ″...
- Page 37 Please place in envelope and mail to: Veuillez mettre dans une enveloppe et envoyez à : OWNERSHIP REGISTRATION P.O. BOX 1780 MISSISSAUGA, ONTARIO L4Y 4G1 (FOR CANADIAN CONSUMERS ONLY)
- Page 41 ®...
- Page 43 Trademark/Model Designation Manufacturer: General Electric Company The water treatment device(s) listed on this certificate have met the testing requirements pursuant to Section 116830 of the Health and Safety Code for the following health related contaminants: Microbiological Contaminants and Turbidity Cysts Turbidity Organic Contaminants Alachlor...
- Page 44 Trademark/Model Designation GE GSWF Manufacturer: General Electric Consumer Products The water treatment device(s) listed on this certificate have met the testing requirements pursuant to Section 116830 of the Health and Safety Code for the following health related contaminants: Microbiological Contaminants and Turbidity...
- Page 50 Porte- cartouche Porte- cartouche...
- Page 55 Commutateur de marche Machine à glaçons Lumière Bras palpeur verte de fonctionnement Clayette Bac à glaçons Clayette Bac à glaçons...
- Page 65 Ouvrez le tiroir du compartiment congélation jusqu’à son arrêt complet. Le panier du compartiment congélation repose sur un cadre à l’intérieur du tiroir du compartiment congélation. Soulevez l’arrière du panier. Soulevez l’avant du panier et soulevez l’ensemble du panier pour l’enlever et enlevez-le complètement.
- Page 68 COMMENT RETIRER LA CHARNIÈRE ET LE TRÉPIED ″ ″ (suite) ″ ″...
- Page 69 COMMENT INSTALLER LA CHARNIÈRE INFÉRIEURE ET LE TRÉPIED ″ ″ ″ COMMENT RACCROCHER LE PORTE DU CONGÉLATEUR ″...
- Page 81 ®...
- Page 90 Portacartuchos Portacartuchos...
- Page 95 Máquina Interruptor de corriente de hielos Luz verde de Brazo indicador la corriente Estante Recipiente para hielo Estante Recipiente para hielo...
- Page 99 ″ ″ ″ ″ ″ ″ ″ ″...
- Page 100 ″ ″ ″...
- Page 101 ″ ″ ″ ″...
- Page 102 ″ ″ ″ ″...
- Page 103 ″ ″...
- Page 107 ″ ″...
- Page 108 ″ (cont.) QUITE LA BISAGRA INFERIOR Y LA PATA NIVELADORA ″ ″ ″...
- Page 109 INSTALE LA BISAGRA INFERIOR Y LA PATA NIVELADORA ″ ″ ″ VUELVA A INSTALAR LA PUERTA DEL CONGELADOR ″...
- Page 111 ″...
- Page 112 ″ ″...
- Page 114 ″...
- Page 115 ″ ′ ′ ′ ″...
- Page 116 ″ ″ ″ ″...
- Page 123 ®...


