Table of Contents
Advertisement
Available languages
Available languages
Quick Links
Advertisement
Chapters
Table of Contents

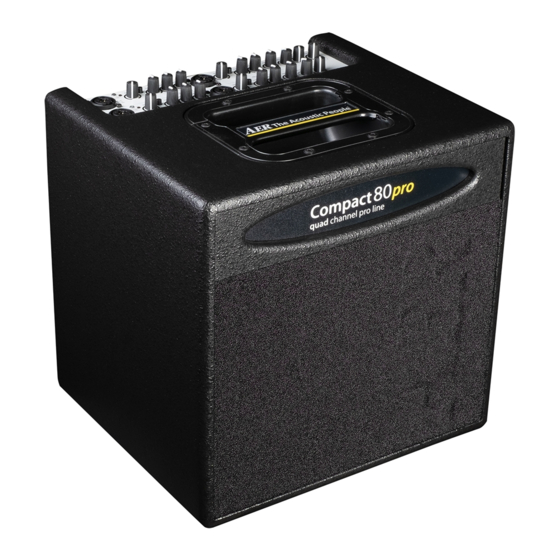
Summary of Contents for AER Compact 80 pro
- Page 1 Compact 80 Bedienungsanleitung, User Manual , 10/2021...
-
Page 2: Table Of Contents
1. Einleitung Wir würden uns freuen, wenn der Willkommen bei der AER. Wir freuen uns, dass Sie Compact 80 pro ein wichtiges Werkzeug für sich für den Compact 80 pro entschieden haben. Sie wird und wünschen Ihnen viel Spaß damit. -
Page 3: Wichtige Sicherheitshinweise
2. Wichtige Sicherheitshinweise Die folgenden Hinweise dienen der Minimierung des Verletzungsrisikos durch Feuer und Stromschlag. Das Blitzsymbol im Das Ausrufezeichen im C AU T I O N gleichseitigen Dreieck gleichseitigen Dreieck RISK OF ELECTRIC SHOCK DO NOT OPEN soll den Benutzer vor un- soll den Benutzer auf AT T E N T I O N isolierter, gefährlicher Spannung... -
Page 4: Frontseite
3. Bedienelemente und Anschlüsse input input gain colour bass middle treble gain colour bass treble select level master clip clip power mute XLR=P48 XLR=P48 9V / 48V e ects channel 1 channel 2 input input gain colour bass middle treble gain colour bass... -
Page 5: Rückseite
couple in aux in L fx send line out L DI-out DI-out DI-out 1 = gnd 2 = pos 3 = neg pre fx post fx couple level level aux in R fx return line out R pre/post tuner mute ATTENTION! SURFACE GETS HOT mute... -
Page 6: Inbetriebnahme
Klangregelung neutral und beeinfl ußt den Klang nicht. Durch richtiges Aussteuern passen Sie den an Ihre Signalquelle an. Compact 80 pro Bereits in Neutralstellung erzeugt der Verstärker ein sehr angenehmes, natürliches Klangbild, das Sie Lassen Sie dazu den master-Regler zunächst auf Linksanschlag stehen mit dem colour-Filter grundsätzlich färben können. -
Page 7: Effekte
Verstärker in der gewünschten Lautstärke zu hören ist. 1 = reverb 1 (short) Mit zwei Compact 80 pro funktioniert dies auch in 2 = reverb 2 (long) beiden Richtungen gleichzeitig. Sie benötigen dann 3 = delay (320 ms) zwei XLR-Kabel. -
Page 8: Phantomspeisung
5.5. 48-V-Phantomspeisung Mikrofone, die eine 48-V-Phantomspeisung (P 48) erfordern, können über einen XLR-Stecker direkt angeschlossen werden. Die Phantomspeisung wird mit dem 9/48-V-Schalter (Kanal 1/3) ein/ausgeschaltet. Die 48-V-Phantomspeisung für Kanal 2 und 4 ist im Auslieferungszustand aktiviert, kann aber durch eine interne Steckbrücke deaktiviert werden (Bitte beachten Sie: Für den oben genannten Eingriff muss das Gerät geöff net werden. -
Page 9: Introduction
We wish you a lot of fun with it. acoustic amplifi er. All AER amplifi er systems are dynamically controlled, Read on and have fun using your Compact 80 pro which ensures reliability and low distortion playback even at high volume despite strikingly the small size and light weight. -
Page 10: Important Safety Instructions
2. Important Safety Instructions The following guidelines shall help minimize the risk of injury through fire or electric shock. The lightning flash with The exclamation point C AU T I O N the arrow head symbol within an equilateral RISK OF ELECTRIC SHOCK within an equilateral triangle is intended to DO NOT OPEN... -
Page 11: Controls And Connections
3. Controls and connections input input gain colour bass middle treble gain colour bass treble select level master clip clip power mute XLR=P48 XLR=P48 9V / 48V e ects channel 1 channel 2 input input gain colour bass middle treble gain colour bass... -
Page 12: Rear Side
couple in aux in L fx send line out L DI-out DI-out DI-out 1 = gnd 2 = pos 3 = neg pre fx post fx couple level level aux in R fx return line out R pre/post tuner mute ATTENTION! SURFACE GETS HOT mute... -
Page 13: Starting Up
By proper level adjustment you adapt your If bass, middle, and treble are in center position, Compact 80 pro to your signal source. the colour switch is not pushed, the tone controls are neutral and have no infl uence on the sound. -
Page 14: Effects
3 = delay (320 ms) your amp. 4 = chorus With two Compact 80 pro this works in both directions You can control the effects separately for ch. 1/2 and 3/4. at the same time. You need 2 XLR cables. - Page 15 5.6. Phantom-power 48 V phantom power at microphone input Microphones that require 48 V phantom power (P 48) can be connected directly by an XLR plug. The 48 V phantom power is switched by the 9 V/48 V switch in ch. 1/3. For channels 2/4 the amplifi er is supplied with the phantom power enabled, but it can be disabled by an internal jumper.
- Page 16 6. Technical specifications Inputs fx return Input for external parallel effect loop, also useful channels 1-4 Instrument / line / microphone input as an extra line input Connector: Combo (jack and XLR) Connector: ¼” (6.35 mm) mono jack Instrument / Line input (6.35 mm jack) Nom.
- Page 17 Cabinet used. Sound pressure level (SPL) based on specification by Material: Birch plywood loudspeaker manufacturer. Thickness: 12 mm (0.39”) Finish: waterbased acrylic, black spatter finish Specifications and appearance subject to change without notice. TD20210421_en (Compact 80 pro)
-
Page 18: Block Diagram
7. Block diagram... - Page 20 Sales Sales Europe Africa, America, Asia, Oceania aer music gmbh aer amplifier gmbh Haberstrasse 46 Haberstrasse 46 D-42551 Velbert D-42551 Velbert info@aer-music.de info@aer-amplifier.de www.aer-music.de...


