Advertisement
Quick Links
Advertisement

Summary of Contents for Alesis AcousticLink
- Page 1 AcousticLink QUICKSTART GUIDE...
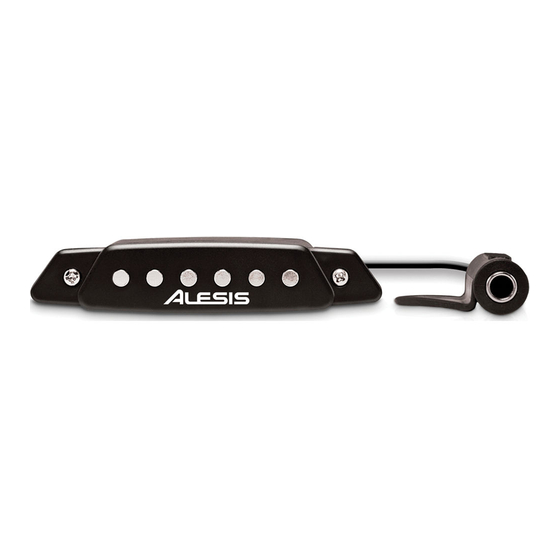
- Page 3 QUICKSTART GUIDE (ENGLISH) Make sure all items listed in the Box Contents are BOX CONTENTS included. Single coil acoustic guitar READ SAFETY INSTRUCTION BOOKLET BEFORE USING THE PRODUCT. pickup Place the product in an appropriate location for operation. GuitarLink USB guitar cable Quickstart Guide Safety Instructions &...
-
Page 4: Connection Diagram
CONNECTION DIAGRAM Before beginning, make sure your computer meets these system requirements: • Windows: Microsoft Windows XP (SP2) / Vista (32- or 64-bit) / 7 (32- or 64-bit) with Pentium-IV or Athlon XP, 1.6GHz or higher (recommended) • Mac: Apple Mac OSX 10.5 above •... - Page 5 You can use AcousticLink with any digital audio workstation or recording software that supports USB audio devices. Be sure your audio software program is set up to receive audio via AcousticLink. Please consult your software program’s manual for more information.
-
Page 6: Windows Vista
WINDOWS 7 Go to Start Menu Control Panel Hardware and Sound Sound. Select the “Recording” tab. Make sure Microphone – USB PnP Sound Device is set as the default device, then click “OK.” Make sure your internal soundcard (ie. SoundMax, Conexant, etc.) is set as the default playback device, then click “OK.”... - Page 7 MAC (OSX 10.5) 1. Click on the Mac desktop so that Finder is displayed in the upper-left of the screen. 2. Select the Go menu from the top of the screen and choose Utilities. 3. In the window that opens, double click Audio MIDI Setup.
- Page 8 MAC (OSX 10.6) Set Acousticlink as your default recording device: 1. Click on the Mac desktop so that Finder is displayed in the upper-left of the screen. 2. Select the Go menu from the top of the screen and choose Utilities.
- Page 9 3. SETTING UP THE SOFTWARE (WINDOWS AND MAC) ACTIVATING CUBASE LE 5 Install Cubase LE 5. Make sure that your computer has a working Internet connection to activate the license because the eLicenser Control Center (eLCC) needs to register with the Steinberg license server. Make sure that you have the latest version of the eLCC installed from www.elicenser.net.
-
Page 10: Windows Setup
WINDOWS SETUP Once Cubase LE 5 is installed and activated, follow the steps below to configure the software to record with the AcousticLink. 1. Open Cubase LE 5. If prompted to open a project, cancel for now. 2. From the menus select Devices Device Setup. - Page 11 Click on the Device menu at the top of the screen and select VST Connections. Click on Inputs at the top of the window. Click on the input titled under the Bus Name column and press the delete key on your keyboard to delete the Stereo In bus.
-
Page 12: Mac Setup
MAC SETUP Once Cubase LE is installed and activated, follow the steps below to configure the software to record with the AcousticLink. Open Cubase LE. If prompted to open a project, cancel for now. From the menus select Devices> Device Setup. - Page 13 Right click in the dark blue area of the main project and choose Add Audio Track. In the Audio Track Configuration window, select 1 – Mono and click OK. Activate the Track Monitor button on the Mono track, found next to the Record Enable button. Click the Record button at the top of the Cubase window, do a quick test, and stop the recording.


