Table of Contents
Advertisement
Advertisement
Table of Contents

Related Manuals for Bissell PowerEdge 81L2 Series


Summary of Contents for Bissell PowerEdge 81L2 Series
- Page 1 Product Registration Safety Instructions Product View Assembly Operations Maintenance and Care Troubleshooting Replacement Parts Warranty Consumer Services Earn BISSELL Rewards! Earn BISSELL Rewards! egister your egister your product today! product today! See details on See details on page 2 back page...
- Page 2 Your BISSELL PowerEdge vacuum is well made, and we back it with a limited one year warranty. We also stand behind it with a knowledgeable, dedicated Consumer Services department, so, should you ever have a problem, you’ll receive fast, considerate...
- Page 3 Keep cord away from heated surfaces. Do not unplug by pulling on cord. To ■ unplug, grasp the plug, not the cord. Do not handle vacuum cleaner or plug with ■ wet hands. Do not put any object into opening. ■...
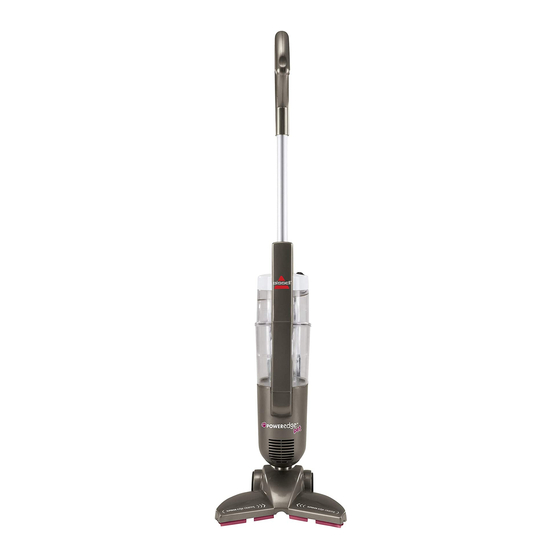
- Page 4 roduct view Upper Handle Upper Tank Dirt Container Filter Edge Cleaning Path Large Suction Paths w w w . b i s s e l l . c o m Handle Grip Quick Release Cord Wrap Power Switch Separator Grill Dirt Cup Release Swivel Head cAutIon:...
- Page 5 ssembly the PowerEdge is shipped in three pieces: upper handle, Body, Foot no tools are required for assembly. Slide upper handle into body and push in firmly until handle locks into place. Slide foot onto body of unit until foot locks into place.
-
Page 6: Emptying The Dirt Container
aintenance and care to maintain maximum cleaning perfor- mance, the following maintenance steps must be performed: Emptying the dirt container dirt container should be emptied before debris reaches the FuLL line. 1. Turn power OFF (o). Unplug unit from electrical outlet. 2. - Page 7 Replacing the filters use only genuine BISSELL model number 54A2 replacement filters in your BISSELL vacuum. to purchase visit: WWW.BISSELL.coM or call 1-800-237-7691. 1. Turn power OFF (o). Unplug unit from electrical outlet. 2. Remove the dirt container as previously directed on page 6 and set aside.
-
Page 8: Thermal Motor Protection
If the cleaner will not turn on or the ther- mal protector continues to activate, your cleaner may need servicing. Call BISSELL Consumer Services or visit the website. w w w . b i s s e l l . c o m... -
Page 9: Please Do Not Return This Product To The Store
BISSELL product. Please do not return this product to the store. For any questions or concerns, BISSELL is happy to be of service. contact us directly at 1-800-237-7691. w w w . b i s s e l l . c o m... - Page 10 - BISSELL vacuum you may purchase parts by calling BISSELL consumer Services or by visiting our website. Below is a list of common replacement parts. Item Part No. 203-0253 203-0255 203-0251 54A2 203-1215 203-0250 203-0257 w w w . b i s s e l l . c o m...
- Page 11 Subject to the *EXCEPTIONS AND EXCLUSIONS identified below, upon receipt of the product BISSELL Homecare, Inc. will repair or replace (with new or remanufactured components or products), at BISSELL’s option, free of charge from the date of purchase by the original purchaser, for one year any defective or malfunctioning part.
- Page 12 For information about repairs or replacement parts, or questions about your warranty, call: BISSELL consumer Services Or visit the BISSELL website - www.bissell.com When contacting BISSELL, have model number of cleaner available. Please record your Model Number: ___________________ Please record your Purchase Date: ___________________ notE: Please keep your original sales receipt.