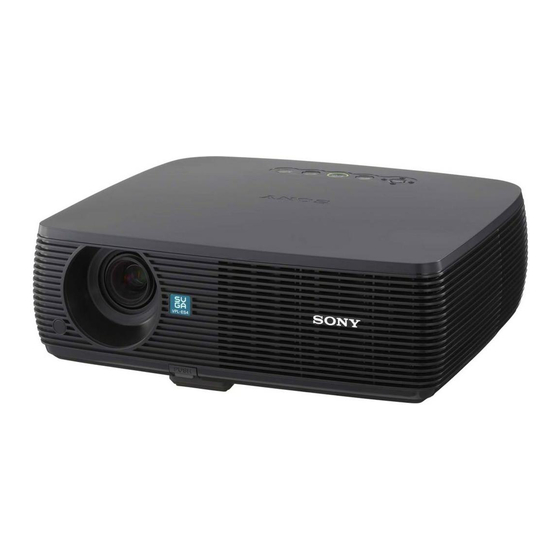
Sony VPL-ES4 Quick Reference Manual
Hide thumbs
Also See for VPL-ES4:
- Service manual (34 pages) ,
- Quick reference manual (104 pages) ,
- Operating instructions manual (55 pages)
Summary of Contents for Sony VPL-ES4
- Page 1 3-100-207-03 (1) Data Projector Quick Reference Manual _____________________ VPL-ES4 VPL-EX4...
-
Page 2: Using The Cd-Rom Manuals
(In case of Macintosh) About the Quick 1 Double-click the CD-ROM icon on the desk top. Reference Manual 2 Double-click “index.htm” file and select the Operating Instructions you want to read. This Quick Reference Manual explains the connections and basic operations of this unit, and gives notes on operations and Note information required for maintenance. -
Page 3: Notes On Use
Notes on Use Note on the Ventilation Holes Do not block ventilation holes (exhaust/intake). If they are blocked, internal heat may build up and cause fire or damage to the unit. Check the positions of the ventilation holes shown in the following illustrations. For other precautions, read the separate “Safety Regulations”... - Page 4 INPUT A INPUT stereo audio connecting cable (not supplied) Use a no-resistance cable. Note For stereo audio connection, connect the stereo audio connecting cable to the AUDIO connector for VPL-ES4, or to the AUDIO INPUT A/B connector for VPL-EX4. Projecting...
- Page 5 Connecting with a VCR/DVD player AUDIO S VIDEO VIDEO AUDIO INPUT A/B INPUT A INPUT stereo audio connecting cable (not supplied) Use a no-resistance cable. For video signal connections, the following three connecting options are available: 1 S video (Mini DIN 4-pin)* cable (not supplied) 2 Composite video (phono plug)* cable (not supplied) 3 Component (D-sub 15-pin y 3 ×...
- Page 6 Projecting Before connecting the equipments, plug the AC power cord into a wall outlet. 1 Press the ?/1 (on/standby) key. 2 Turn on the equipment connected to the projector. 3 Press the INPUT key to select the input source. 4 When the computer is connected, set it to output the signal to only the external monitor. Connecting with a computer Power INPUT A...
-
Page 7: Adjusting The Projector
Adjusting the Projector 1 Adjust the position of the picture. 2 Adjust the size of the picture. 3 Adjust the focus. The projector is equipped with the PICTURE SETTING menu to select the picture mode, and the INPUT SETTING menu to select the appropriate aspect ratio of the picture. For details, see the Operating Instructions contained in the CD-ROM. -
Page 8: Turning Off The Power
Turning off the Power 1 Press the ?/1 (on/standby) key. 2 When a message appears, press the ?/1 (on/standby) key again. 3 Unplug the AC power cord from the wall outlet after the fan has stopped running and the ON/STANDBY indicator has lit in red. Note Do not unplug the AC cord while the fan is still running;... -
Page 9: Replacing The Lamp
Notes Note • If the lamp breaks, consult with qualified For safety reasons, do not loosen any other Sony personnel. screws. • Pull out the lamp by holding the handle. If you touch the lamp, you may be burned or Loosen the two screws on the lamp injured. - Page 10 Insert the new lamp all the way in until STANDBY indicator around the ?/1 key turns off for a moment. it is securely in place ( ). Tighten the two screws ( ). Fold down the Caution handle to replace it ( Do not put your hands into the lamp replacement slot, and do not allow any liquid or other objects into the slot to avoid electrical...
-
Page 11: Cleaning The Air Filter
Remove the air filter cover. Cleaning the Air Filter The air filter should be cleaned every 500 hours. Remove dust from the outside of the ventilation holes with a vacuum cleaner. 500 hours are approximate. This value varies depending on the environment or how the projector is used. -
Page 12: Troubleshooting
If the projector appears to be operating erratically, try to diagnose and correct the problem using the following instructions. If the problem persists, consult with qualified Sony personnel. For details on the symptoms, see the Operating Instructions contained in the CD-ROM. - Page 13 Ensure that “High Altitude Mode” in the Setup menu is set to “On.” ON/STANDBY flashes in The fan is broken. c Consult with qualified Sony personnel. red. (Repetition rate of 4 flashes) ON/STANDBY flashes in Unplug the AC power cord from the wall outlet after the ON/ red.
-
Page 14: Specifications
(7.5 to 9.2 feet) Always verify that the unit is operating properly 100-inch: 2.9 to 3.6 m before use. SONY WILL NOT BE LIABLE FOR (9.5 to 11.8 feet) DAMAGES OF ANY KIND INCLUDING, BUT 150-inch: 4.4 to 5.4 m NOT LIMITED TO, COMPENSATION OR (14.4 to 17.7 feet)


