Table of Contents
Advertisement
Quick Links
Advertisement
Table of Contents

Related Manuals for Bosch DFS097A50A


Summary of Contents for Bosch DFS097A50A
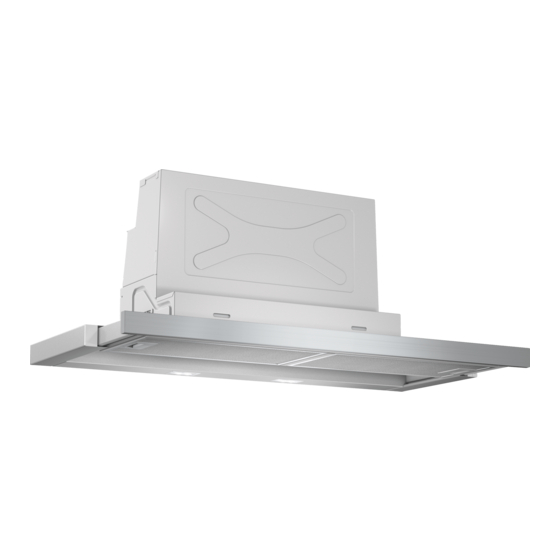
- Page 1 Extractor hood Instructions for installation and use Extractor hood [en]...
-
Page 2: Table Of Contents
2000 metres above sea replacement parts and services can be found at level. www.bosch-home.com and in the online shop This appliance may be used by children over www.bosch-eshop.com the age of 8 years old and by persons with... -
Page 3: Important Safety Information
Important safety information (Important safety information Warning – Danger of suffocation! I m p o r t a n t s a f e t y i n f o r m a t i o n Packaging material is dangerous to children. Never allow children to play with packaging In any case, consult your responsible Master material. -
Page 4: Environmental Protection
Environmental protection Warning – Risk of injury! 7Environmental protection Components inside the appliance may have ■ sharp edges. Wear protective gloves. Y our new appliance is particularly energy-efficient. Items placed on the appliance may fall Risk of injury! E n v i r o n m e n t a l p r o t e c t i o n ■... -
Page 5: Operating The Appliance
Operating the appliance Air recirculation Intensive setting You can use the intensive setting if there is a large The air which is drawn in is cleaned by build-up of odours and fumes/vapours. the grease filters and an activated carbon filter, and is conveyed back into Press the + button until all of the LEDs in the display the kitchen. - Page 6 Cleaning and maintenance Follow all instructions and warnings included with the By hand: cleaning agents. You can use a special grease solvent for Note: stubborn dirt. It can be ordered via the Online Shop. Area Cleaning agent Stainless steel Hot soapy water: Soak the metal mesh grease filters in a hot soapy ■...
-
Page 7: Trouble Shooting
Trouble shooting On appliances with a glass plate in the filter pull-out: Replacing bulbs The glass plate can be removed easily and can be These instructions apply to several appliance variants. It ■ cleaned in the dishwasher. is possible that individual features are described which To remove it, carefully lift the glass plate. -
Page 8: Customer Service
Customer service Accessories 4Customer service (not included in the scope of delivery) W hen calling us, please give the product number (E These instructions apply to several appliance Note: C u s t o m e r s e r v i c e no.) and the production number (FD no.) so that we can models. -
Page 9: Installation Instructions
Installation instructions INSTALLATION INSTRUCTIONS Appliance width 60 cm: I n s t a l l a t i o n i n s t r u c t i o n s I nstallation instructions These instructions apply to several appliance variants. It is possible that individual features are described which do not apply to your appliance. -
Page 10: Important Safety Information
Important safety information Room air-dependent heat-producing (Important safety appliances (e.g. gas, oil, wood or coal- information operated heaters, continuous flow heaters or water heaters) obtain combustion air from the room in which they are installed and discharge R ead these instructions carefully. Only then I m p o r t a n t s a f e t y i n f o r m a t i o n the exhaust gases into the open air through an will you be able to operate your appliance... -
Page 11: General Information
General information Warning – Risk of fire! KGeneral information Grease deposits in the grease filter may catch fire. The specified safety distances must be observed in order to prevent an accumulation E xhaust air mode of heat. Observe the specifications for your G e n e r a l i n f o r m a t i o n cooking appliance. - Page 12 General information Electrical connection Make the cut-out for the exhaust air pipe. To do this, make an opening in the top or back panel of the fitted unit with an additional recess for the power Warning – Risk of electric shock! cord.
-
Page 13: Installation
Installation Connect the power cord provided to the Body wall thickness: 16 mm appliance. ¨ Screw the mounting pieces to the body on the left Use the strain relief to secure the power cord in and right. ¨ place. © Remove the tabs from the bottom of the mounting pieces. - Page 14 Installation Sliding out the appliance Screw in the filler strip fully. Before you remove the appliance, protect the hob Note: with a piece of polystyrene from the packaging. Use a flat-blade screwdriver to push in the fastening bolt, and turn it 90° until it locks into place. ¨...
- Page 15 Installation Connecting the pipes Appliance width 90 cm: You must also screw the appliance to the wall-hanging If an aluminium pipe is used, smooth the area Note: cupboards either side of it. where it is to be connected before you connect it. Exhaust air pipe, dia.
- Page 16 *9001058362* 9001058362 980402...