Frigidaire Gallery FGGF304DLF Important Safety Instructions Manual
Frigidaire gallery fggf304dlf: user guide
Hide thumbs
Also See for Gallery FGGF304DLF:
- Install manual (13 pages) ,
- Installation manuallines (4 pages) ,
- Installation instructions manual (13 pages)
Table of Contents
Advertisement
All about the
Use
of your
Welcome & Congratulations ...................................2
Important Safety Instructions .................................3
Features at a Glance ..............................................7
Before Setting Surface Controls ..............................8
Setting Surface Controls ........................................9
Before Setting Oven Controls ...............................10
www.frigidaire.com USA 1-800-944-9044
&
Range
TA B L E O F C O N T E N T S
www.frigidaire.ca Canada 1-800-265-8352
Care
Setting Oven Controls ..........................................12
Self-Cleaning .......................................................25
Care & Cleaning (Cleaning Chart) .........................27
Care & Cleaning ..................................................28
Before You Call ..................................................31
Major Appliance Warranty ....................................36
Advertisement
Table of Contents

Related Manuals for Frigidaire Gallery FGGF304DLF


Summary of Contents for Frigidaire Gallery FGGF304DLF
-
Page 1: Table Of Contents
Features at a Glance ...7 Before Setting Surface Controls ...8 Setting Surface Controls ...9 Before Setting Oven Controls ...10 www.frigidaire.com USA 1-800-944-9044 & Care TA B L E O F C O N T E N T S Setting Oven Controls ...12 Self-Cleaning ...25... -
Page 2: Welcome & Congratulations
Welcome & congratulations Product registration register Your Product The Product registration card should be filled in completely, signed and returned to Electrolux Home Products. serial Plate location Please record your model and serial numbers below for future reference. Model Number: Serial Number: Purchase Date: ©... -
Page 3: Important Safety Instructions
Fuel gas Code ANSI Z223.-latest edition, or in Canada CAN/CGA B149.1, and CAN/CGA B149.2, and the National Electrical Code ANSI/NFPA No.70- latest edition, or in Canada CSA standard, Canadian electrical Code, part 1, and local code requirements. Install only per installation instructions provided in the literature package for this range. Warning • All appliance can tip. • Injury to persons could result. • Install anti-tip bracket packed with your appliance. • See Installation Instructions. To reduce the risk of tipping, the... - Page 4 imPortant saFetY instructions caution do not store items of interest to children in the cabinets above the appliance. Children climbing on the cooktop to reach items could be seriously injured. Warning NEVER use this appliance as a space heater to heat or warm the room. doing so may result in carbon monoxide poisoning and overheating of the oven.
-
Page 5: Using Your Oven
Warning Do not use stove top grills on your sealed gas burners. If you use a stove top grill on a sealed gas burner, it will cause incomplete combustion and can result in exposure to carbon monoxide levels above allowable current standards. This can be hazardous to your health. • Always turn the knob to the full LITE position when igniting top burners. Visually check that the burner has lit. Then adjust the flame so it does not extend beyond the edge of the utensil. • Utensil Handles Should Be Turned Inward and Not Extend Over Adjacent Surface Burners—To reduce the risk of burns, ignition of flammable materials, and spillage due to unintentional contact with the utensil, the handle of the utensil should be positioned so that it is turned inward, and does not... -
Page 6: Grounding Instructions
Before installing the kit be sure to follow the L.P. Installation Instructions carefully. Warning Personal injury or death from electrical shock may occur if the range is not installed by a qualified installer or electrician. caution Any additions, changes or conversions required in order for this appliance to satisfactorily meet the application needs must be made by an authorized Service Center. -
Page 7: Features At A Glance
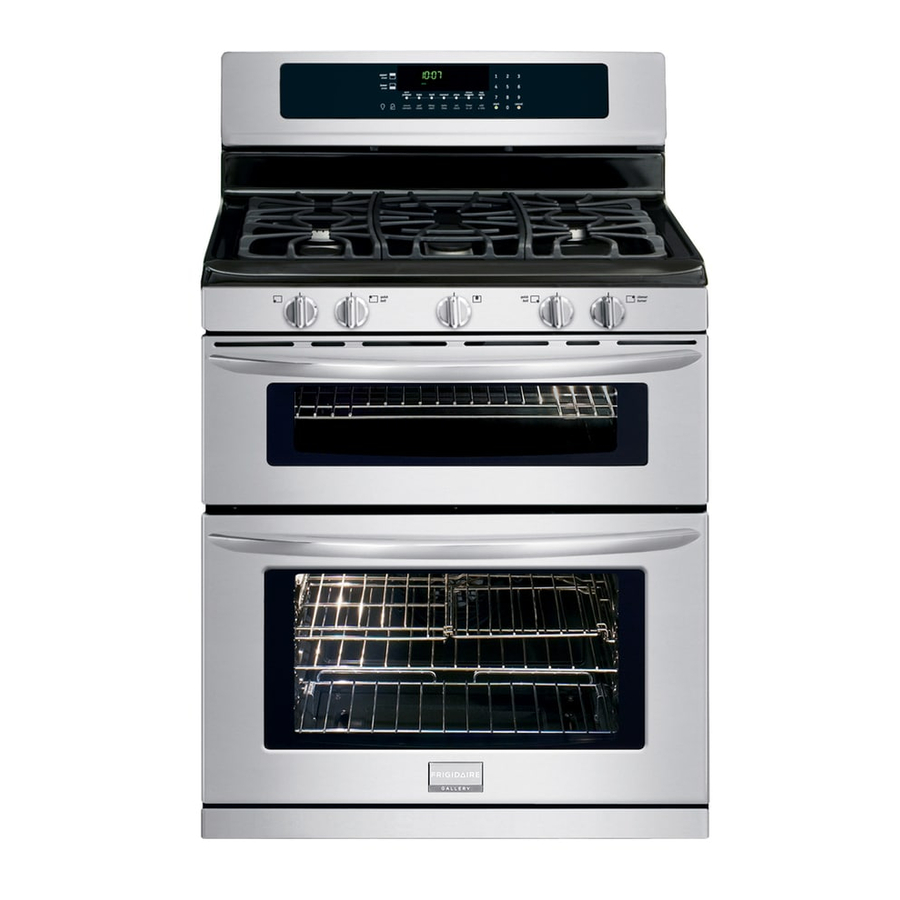
Your range Features: Electronic oven control with kitchen timer. Left front burner control. Left rear burner control. Center bridge burner control. Right front burner control. Right rear burner control. Easy to clean upswept cooktop. Burner grates. Large 1-piece oven door handle. -
Page 8: Before Setting Surface Controls
BEFORE SETTING SURFACE BURNER CONTROLS Before Setting Surface Burner Controls Locations of the Gas Surface Burners Your range is equipped with gas surface burners with different BTU ratings. The ability to heat food quicker and in larger volumes increases as the burner size increases. The small simmer burner is best used for simmering delicate sauces, etc. -
Page 9: Setting Surface Controls
The finish on the grate may chip without cookware to absorb the heat. caution Do not place plastic items such as salt and pepper shakers, spoon holders or plastic wrappings on top of the range when it is in use. These items could melt or ignite. Pot holders, towels or wood spoons could catch fire if placed too close to a flame. imPortant In the event of an electrical power outage, the surface burners can be lit manually. -
Page 10: Before Setting Oven Controls
BEFORE SETTING OVEN CONTROLS Oven Vent Location Upper & Lower Oven Vents See illustration for venting location of each oven. When the oven is on, warm air is released through the vent. This venting is necessary for proper air circulation in the oven and good baking results. DO NOT block the vent. Doing so may cause cooking failures, fire or damage to the... - Page 11 Types of oven racks Your built-in range may be equipped with one or more of the oven racks styles shown; • Flat handle oven rack (Figure 1). • Flat oven half rack (Figure 2 & 3). Figure 1 Flat handle oven rack Figure 2 Flat half oven rack - Closed position Figure 3 Flat half oven rack - Open position...
-
Page 12: Setting Oven Controls
setting oven controls Control pad features READ THE INSTRUCTIONS CAREFULLY BEFORE USING THE OVEN. For satisfactory use of your oven, become familiar with the various features and functions of the oven as described below. detailed instructions for each feature and function follow later in this use & care guide. 1. Upper oven pad—Use to activate the upper oven for cooking operation. -
Page 13: Minimum And Maximum Control Pad Settings
minimum and maximum control Pad settings All of the features listed below have minimum and maximum time or temperature settings that may be entered into the control. An ENTRY acceptance beep will sound each time a control pad is touched (the acceptance beep on the Oven Lockout pad is delayed 3 seconds). -
Page 14: Setting The Clock
12 or 24 hour time of day operation. The clock has been preset at the factory for the 12 hour operation. When the range is first plugged in, or when the power supply to the range has been interrupted, the timer in the display will flash. -
Page 15: Setting Lockout Feature
To change control from normal sound operation to silent control operation 1. To tell if your range is set for normal or silent operation press and hold delaY start. “-- --” will appear and “delaY” will flash in the display. After 6 seconds “beeP on”... -
Page 16: Setting Quick Preheat
setting oven controls setting Quick PreHeat The Quick PreHeat pad controls the Quick Preheat feature. Use this feature when using single rack baking to quickly heat the oven to bake temperature. Use this feature only for standard baking. A reminder tone will sound indicating when to place the food in the oven. - Page 17 SETTING CONVECTION BAKE (lower oven only) This mode of cooking enables you to obtain the best culinary results when baking with multiple pans and racks. Multiple rack baking may slightly increase cook time for some foods but the overall result is time saved. Some food may cook faster and more evenly with Convection Bake.
- Page 18 setting oven controls setting convection convert (lower oven only) The Convection Convert pad is used to automatically convert a standard baking recipe for convection baking. When set properly, this feature is designed to display the actual converted (reduced) temperature in the display. Convection Convert may ONLY be used with a Convection Bake cooking mode.
-
Page 19: Setting Delay Start
SETTING BAKE TIME Bake Time allows the oven to be set to cook for a specific length of time and shut off automatically. The oven will shut off and will beep when the countdown is finished. This feature can be used with Bake, Convection Bake, Convection Roast, Pizza and Chicken Nuggets cooking modes. - Page 20 setting oven controls SETTING BROIL This mode is best for meats, fish and poultry up to 1” thick. Broiling is a method of cooking tender cuts of meat by direct heat under the broil burner of the oven. The high heat cooks quickly and gives a rich, brown outer ap- pearance.
- Page 21 setting cHicken nuggets The cHicken nuggets pad has been designed to give optimum cooking performance when cooking your favorite chicken nuggets. In the lower oven, the Chicken Nuggets pad is preset for a Convection Bake at (400°F) with a Bake Time of 18 minutes, ending with a Keep Warm setting.
- Page 22 setting oven controls setting Pizza The Pizza pad has been designed to give optimum cooking performance when cooking your favorite pizza. The Pizza pad let you choose a preset between a frozen pizza (425°F) and a fresh pizza (400°F). If needed, a different target temperature than the presets can be entered.
-
Page 23: Setting Keep Warm
setting keeP Warm This mode is best for keeping oven baked foods warm for serving after cooking has finished. The keeP Warm pad turns ON the Keep Warm feature and will maintain an oven temperature of 170°F (77°C). The Keep Warm feature will keep oven baked foods warm for serving up to 3 hours after cooking has finished. - Page 24 setting oven controls SETTING THE SABBATH FEATURE the Jewish Sabbath & Holidays) The BAKE TIME and delaY start pads are used to set the Sabbath feature. The Sabbath feature may only be used with the BAKE pad. The oven temperature may be set higher or lower after setting the Sabbath feature (the oven temperature adjustment feature should be used only during Jewish Holidays), however the display will not visibly show or provide any audible tones indicating whether the...
-
Page 25: Adjusting Oven Temperature
adjusting oven temPerature The temperature in the oven has been pre-set at the factory. When first using the oven, be sure to follow recipe times and temperatures. If you think the oven is cooking too hot or too cool for the temperature you select, you can adjust the actual oven temperature to be more or less than what is displayed. -
Page 26: Oven Light
setting oven controls oven ligHt Each oven is equipped with an oven light. The oven light will turn on automatically, when the oven door is opened. The oven light may be turned on when the door is closed by using the oven light pad located on the control panel. The oven light key will toggle the lights at full intensity. -
Page 27: Self-Cleaning
Move birds to another well-ventilated room. do not line the oven walls, racks, bottom or any other part of the range with aluminum foil. Doing so will destroy heat distribution, produce poor baking results and cause permanent damage to the oven interior (aluminum foil will melt to the interior surface of the oven). - Page 28 SELF-CLEANING SETTING SELF-CLEAN CYCLE TIME LENGTH The selF clean pad controls the Self-Cleaning feature. If you are planning to use the oven directly after a self-clean cycle remember to allow time for the oven to cool down and the oven door to unlock. This normally takes about one hour.
-
Page 29: Care & Cleaning (Cleaning Chart)
NOT use spray oven cleaners on the cooktop. Easy Care™ Stainless Your range finish is made with Easy Care™ Stainless Steel. Clean the stainless with Steel Oven Door and warm soapy water using a clean sponge or cloth. Rinse with clean water and dry with a Decorative Trim soft clean cloth. -
Page 30: Care & Cleaning
care & cleaning Cleaning the Cooktop, Burner Heads, Caps & grates The cooktop is designed to make cleaning easier. Because the gas Burners are sealed, cleanups are easy when spillovers are cleaned up immediately. The cooktop, Burner Heads and Caps should be routinely cleaned. Keeping the Burner Head Ports clean will prevent improper ignition and an uneven flame. - Page 31 REMOVING AND REPLACING THE LIFT- oFF oven doors caution The door is heavy. For safe, temporary storage, lay the door flat with the inside of the door facing down. Most oven doors contain glass that can break. Read the following recommendations: 1. Do not close the oven door until all the oven racks are fully in place.
-
Page 32: Before You Call
• Incorrect pan size. • Pan not centered in oven. Cakes not level. • Range not level. • Pan too close to oven wall or rack overcrowded. • Pan warped. Foods not done • Oven too cool. - Page 33 Poor installation. Place oven rack in center of oven. Place a level on the oven rack. Adjust leveling legs at base of range until the rack is level. When range is level, cooktop may appear out of alignment if countertop is not level.
- Page 34 BEFORE YOU CALL occurrence POSSIBLE CAUSE/SOLUTION Poor baking results. Many factors affect baking results. Make sure the proper rack position is used. Center food in the oven and space pans to allow air to circulate. Allow the oven to preheat to the set temperature before placing food in the oven. Try adjusting the recipes’ recommended temperature or baking time.
- Page 35 notes...
-
Page 36: Major Appliance Warranty
major aPPliance WarrantY Your appliance is covered by a one year limited warranty. For one year from your original date of purchase, Electrolux will pay all costs for repairing or replacing any parts of this appliance that prove to be defective in materials or workmanship when such appliance is installed, used and maintained in accordance with the provided instructions.