Table of Contents
Advertisement
Quick Links
Please use this manual with the original service manual mentioned on the next page.
TABLE OF CONTENTS
1 ORIGINAL SERVICE MANUAL INFORMATION --------- 2
2 REPLACEMENT PARTS LIST--------------------------------- 2
2.1. REFERENCE CHART------------------------------------ 2
LISTS --------------------------------------------------------- 3
3 CHANGES----------------------------------------------------------- 4
3.1. Things to Do after Replacing IC or X'tal ------------- 4
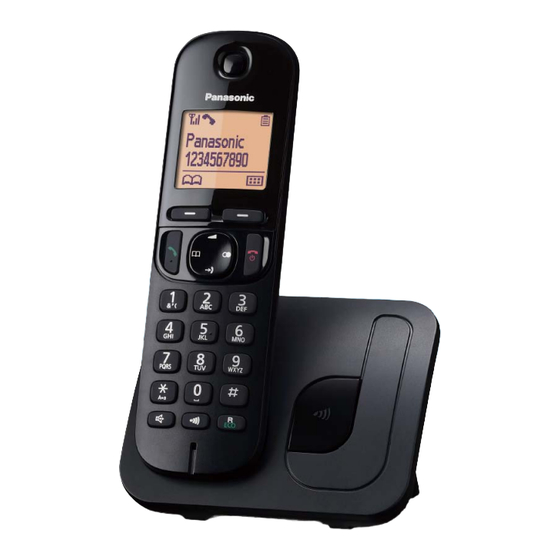
Model No.
KX-TGC210BL/KX-TGC212BL/
KX-TGC213BL/KX-TGC222BL/
KX-TGC210CX/KX-TGC212CX/
KX-TGC210HK/KX-TGC212HK/
KX-TGC210TU/KX-TGC210TW/
KX-TGC212TW/KX-TGC210BX/
KX-TGC212BX/KX-TGC220BX/
KX-TGC222BX/KX-TGC210UE/
KX-TGC212UE/KX-TGC213UE/
KX-TGC220UE/KX-TGC222UE/
KX-TGC210ML/KX-TGC212ML/
KX-TGC210GR/KX-TGC210SL/
KX-TGC222SL/KX-TGC210NL/
KX-TGC212NL/KX-TGC213NL
Digital Cordless Phone
Digital Cordless Answering System
B: Black Version
C: Blue Version
PAGE
4 ADDITION------------------------------------------------------------5
4.1. VES (Virtual EEPROM Storage) LAYOUT
(Handset)-----------------------------------------------------5
4.2. How to update the BBIC.---------------------------------6
© Panasonic System Networks Co., Ltd. 2015
Unauthorized copying and distribution is a violation
of law.
ORDER NO. KM41506860SE
Telephone Equipment
S: Silver Version
W: White Version
PAGE
Advertisement
Table of Contents

Related Manuals for Panasonic KX-TGC210BL


Summary of Contents for Panasonic KX-TGC210BL
-
Page 1: Table Of Contents
2.2. ORIGINAL AND NEW PARTS COMPARISON 4.2. How to update the BBIC.---------------------------------6 LISTS --------------------------------------------------------- 3 3 CHANGES----------------------------------------------------------- 4 3.1. Things to Do after Replacing IC or X'tal ------------- 4 © Panasonic System Networks Co., Ltd. 2015 Unauthorized copying and distribution is a violation of law. -
Page 2: Original Service Manual Information
1 ORIGINAL SERVICE MANUAL INFORMATION Handset: For Suffix B or Later Suffix Code Model No. on S/M Destinations Order No. of S/M Base Unit Handset KX-TGC210BL/KX-TGC212BL/KX-TGC213BL/KX-TGC222BL/KX- BL=for Belgium, CX=for Sin- KM41408855CE A to B A to B TGC210CX/KX-TGC212CX/KX-TGC210HK/KX-TGC212HK/KX- gapore, Vietnam, Indonesia,... -
Page 3: Original And New Parts Comparison Lists
2.2. ORIGINAL AND NEW PARTS COMPARISON LISTS Serial No.Label tells you the suffix code as follows. (Example) Serial No. Label Suffix A Ref. No. Part No. Part Name & Description Pcs/ Remarks Notes Time of Change Original (Old) (Suffix) Main P.C.Board Parts (Handset) PNWIGCA20EXR ---------- IC (EEPROM) -
Page 4: Changes
3 CHANGES 3.1. Things to Do after Replacing IC or X'tal 3.1.1. Handset [Changed from original section “11.6.1.2. Handset”] First, operate the PC setting according to The Setting Method of JIG. Then download the appropriate data according to the following procedures. Items How to download/Required adjustment FLASH(IC4) -
Page 5: Addition
4 ADDITION 4.1. VES (Virtual EEPROM Storage) LAYOUT (Handset) [Added into original section "8.3. VES (Virtual EEPROM Storage) LAYOUT (Handset)"] 8.3. VES (Virtual EEPROM Storage) LAYOUT (Handset) 8.3.1. Scope The purpose of this section is to describe the layout of the VES (Virtual EEPROM Storage) area in FLASH (IC4) for the Handset. The VES area contains hardware, software, and user specific parameters. -
Page 6: How To Update The Bbic
4.2. How to update the BBIC. [Added into original section "11.6.1.2.1. How to update the BBIC."] 11.6.1.2.1. How to update the BBIC. • Execute COM communicator.exe 1. Initialize COM port.(Only once at first.) Select “Setting” “Serial port” “Initial settings” “OK”. Setting Serial port Initial settings... - Page 7 • Execute COM communicator.exe again <<Write program>> 1. Select “Addon” “ProgramLoader”. 2. Select "Setting" "Config". Fill up the “ConfigSettings”. Note: (2) Select Baud Rate as 57600. If write error happens, select slower Baud Rate (example: 19200). 3. Select download file.
- Page 8 4. Start download. (1). Connect Unit and 3wire jig. (2). Confirm "Turn on power to target and press download." display. (3). Power off the unit, then power on. (4). Press "Download" button again. 5. Finish download. Completed dialog means "Download finished successfully!." It takes more than 20 minutes to download ( It depends on baud rate).