Frigidaire Affinity FAQE7001L Use And Care Manual
Frigidaire affinity faqe7001l: user guide
Hide thumbs
Also See for Affinity FAQE7001L:
- Installation instructions manual (48 pages) ,
- Specifications (3 pages)
Advertisement
Table of Contents
- 1 Table of Contents
- 2 Important Safety Instructions
- 3 Important Safety Instructions
- 4 Features
- 5 Operating Instructions
- 6 Dryer Settings Chart
- 7 Dryer Settings Chart
- 8 Care and Cleaning
- 9 Solutions to Common Problems
- 10 Solutions to Common Problems
- 11 Warranty
- Download this manual
See also:
Instruction and Installation Manual
All about the
Use
of your
Important Safety Instructions ..............................2-4
Features ...............................................................5
Operating Instructions ...................................... 6-11
Dryer Settings Chart ....................................... 12-14
Care and Cleaning ............................................... 15
www.frigidaire.com USA 1-800-944-9044
&
Dryer
TA B L E O F C O N T E N T S
www.frigidaire.ca Canada 1-800-265-8352
Care
Solutions to Common Problems ....................... 16-17
Warranty ............................................................ 18
Español .............................................................. 19
Advertisement
Table of Contents

Related Manuals for Frigidaire Affinity FAQE7001L


Summary of Contents for Frigidaire Affinity FAQE7001L
-
Page 1: Table Of Contents
Features ...5 Operating Instructions ... 6-11 Dryer Settings Chart ... 12-14 Care and Cleaning ... 15 www.frigidaire.com USA 1-800-944-9044 & Care TA B L E O F C O N T E N T S Solutions to Common Problems ... 16-17 Warranty ... -
Page 2: Important Safety Instructions
Save these instructions for future reference. Record Your Model and Serial Numbers The model and serial numbers of your dryer are found on the dryer serial plate located at the top of the door open- ing. Record and retain these numbers. WARNING For your safety the following information in this manual must be followed to minimize the risk of fi... - Page 3 WARNING - RISK OF FIRE To reduce the risk of fi re, electrical shock, or injury to persons when using this dryer, comply with the basic warnings listed below. Failure to comply with these warnings could result in serious personal injuries.
-
Page 4: Important Safety Instructions
IMPORTANT SAFETY INSTRUCTIONS PROTECT CHILDREN • Do not allow children to play on or in the dryer. Close supervision of children is necessary when the dryer is used near children. As children grow, teach them the proper, safe use of all appliances. -
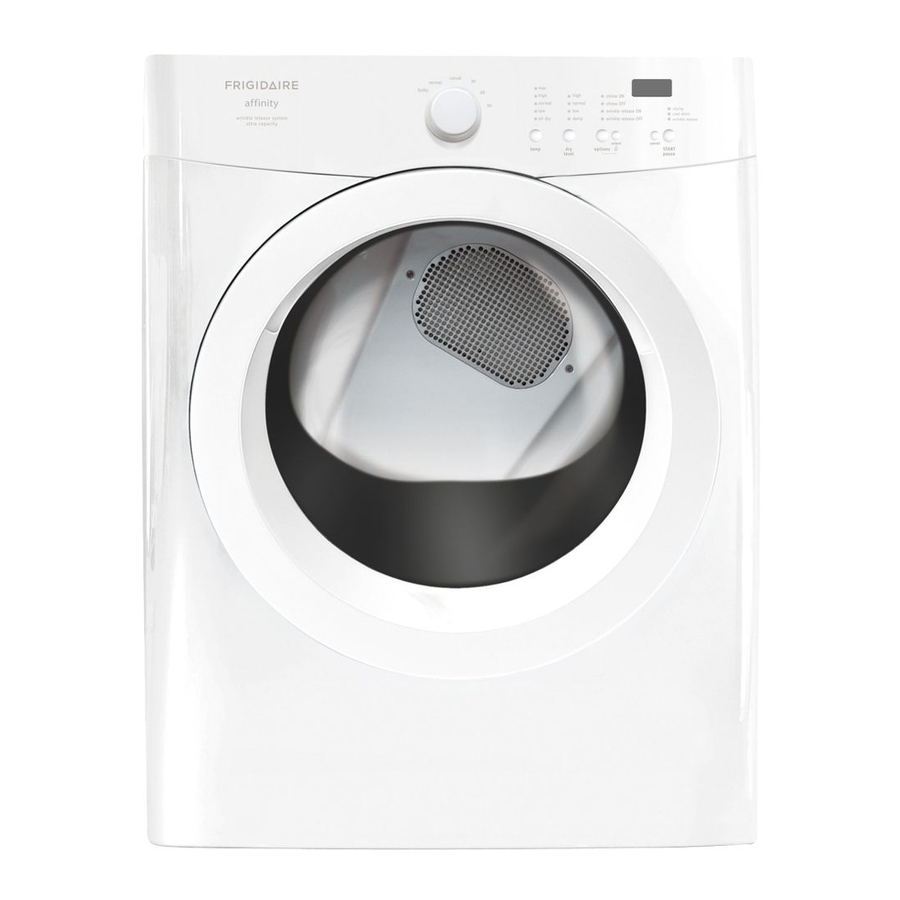
Page 5: Features
Cycle Selector Drum Light Large Surface Moisture Sensor Door Latch Exhaust Channel Outlet Adjustable Leveling Legs Lint Filter LED Display Stacking Kit for Mounting on Matching Washer* FEATURES Control Lock Reversible Door Door Strike Heavy Duty Drying Rack* *Not all models come with drying rack and stacking kit from the factory. -
Page 6: Operating Instructions
Use and Care Guide before operating your dryer. (Mesh bag not included.) CAUTION Do not continue to use the dryer if you hear squeaking, grinding, rubbing or other unusual noises. This could be a sign of mechanical breakdown and lead to fi re or serious injury. - Page 7 Start the cycle. • To add or remove items when the dryer is running, open the door. The dryer will stop when the door is opened. Allow the drum to come to a complete stop before reaching inside.
-
Page 8: Cycle Selection
Auto Dry cycles take the guesswork out of selecting the correct drying time for each load. Moisture sensing bars at the back of the dryer drum sense the moisture level of the load as it tumbles through the heated air. With Auto Dry cycles, the load will automatically be dried at the selected temperature to the desired dryness level. -
Page 9: Cycle Settings
Cycle Selection, continued Bulky (on select models) Select this Auto Dry cycle to dry bedding and bulky items such as comforters, blankets, sleeping bags and parkas. Allergy (on select models) Select this Auto Dry cycle to compliment your washer’s Allergy cycle or where you wish to kill dust mites and remove 95% of allergens as you dry your load. - Page 10 OPERATING INSTRUCTIONS Cycle Settings, continued Max (on select models) Recommended for durable fabrics and towels. High Recommended for most cotton fabrics. Normal Recommended for wrinkle free, easy care, lightweight fabrics and bulky loads. Recommended for delicate fabrics. Air Dry This setting (no heat) should only be used with a Timed Dry cycle to dry items containing feathers, down, foam rubber, plastics or rubber-like materials;...
- Page 11 Drying Rack (on select models) Use the drying rack for items which should not be tumble dried. Insert the rack into the dryer drum, resting the back support on the moisture sensor bars and the front legs on the air grill.
-
Page 12: Dryer Settings Chart
DRYER SETTINGS CHART These Temperatures, Dryness levels and Options are available with the following cycles: Temp High Normal Air Dry Dry Level High Normal Damp Options Wrinkle Release Chime Available selections Shaded areas represent factory presets. - Page 13 These Temperatures, Dryness levels and Options are available with the following cycles: Temp High Normal Air Dry Dry Level High Normal Damp Options Wrinkle Release Chime Available selections Shaded areas represent factory presets. DRYER SETTINGS CHART...
-
Page 14: Dryer Settings Chart
DRYER SETTINGS CHART These Temperatures, Dryness levels and Options are available with the following cycles: Temp Sanitize High Normal Air Dry Dry Level High Normal Damp Options Shrink Guard Wrinkle Release Damp Alert Chime Available selections Shaded areas represent factory presets. -
Page 15: Care And Cleaning
To remove this build-up, wash them with warm, soapy water. Dry the fi lter thoroughly and replace. Do not operate the dryer without the lint fi lter in place. •... -
Page 16: Solutions To Common Problems
Place fabric softener sheet on top of load before starting the dryer. • Do not overload dryer. • Use fabric softener in washer or dryer to reduce static electricity. • Remove items when they are slightly damp to avoid overdrying. -
Page 17: Warranty
House fuse blown or circuit breaker tripped. Thermal limiter tripped. Dryer runs but won’t There are 2 house fuses in the dryer circuit. If 1 of the 2 heat. fuses is blown, the drum may turn but the heater will not operate. - Page 18 MAJOR APPLIANCE WARRANTY INFORMATION Your appliance is covered by a one year limited warranty. For one year from your original date of purchase, Electrolux will pay all costs for repairing or replacing any parts of this appliance that prove to be defective in materials or workmanship when such appliance is installed, used and maintained in accordance with the provided instructions.